There are two options for adding dox42 Service connections to D365 CE or Dynamics CRM.
Option 1: Adding a dox42 Service connection via the dox42 model driven app
Steps
Open your D365 CE.
Go to Apps and select the dox42 app.
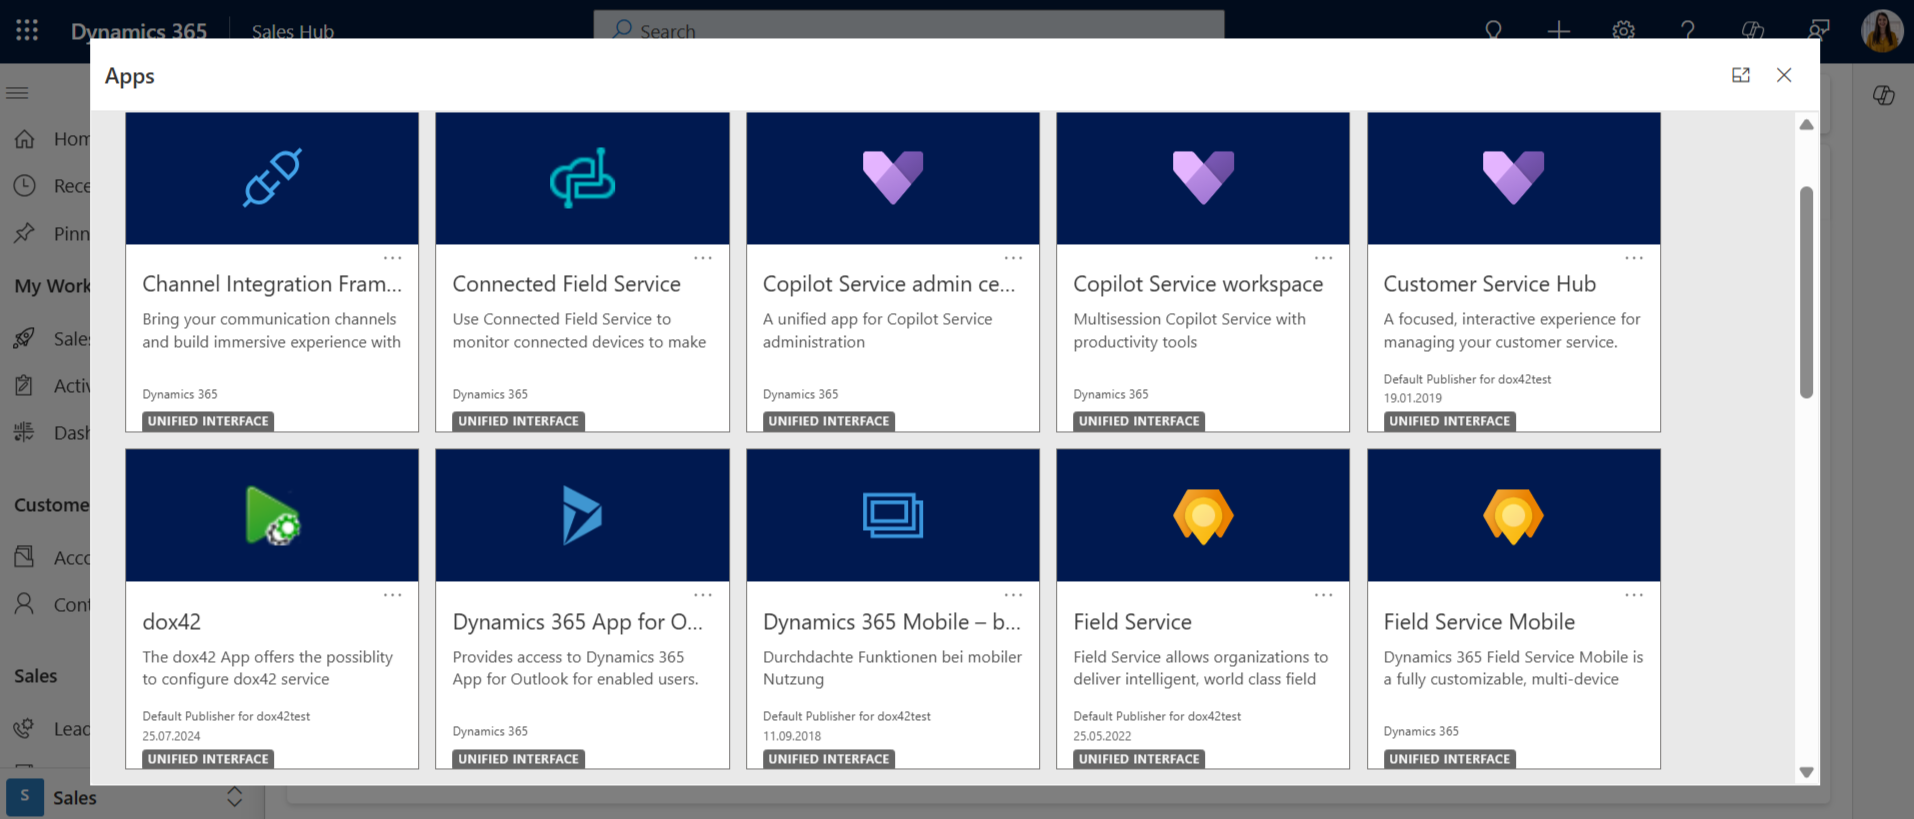
Overview of various apps available in D365 CE
Select the New button.
Enter a desired name into the Name text field.
Enter your server URL into the Server Url text field.
Example:https://yourcompany.dox42.online/Enter the property values of you app registration into the following text fields:
App Id (for AAD): Application ID
Tenant Id (for AAD): Tenant ID
Enter your template base URL into the Template base url text field.
Example:https://yourcompany.sharepoint.com/Dynamics365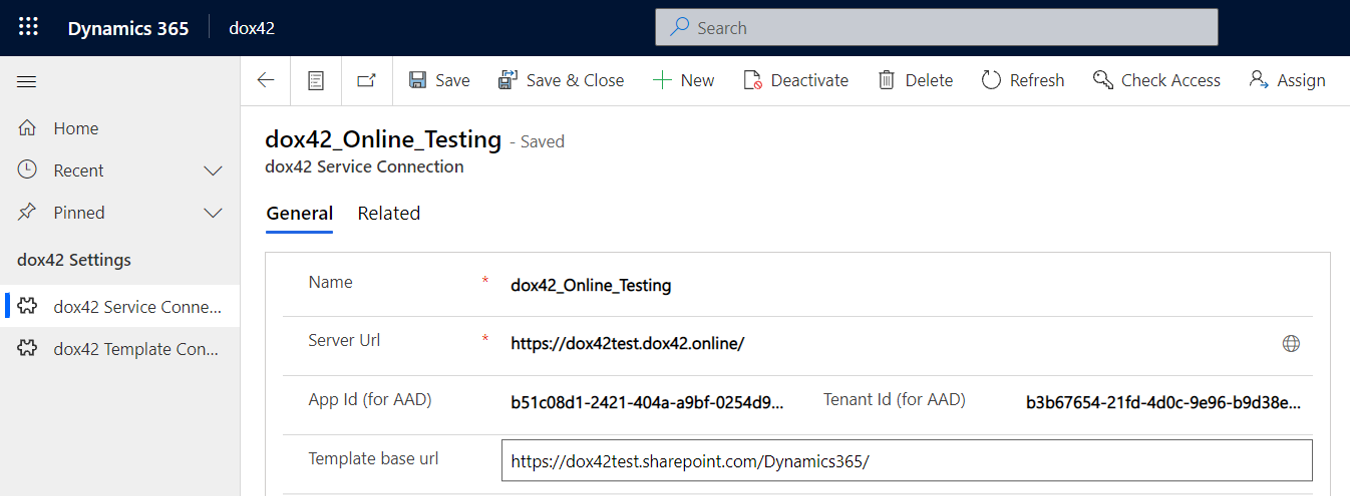
Select the Save button.
Result
You have added a dox42 service connection.
Option 2 (for Dynamics CRM on-prem): Adding a dox42 Service connection via the dox42 custom entities
Steps
Open your Dynamics CRM.
Go to Advanced Settings > Extensions.
Select the dox42 Service Connection entry.
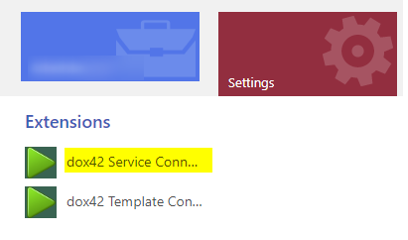
Extensions in the Settings area
The Active dox42 Service Connections page opens.
Select the New button.

Active dox42 Service Connections page
Enter a desired name into the Name text field.
Enter your server URL into the Server Url text field.
Example:https://yourcompany.dox42.online/Enter the properties values of your Entra ID app registration into the following text fields:
App Id (for AAD): Application ID
Tenant Id (for AAD): Tenant ID
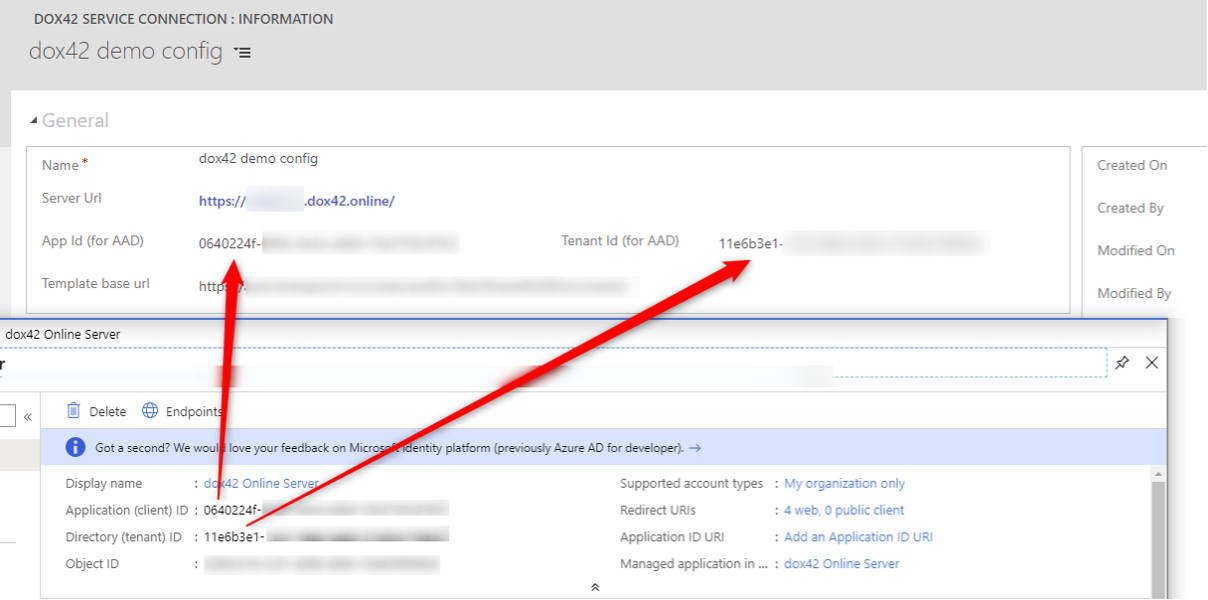
dox42 Service Connection: Information page
Enter your template base URL into the Template base url text field.
Example:https://yourcompany.sharepoint.com/Dynamics365Select the Save button.
Result
You have added a dox42 Service connection.