For a hands-on example, follow these instructions to generate a PDF SharePoint list item using a dynamic REST link based on your selected list or library item. We are going to use the dox42 ReturnAction.
Steps
Create the REST link for the dox42 Return Action with one of these options:
Important
Please make sure that you have installed the dox42 Server properly and that the dox42 Server is allowed to read data from SharePoint:
To create the REST link, please see the dox42 Server Documentation.
Open the dox42 Server Client and select the REST URL button in the bottom right corner.
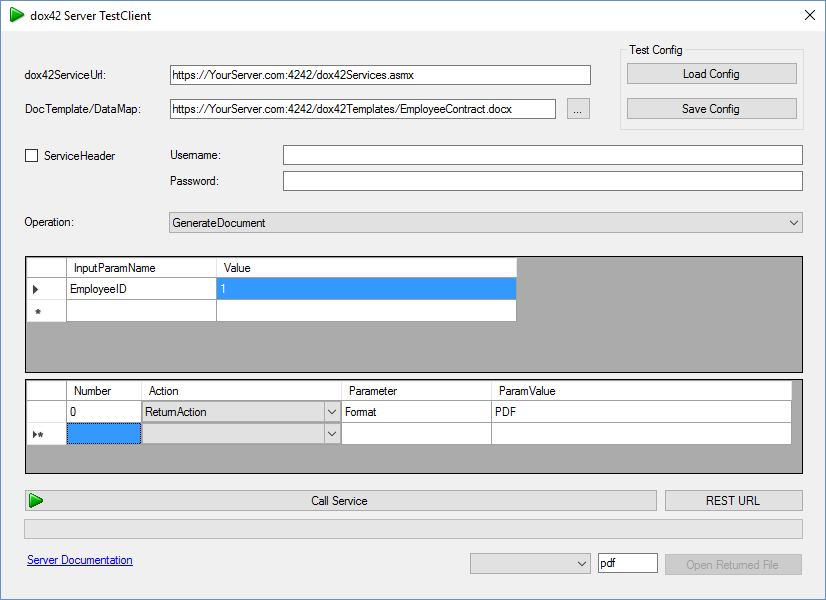
Transform the static REST link into a dynamic link for the context menu. The static link is:
https://yourserver.com:4242/dox42services.asmx?Operation=GenerateDocument&DocTemplate=https%3a%2f%2fYourServer.com%3a4242%2fdox42Templates%2fEmployeeContract.docx&InputParam.EmployeeID=1&ReturnAction.Format=PDFThe input parameter “EmployeeID” needs to be dynamic based on the list item.
Use the function
{ItemId}, which gets the ID of the list item.Note
{ItemId}is case sensitive. Be sure to use the correct casing.Then, the REST Link will look as follows:
https://yourserver.com:4242/dox42services.asmx?Operation=GenerateDocument&DocTemplate=https%3a%2f%2fYourServer.com%3a4242%2fdox42Templates%2fEmployeeContract.docx&InputParam.EmployeeID={ItemId}&ReturnAction.Format=PDF
Open the Lists and Libraries tab in SharePoint Designer.
Integrate the dynamic link into the SharePoint context menu. The dox42 REST call will be integrated using “Custom Actions”.
Go to the List Settings ribbon.
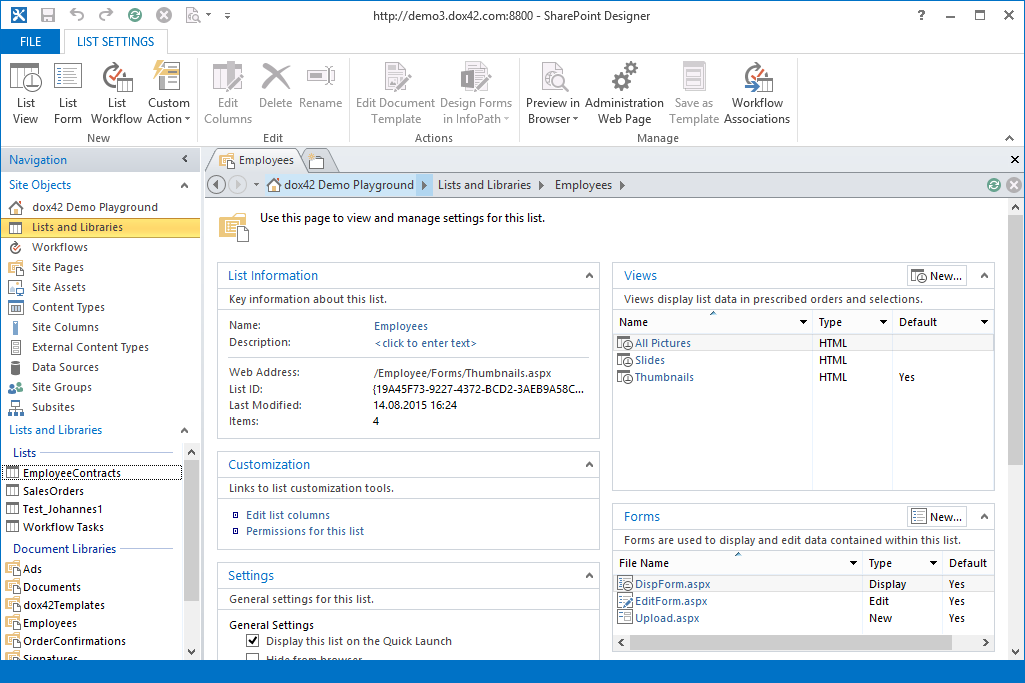
List Settings ribbon
Select Custom Action > List Item Menu.
The Create Custom Action dialog opens.
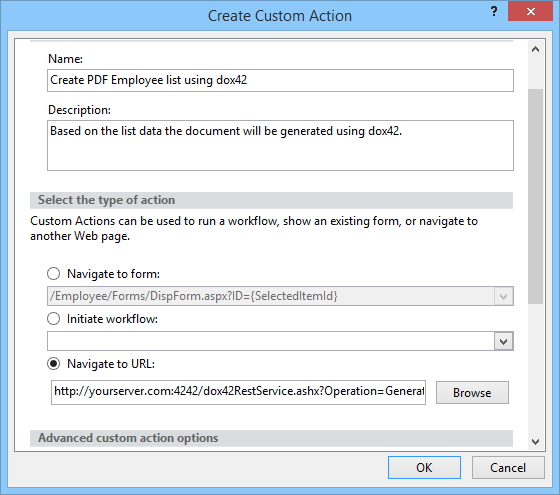
Create Custom Action dialog
Enter a name and a description.
In the Select the type of action section, select Navigate to URL and paste the dynamic dox42 REST link that you have created earlier.
Select OK.
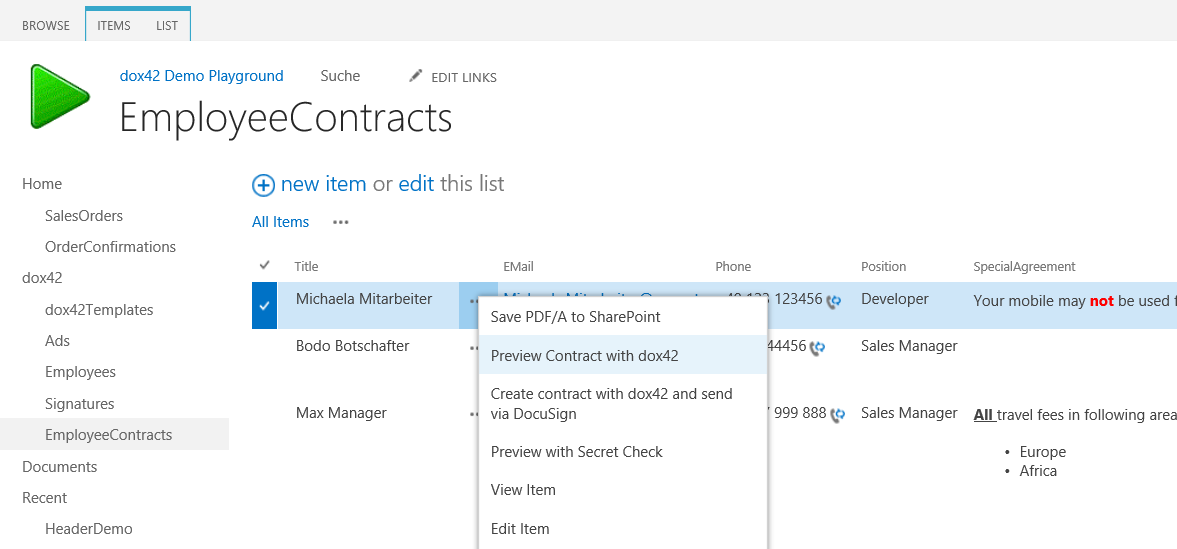
Result
The context menu will now display the option Preview Contract with dox42 which holds the dynamic REST link.