You need to create an application in the Microsoft Entra admin center to set the Entra ID permissions for the dox42 Add-In and Server.
See also the Microsoft Quickstart on registering an app.
Prerequisites
You have (global) admin rights.
Steps
Open the Microsoft Entra admin center: https://entra.microsoft.com
Go to Applications.
Select the App registrations tab.
The App registrations tab opens.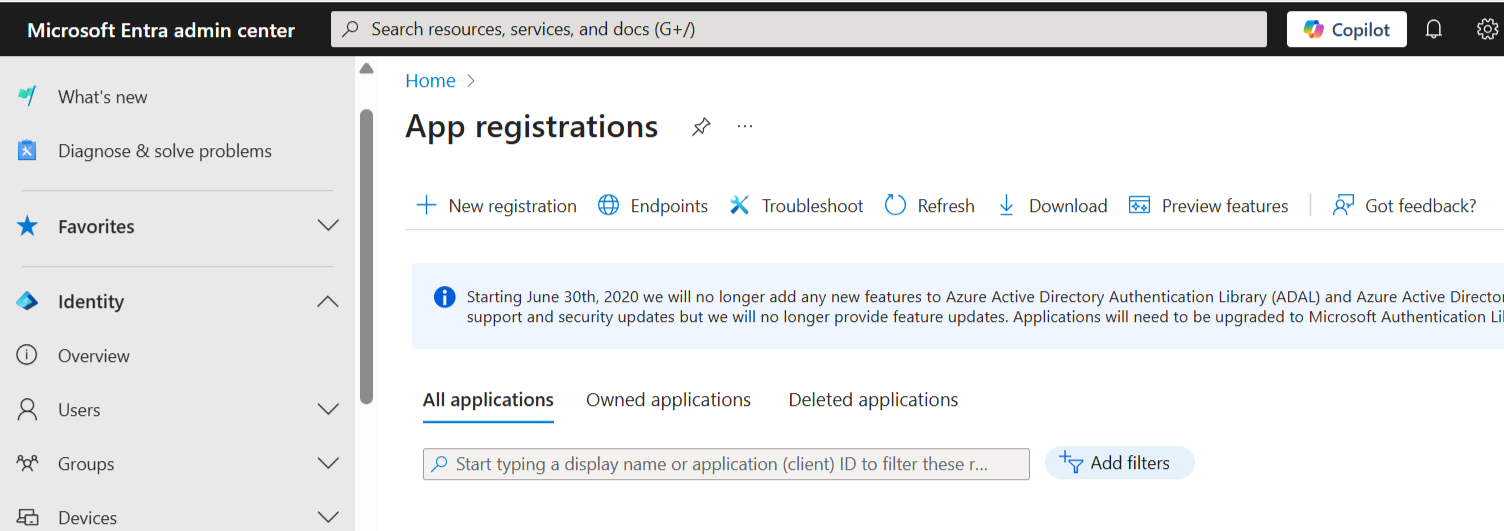
App registrations page in Microsoft Entra admin center
Select the New registration button.
The Register an application form opens.In the Name text field enter the desired name of your application, e.g.
dox42 Online.In the Supported account types section select the option
Accounts in this organizational directory only.In the Redirect URI section enter the link to your dox42 Server instance into the text field.
In this example, we use the redirect URL of a dox42 Online server (SaaS):https://yourcompany.dox42.online/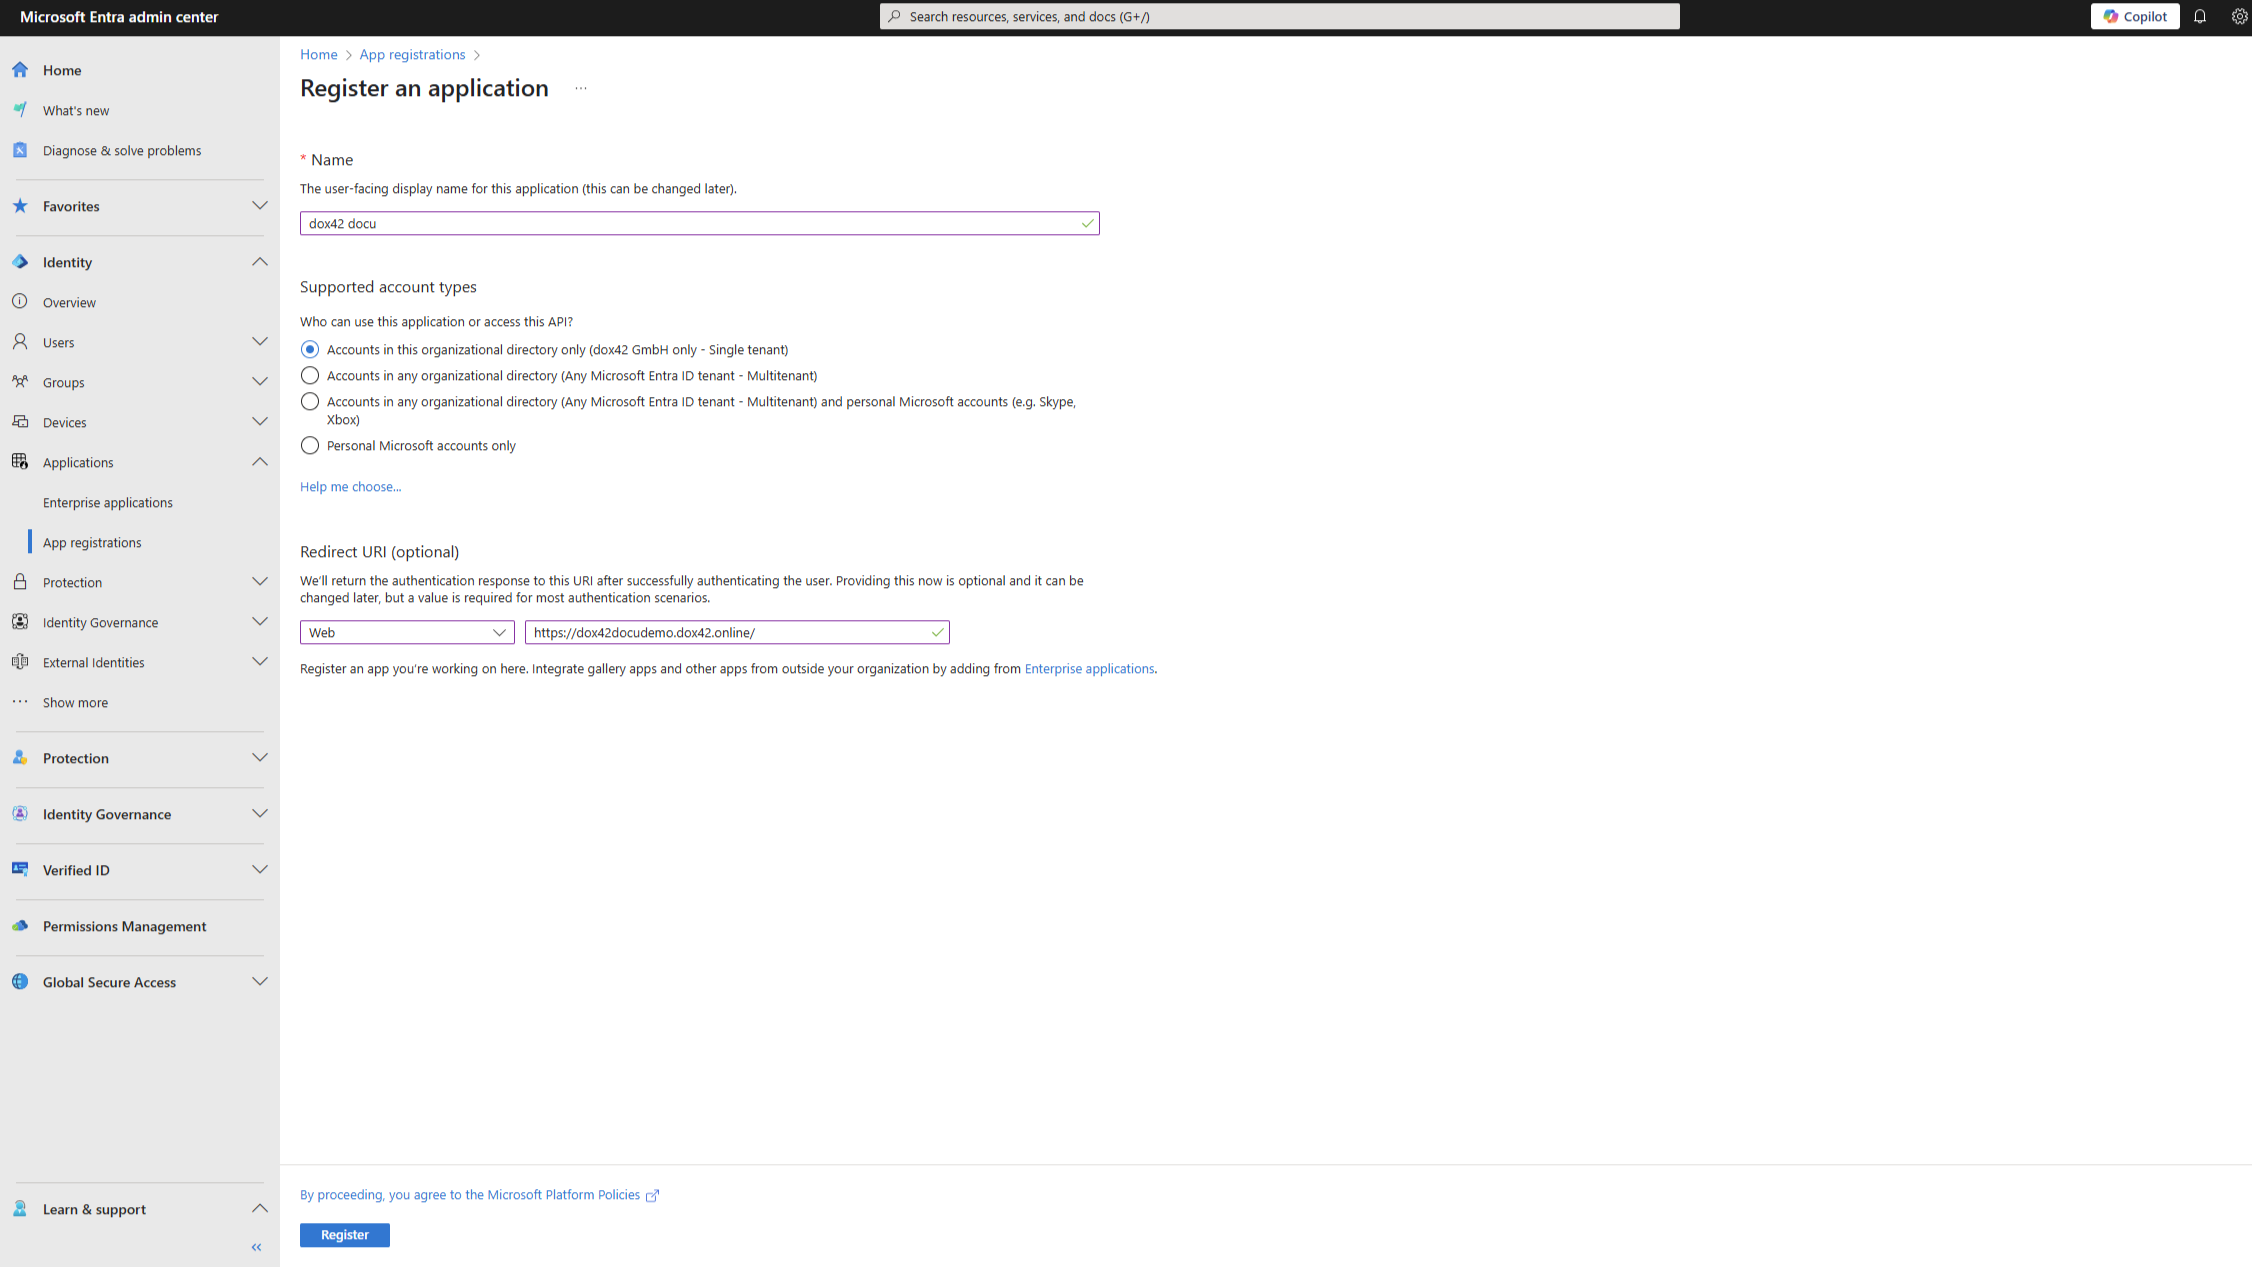
Register an application page
Select the Register button.
Result
You have registered your dox42 app in Entra ID. Afterwards you need to configure it.
Note
You can copy the values of Application (client ID) and Directory (tenant ID) and paste it into a Microsoft Excel config file. This allows you to manage your configuration details centralized.
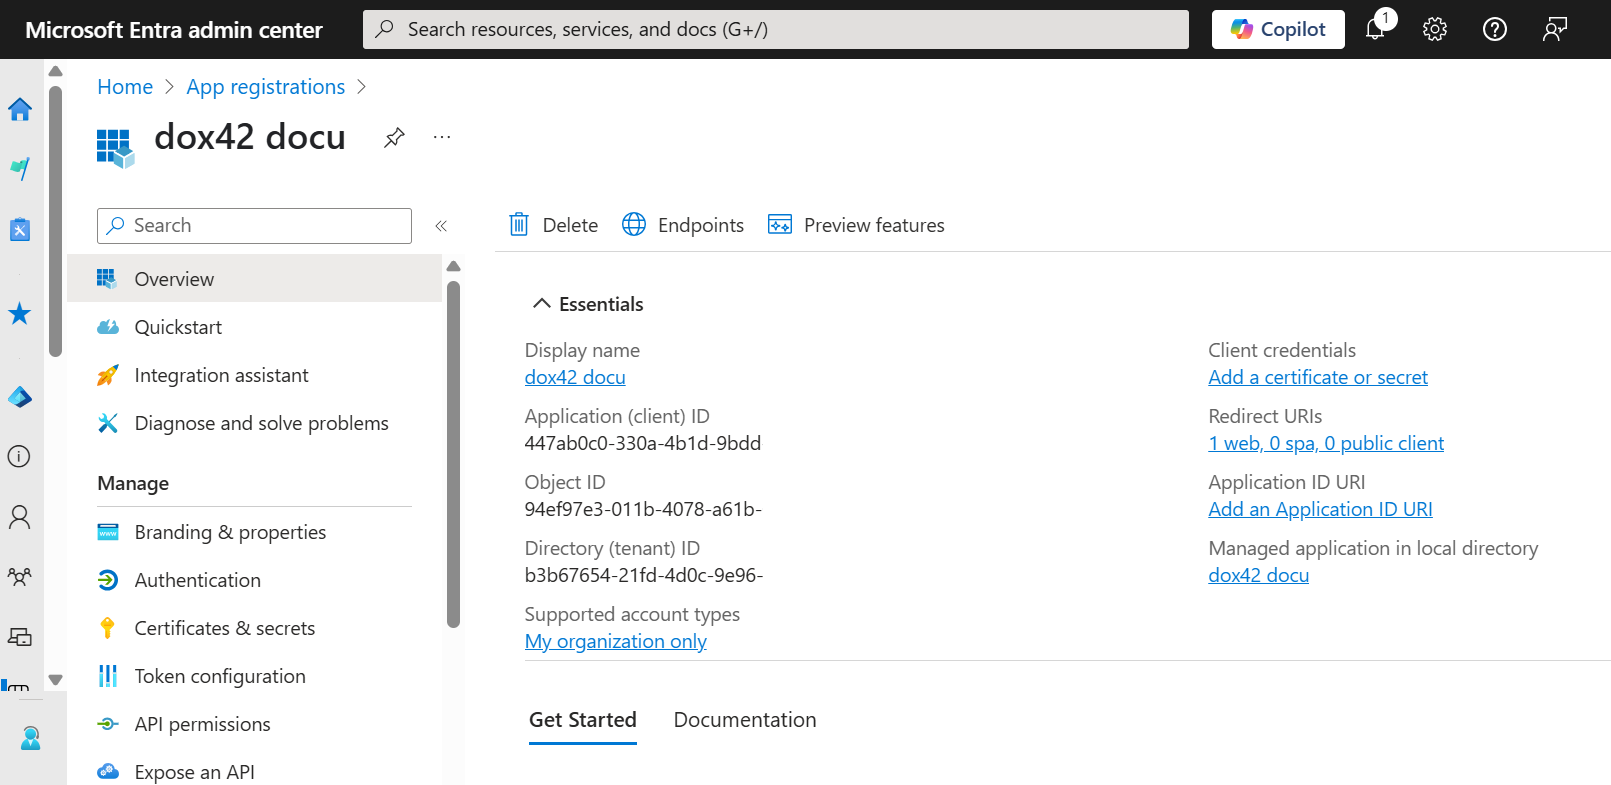
Registered app in Microsoft Entra admin center