This article shows you how to create an input parameter for your data source and provides a basic explanation of the three input types, which can be selected in the Input Parameter window.
Prerequisites
If you want your input parameter to be based on a data source: You have added a data source to your data map.
Steps
Open your Word, Excel or PowerPoint template.
Go to the dox42 ribbon and select Data Map.

dox42 ribbon
The Data Map Designer window opens.
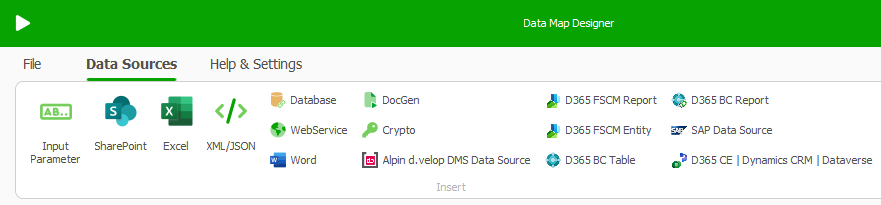
Data Map Designer window
Select Input Parameter.
In the Input Parameter name text field enter a name for the parameter, for example
EnterID.Optional: In the Comment text field enter a call-to-action text that is going to be displayed before generating a document. For example:
Enter the participant's ID:.From the Input type dropdown select the desired entry:
Text: The user can enter text in the query that will be displayed before a document is generated.
Select from Values: The user can select one dropdown entry in the query that will be displayed before a document is generated. You now enter the values for the dropdown.
Select from Data Source: The user can select one dropdown entry in the query that will be displayed before a document is generated. You now select the data source and values.
Note
The Input Parameter feature has a wide range of uses, which vary depending on the data source. The following section provides a basic explanation of the three input types.
It might also be helpful to have a look at the user interface description.
Important
Your input parameter will be available in the dox42 Data Fields window, from where you can insert it as a regular data field into your document.
Input type Select from Data Source
This input type is useful for running tests directly within the dox42 Add-in.
From the Data Source dropdown, select a data source.
From the Value dropdown, select a data field that is unique, like
ID, to ensure that the correct values are retrieved.From the Display Text dropdown, however, select a data field other than ID (that probably won’t mean anything to you). If you select a display text like
Titleyou will see its content in the query displayed before the document generation starts. Example: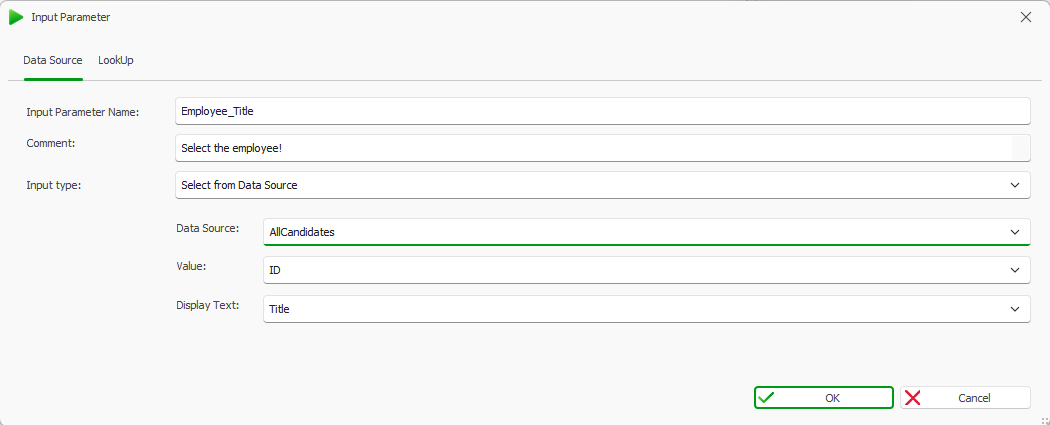
Input type Select from Data Source
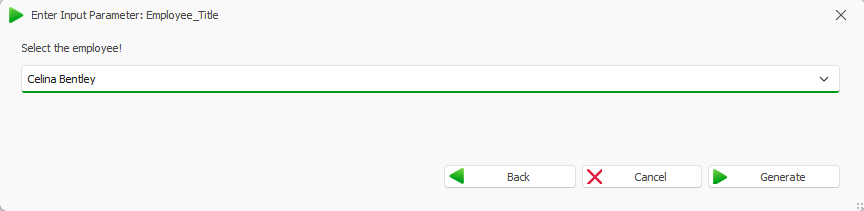
Display of input parameter when generating the document
Input type Text
This input type is mostly used for loading XML/JSON data or if you’d like to work with plain text.
In the Default Value text box you can enter
the ID of a sample record,
either in plain text format
or as a valid JSON structure by selecting the JSON IDs Sample button.
XML/JSON data that you obtained from another source
If you prefer, you can also carry out the test using a default value, e.g. a default content of a data field by selecting the Insert Data Field button. In the query that is going to be displayed before generating a document, the user will see exactly that specific content.
Tip
Have a look at the user interface description to familiarise yourself with the other features of this window.
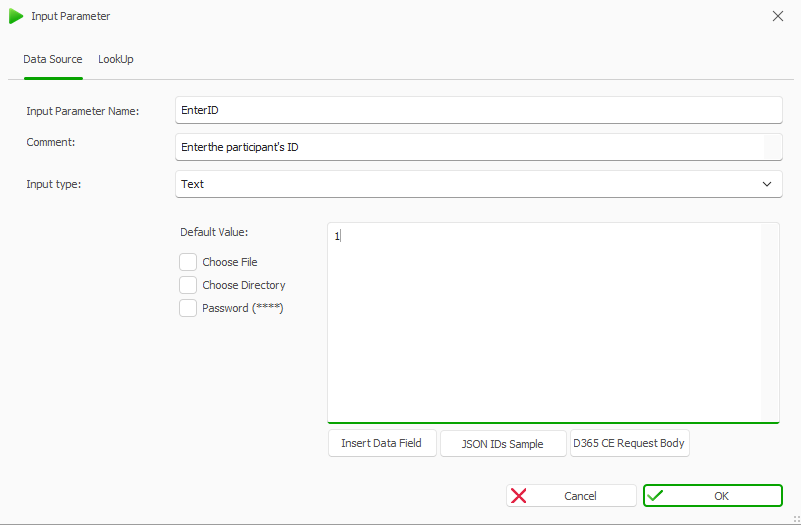
Input type Text with ID as plain text
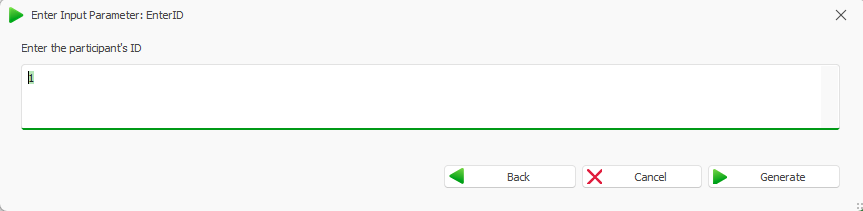
Display of input parameter when generating the document
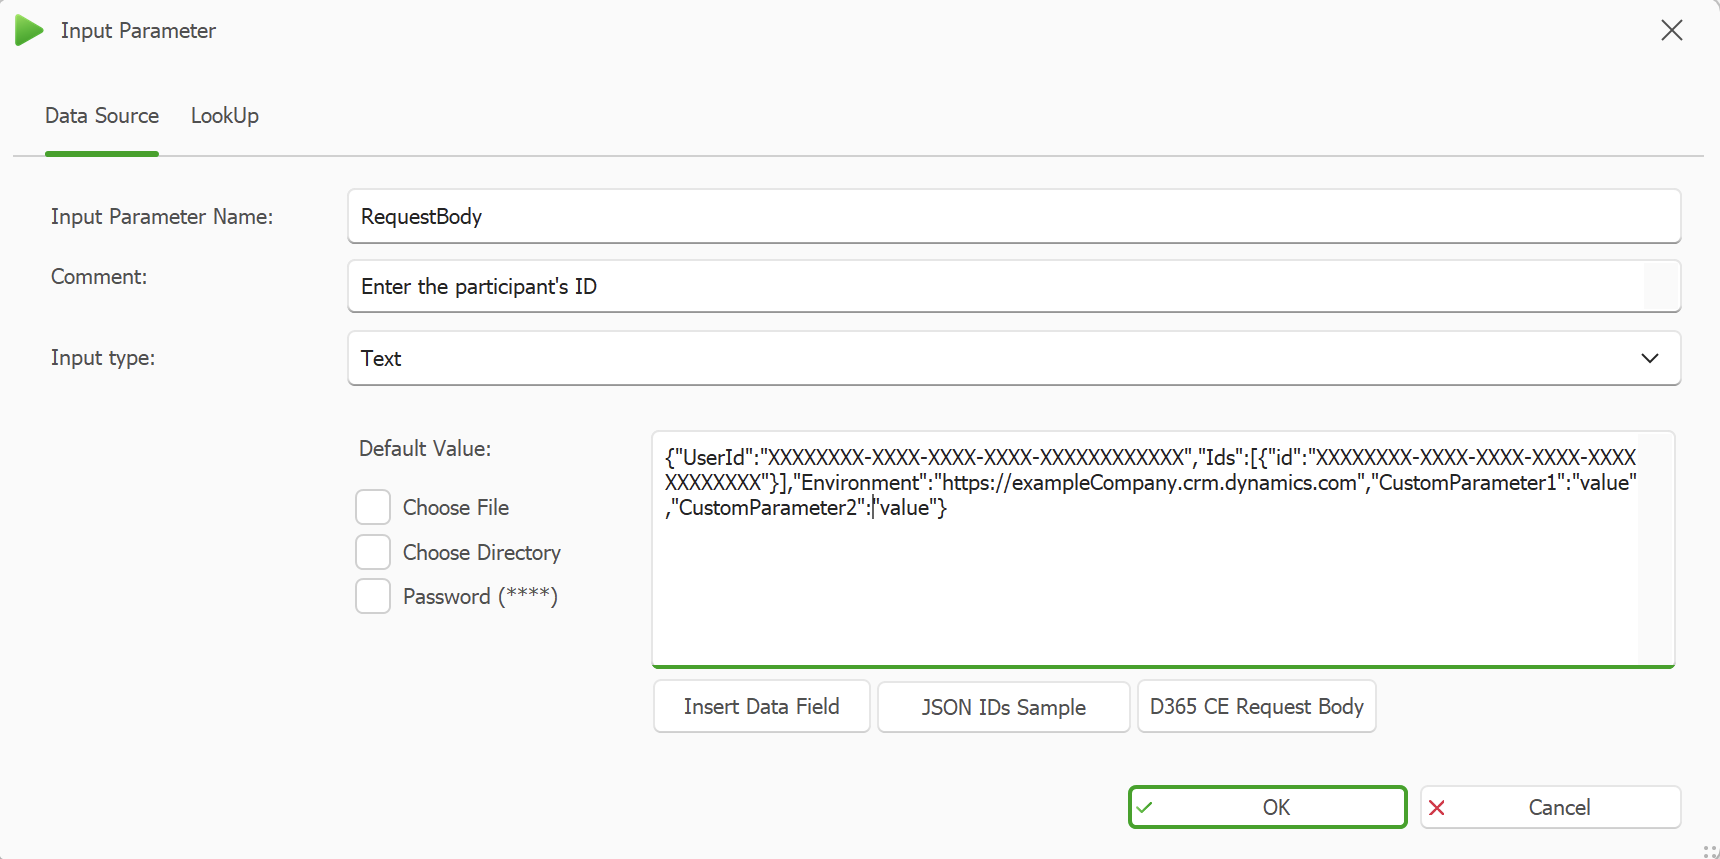
Input type Text with JSON request body
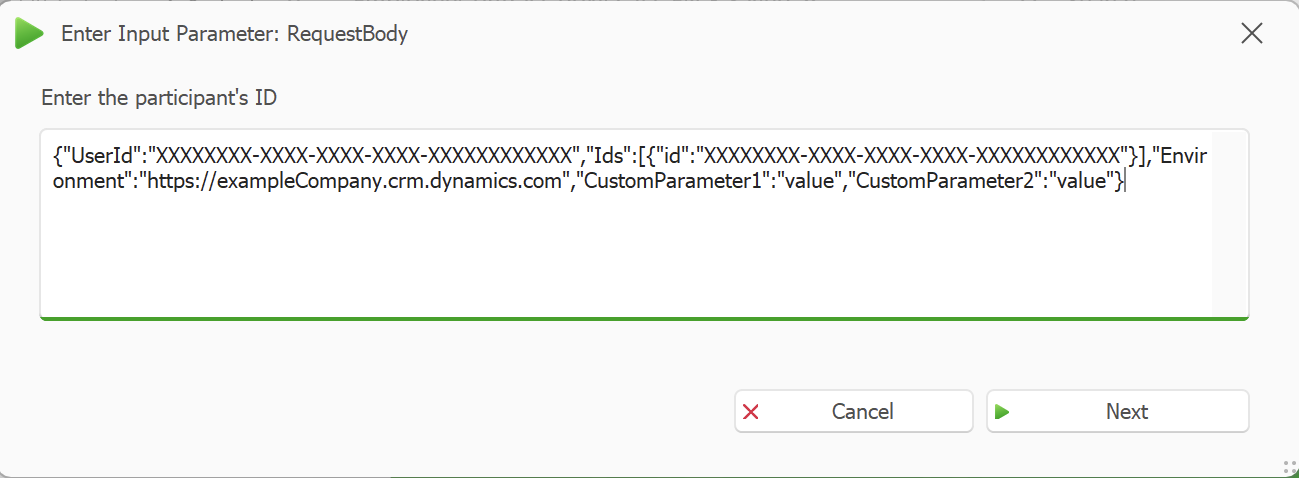
Display of input parameter when generating the document
Input type Select from Values
Create a list of values here that will be available for selection when generating the document. Example:
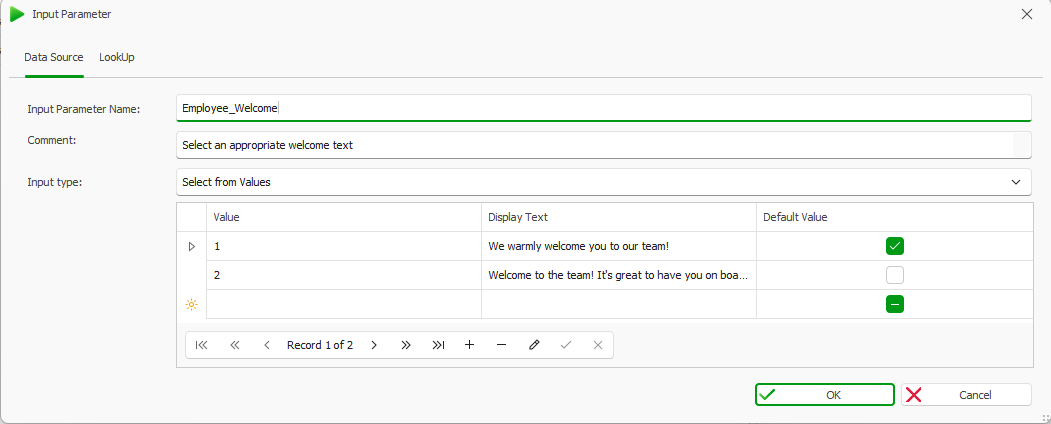
Input type Select from Values
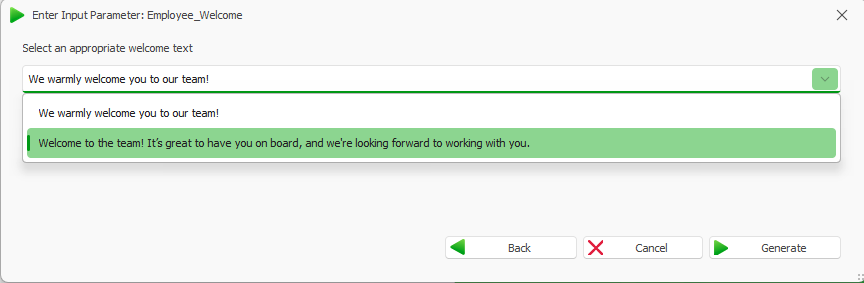
Display of input parameter when generating the document
Select OK.
The input parameter is added to the data map.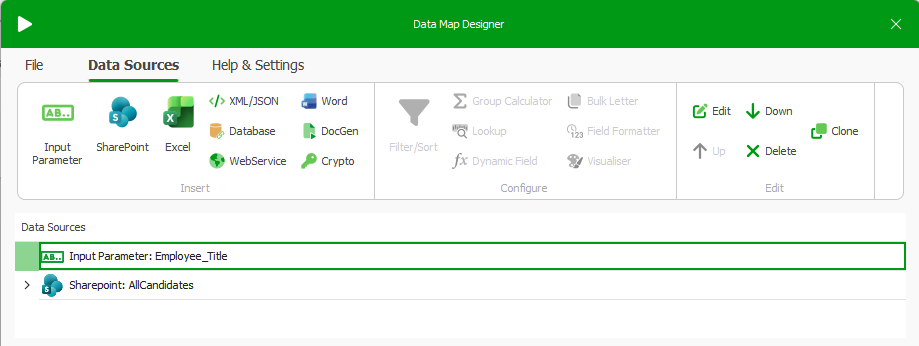
Data map with added input parameter
Only when using the input type Select from Data Source: Clone the data source for which you have just created an input parameter.
Therefore, in the Data Map Designer window, click on the data source and select the Clone button, which you’ll find in the Edit group.
Naming tip
Ensure that cloned data sources are always clearly distinguishable from their originals since you will need the clones when designing your templates. We recommend using a suffix such as
_SELECTED.The data map now includes a cloned data source.
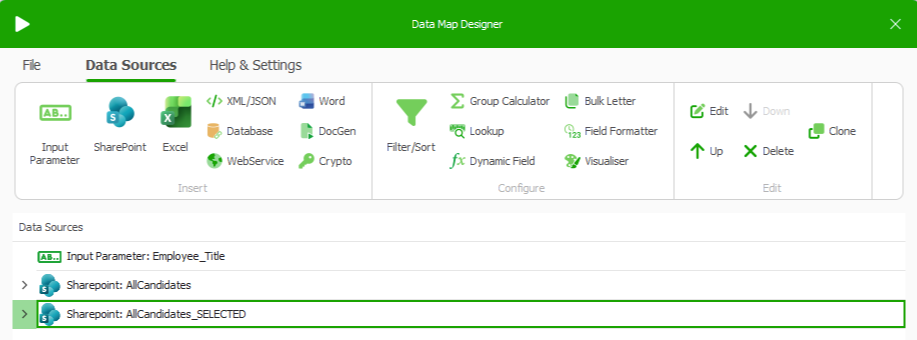
Data map with cloned data source
The cloned data source now needs to be filtered so that dox42 only outputs the value that was previously specified via the input parameter. Therefore, in the Data Map Designer window, click on the cloned data source and select the Filter/Sort button, which you’ll find in the Configure group.
The Filter/Sort window opens.Fill in only these columns as follows:
Data Field column =
IDType column =
NumericFilter column =
=Filter Field column = your input parameter that refers to the cloned data source

Filter settings for a data source with an input parameter
Select OK to go back to the Data Map Designer window.
Tip
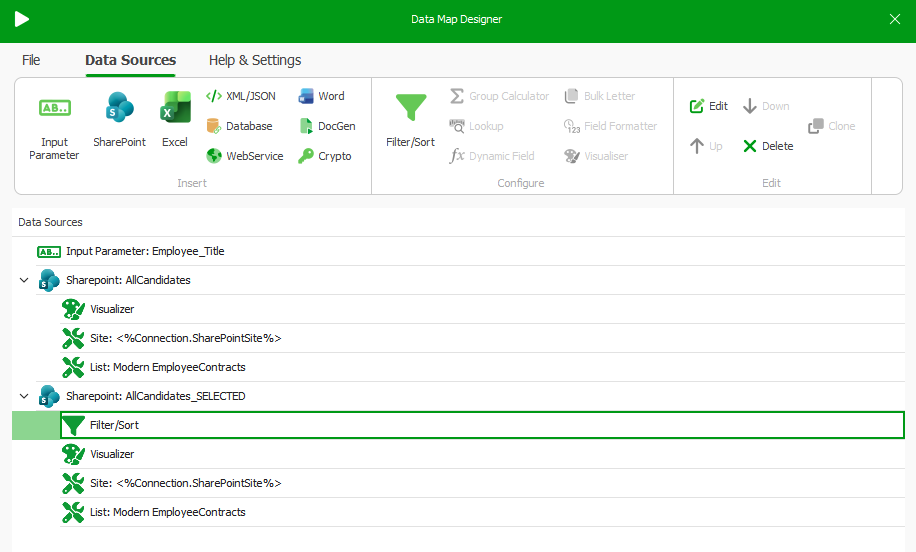
You can expand your data sources to see where filters have been applied and adjust these filters at any time by double-clicking.
Select File > Save to save the data map.
Save the document template, too.
Result
You have configured an input parameter.
As soon as you generate the document, you will now see the configured query before the document generation starts.
Next step
Optional: Inserting your input parameter’s data fields into your Word template