Prerequisites
You have set up the created and connected the connection Excel file to the data map.
Steps
In Word or Excel, go to the dox42 ribbon and select Data Map.

dox42 ribbon
The Data Map Designer window opens.
Select one of the dox42 FSCM Data Sources:
D365 FSCM Entity
D365 FSCM Report
A new window opens.
Go to the Connection tab.
From the dropdown below D365 FSCM URL select the Client credentials entry.
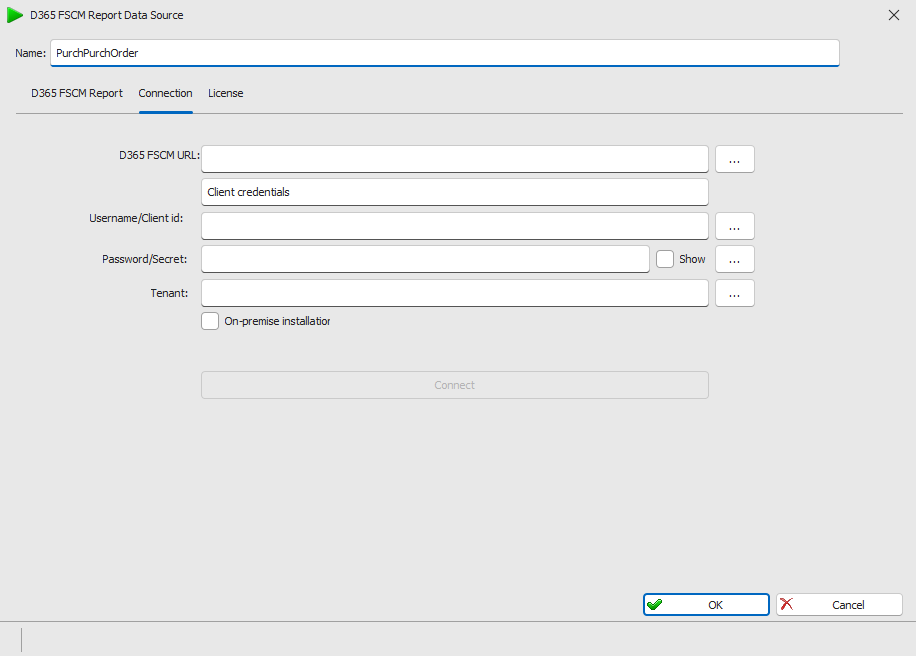
Connection tab in D365 FSCM Report Data Source window
Note
On the first run through of the authentication process, an Entra ID Admin must approve/consent the application, to allow the sign in of users and access to the data.
Enter the needed information:
D365 FSCM URL: URL of the target Dynamics environment
Username/Client id: e-mail address of the user that has access and is enabled in D365 FO instance that we are connecting to.
Password/Secret: password of that valid user-
Only relevant for on-prem: Authority: ADFS server URL (normally is
https://hostname/adfs/. Can be taken from user settings page in D365 FSCM: System administration >Users > any valid user settings)Note
You can use data fields of another data source for every value. This way, you can enter username and password once in a central place and use it for different connection, more is described in later chapters
Keep the On-premise installation checkbox unselected.
If a multifactor authentication is set up, the Connection tab contains additional information, therefore you need to create and use the connection Excel file.
Select OK.
Save the data map.
Result
You have set up the connection from the D365 FSCM Data Sources to D365 FSCM.