This option sends the report to the printer.
Prerequisite
The Document Routing Agent (DRA) is required. The setup is documented on this Microsoft docs site.
Steps
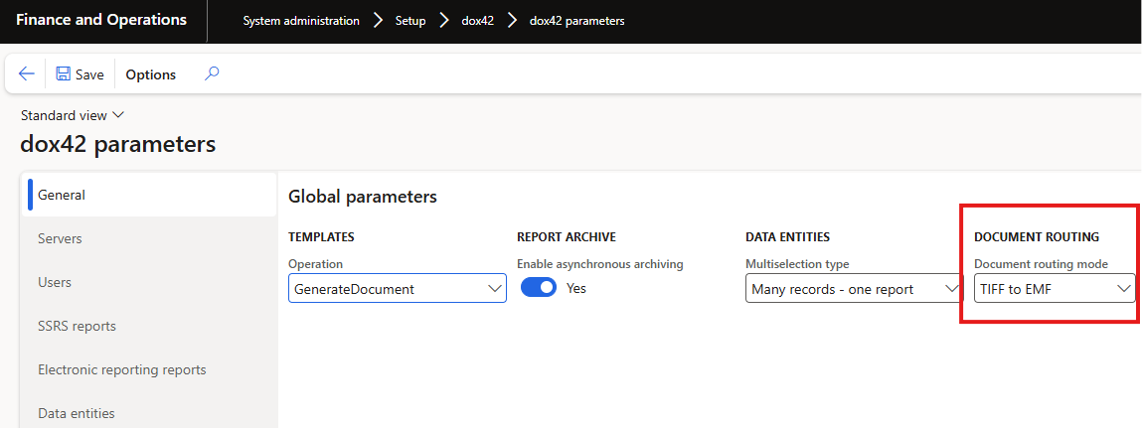
In D365 FSCM go to System administration > Setup > dox42 > dox42 parameters.
In the General tab select from the Document routing mode dropdown:
PDF: the system will generate a PDF document on the dox42 Server and send it to the document routing agent (in this case the DRA capabilities can be limited, for example the DRA cannot be used as a service)
PDF V2: the same as PDF, but the system does not send separate PDF files to a printer for each document copy if the number of copies is greater than one, it sends one PDF with all requested document copies in it. For example, it might be helpful in case of printing labels to print the label and its copies in one printing job.
TIFF to EMF: the system will generate a tiff document on the dox42 Server, then convert it to the emf format in D365 FSCM and send the emf to the document routing agent.
EMF: the system will generate a document in the emf format on the dox42 Server and send it to the document routing agent.
PDF to EMF (recommended): the system will generate a pdf document on the dox42 Server, then convert it to the emf format in D365 FSCM and send the emf to the document routing agent.
Document routing setup
Go to the Printers tab.
Select the New button to add the printers which were defined during the setup of the document routing agent. You can override the Document routing mode for the printer or leave it empty to apply the default value.
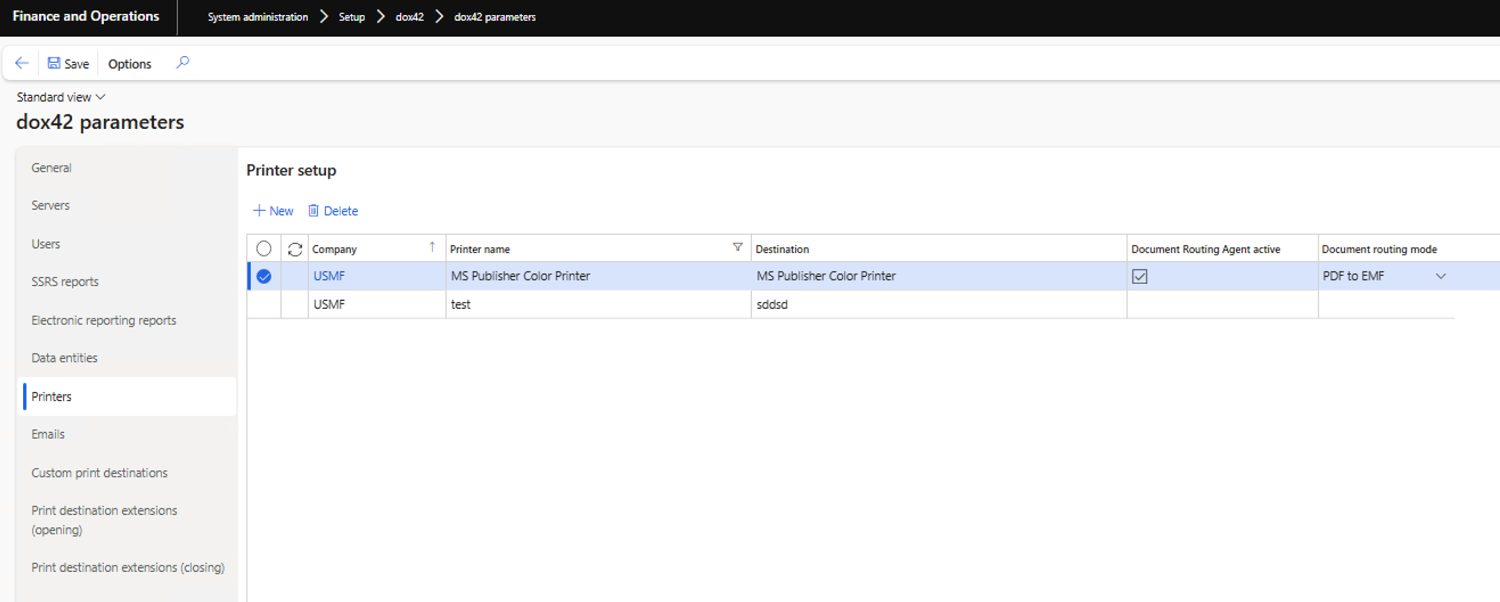
Printers tab
Result
You have set up the “Printer” report destination. Now you can select the Printer entry from the Print medium dropdown and then select the desired printer from the Printer name dropdown.
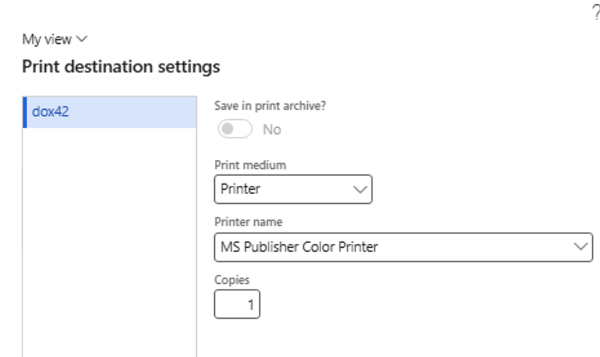
Selected print destination Printer