The Crypto data source enables you to encrypt password and/or usernames for a high level of security.
Steps
In Microsoft Word or Excel, go to the dox42 ribbon and select Data Map.

dox42 ribbon
The Data Map Designer window opens.
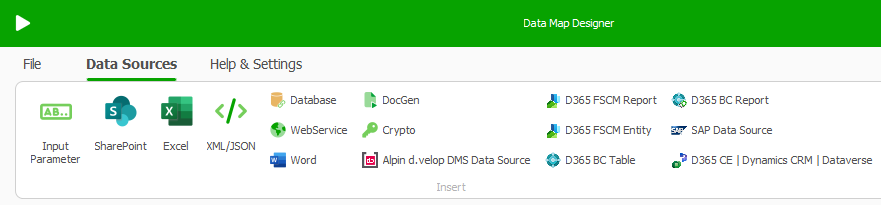
Data Map Designer window
Select the Crypto button.
The Crypto window opens.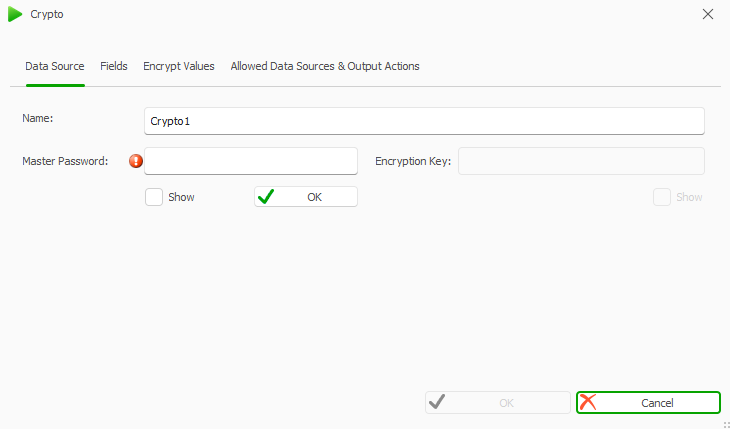
Crypto window
In the Name text field enter a name for the Data Source.
In the Master Password text field enter a password including letters, symbols and numbers, with a minimum length of 8 characters.
Important
You must remember this password. Otherwise you cannot access this data source afterwards.
Select OK right beneath the Master Password text field.
In the Encryption Key text field enter a key, which will be used to encrypt the data.
Select the Encrypt Values tab.
Insert the user password or client secret into the Clear Text text field.
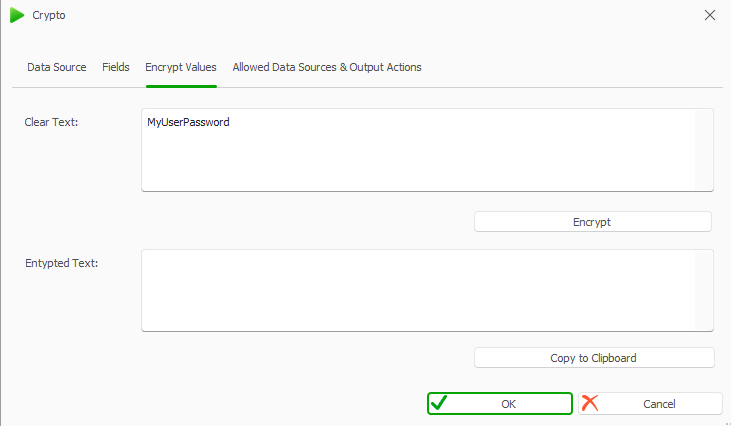
Encrypt values tab in Crypto window
Select the Encrypt button.
The encrypted password or client secret is shown in the Encrypted Text text field.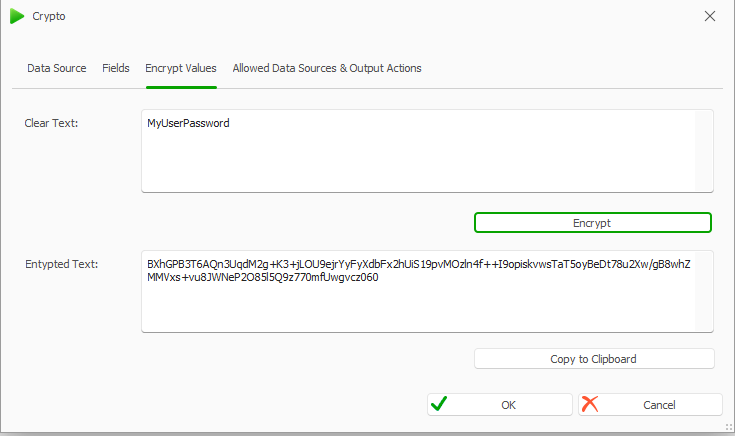
Encrypt values tab with encrypted password
Select the Copy to Clipboard button to copy the encrypted password and insert it into your connection Excel file.
Go to the Allowed Data Sources & Output Actions tab.
Select the Include checkboxes next to the Custom Data Sources. In this example, the D365 FSCM data sources.
.png)
Select the OK button.
The new Crypto data source is created.Open the new Crypto data source.
Go to the Fields tab.
Select the … button in the Data Field cell.
The dox42 Data Fields window opens.Select the password field from the connection Excel file.
Select OK.
The password is inserted into the Data Field cell.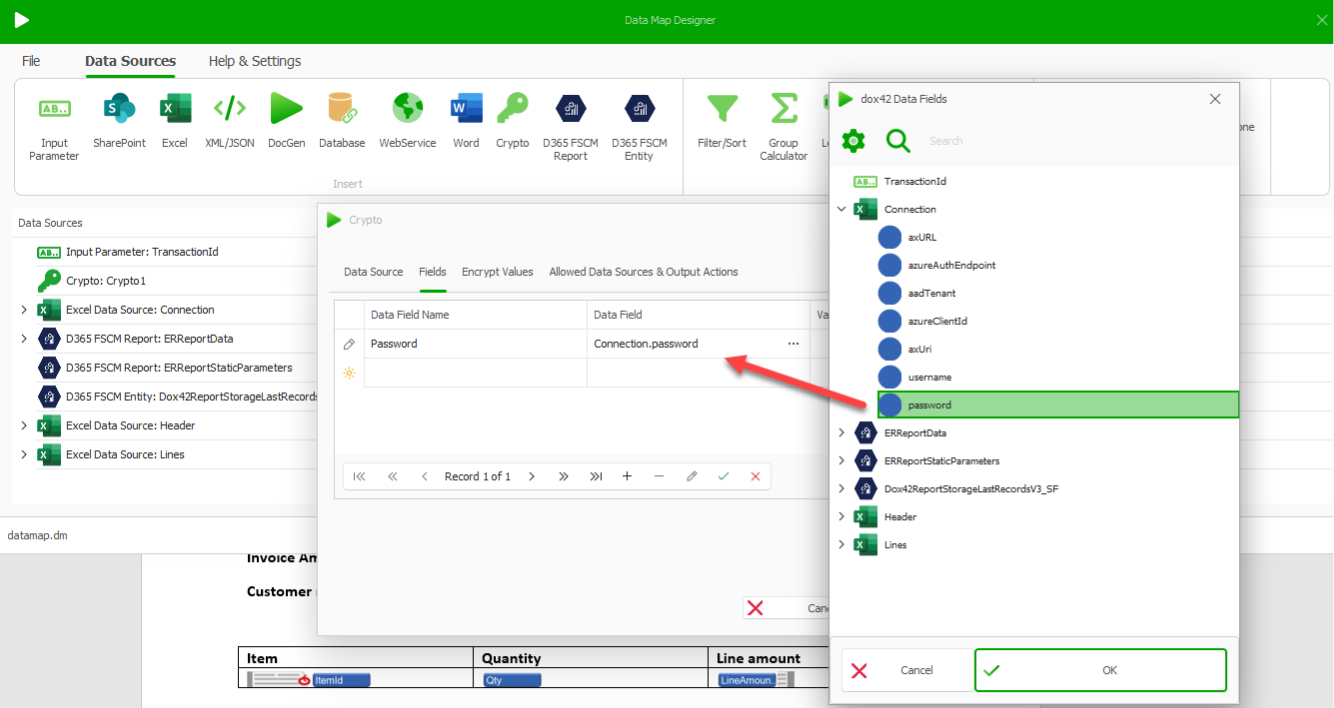
Inserting the password data field
Select OK.
Result
You have created a Crypto data source.