Set up print management for your report.
Prerequisite
The module has a form setup.
Steps
In D365 FSCM go to Modules > Accounts receivable > Forms > Form setup.
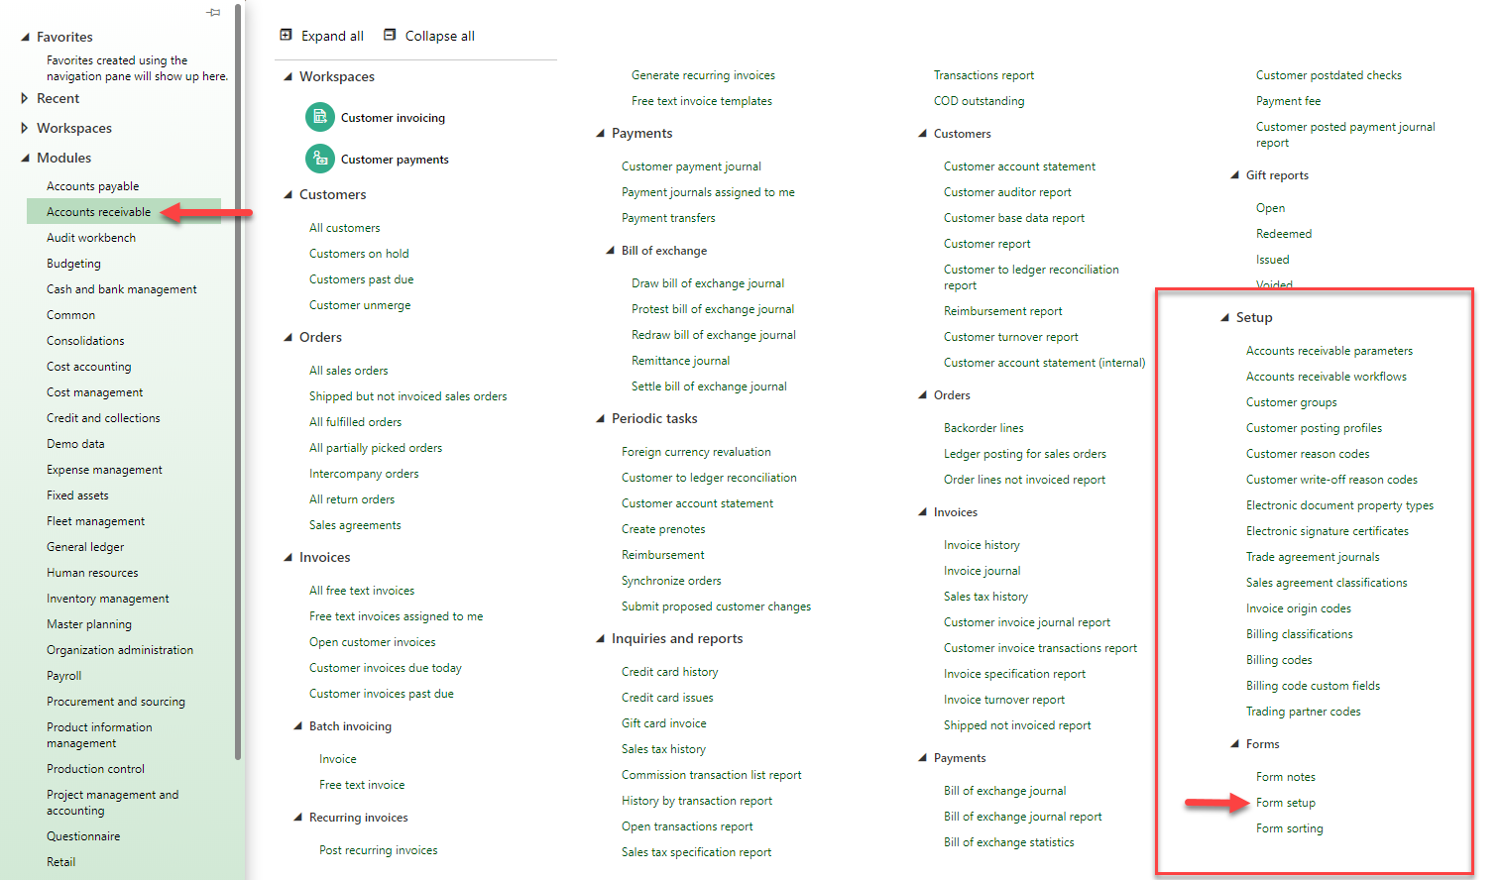
Click path to the Form setup page
Select the Print management link.
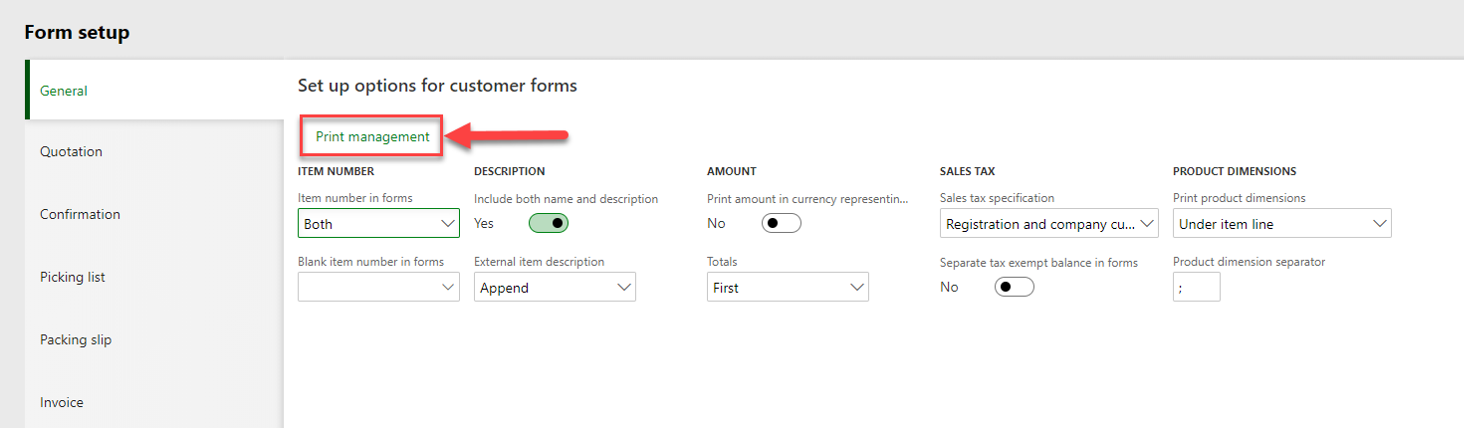
Form setup page
A form opens, displaying all the reports which are available for the print management setup . A click on the little triangle will display the different instances of the reports.
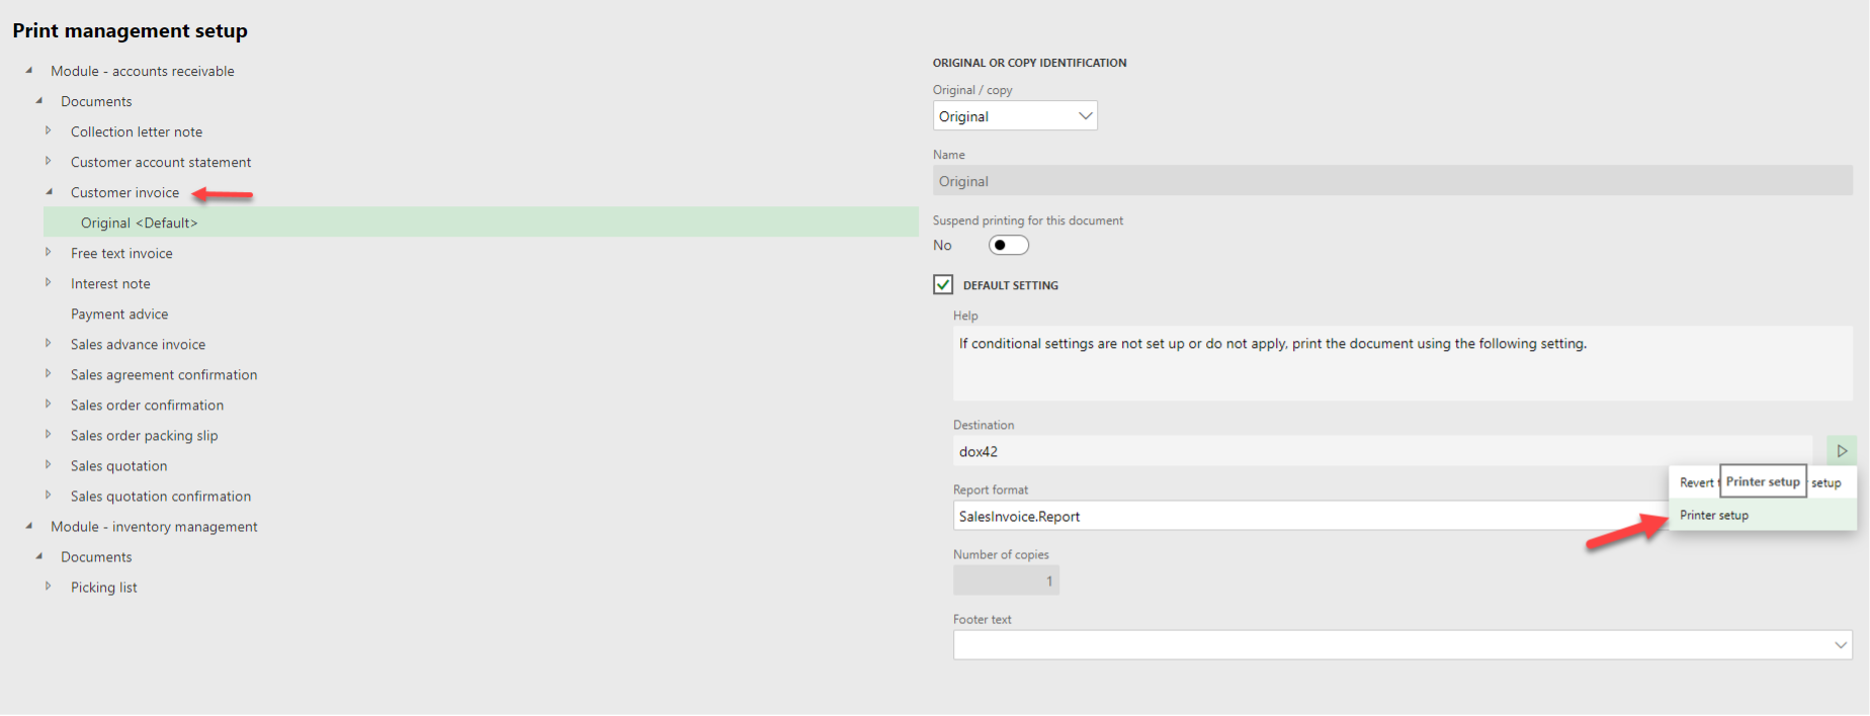
Printer setup
Select the Printer setup button.
The Print destination settings page opens where you can select a print destination (see Available print destinations).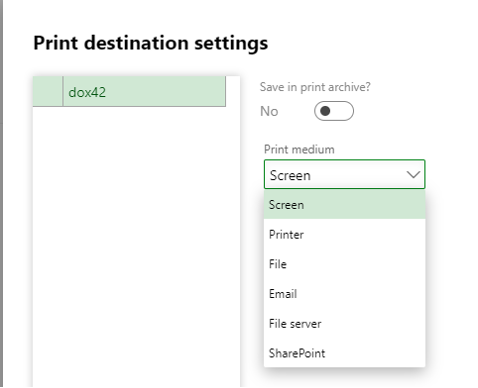
Print destination settings page
Optional: If you want to print the different to more print destinations with a single call, add one or more instances to the report with other print destination settings.
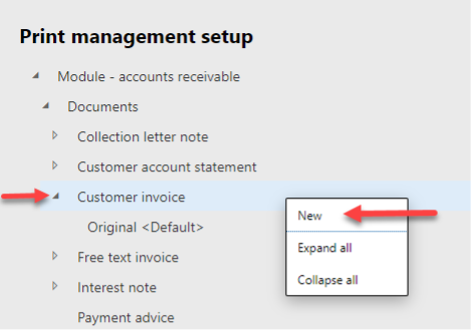
New instance on Print management setup page
Result
You have set up print management.