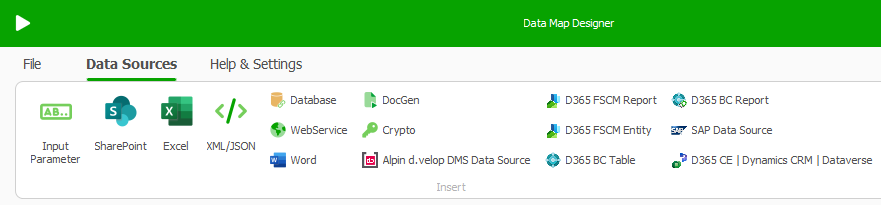
Steps
In Microsoft Word, go to the dox42 ribbon and select Data Map.

dox42 ribbon
The Data Map Designer window opens.
Select the Input Parameter button.
The Input Parameter window opens.Enter
RequestBodyin the Input Parameter Name text field.From the Input Type menu select the Text entry.
Select the D365 CE Request Body button.
This loads the correct JSON structure for your RequestBody.Adjust the JSON to your needs and enter one sample entry with valid Id inputs here, to be able to properly test your template.
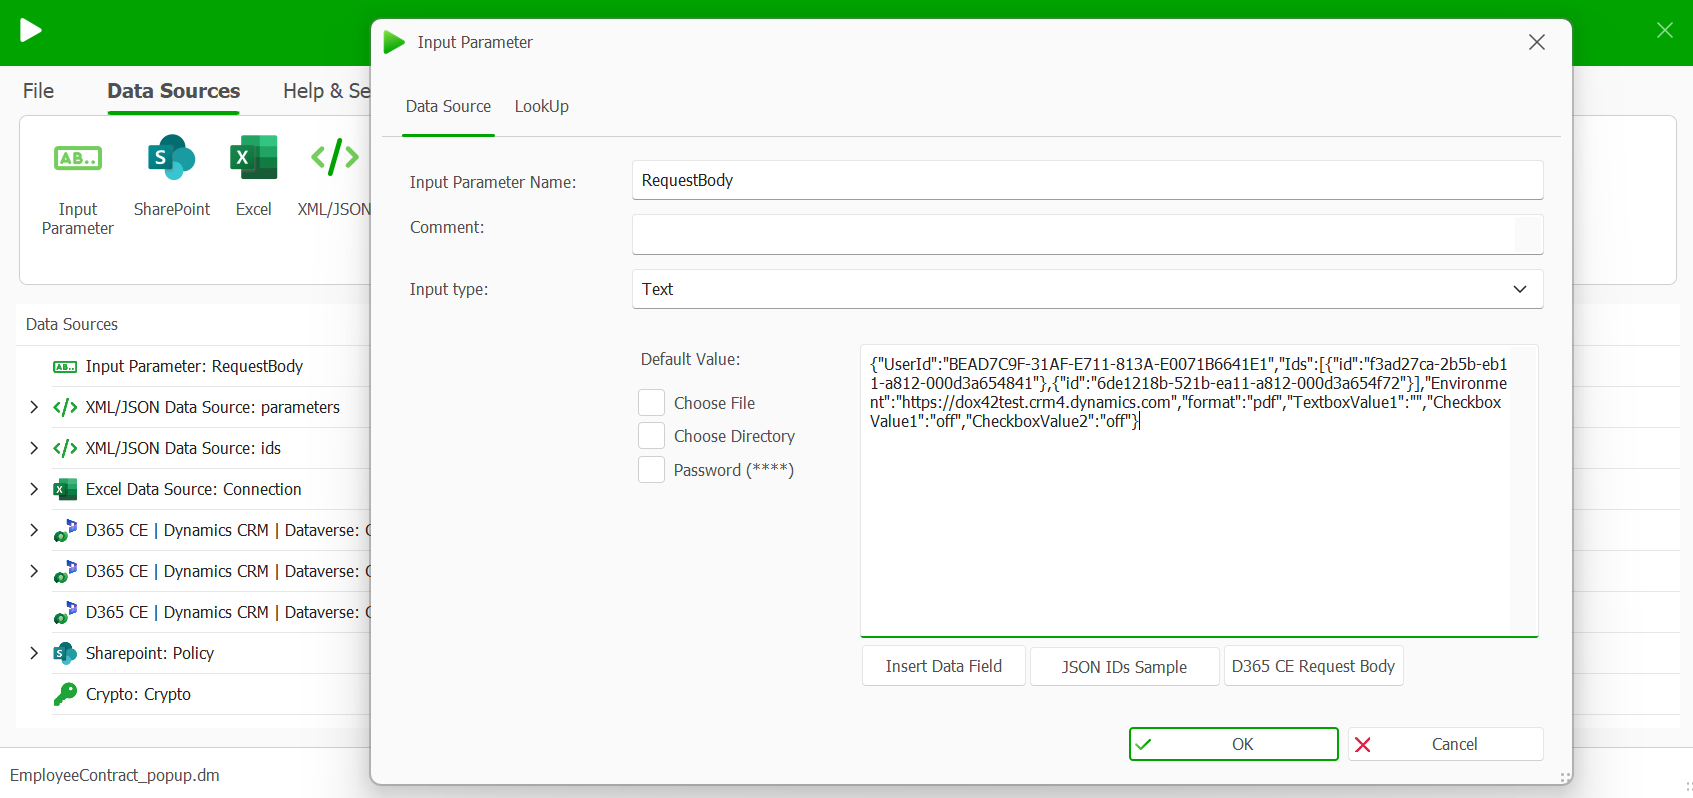
Input Parameter window
Select the OK button.
To resolve the JSON, add a new XML/JSON data source:
In the Data Map Designer select the XML/JSON button to add a new XML/JSON data source.
The XML/JSON window opens.Enter parameters in the Name text field.
From the URL/XML/JSON menu select the GET entry.
In the text field to the right of the URL/XML/JSON menu enter
<%RequestBody%>.To load the correct structure for your JSON go to the Initialisation & Fields tab.
Select the D365CE Request Body entry from the SharePoint/MultiValue Field/Apps menu.
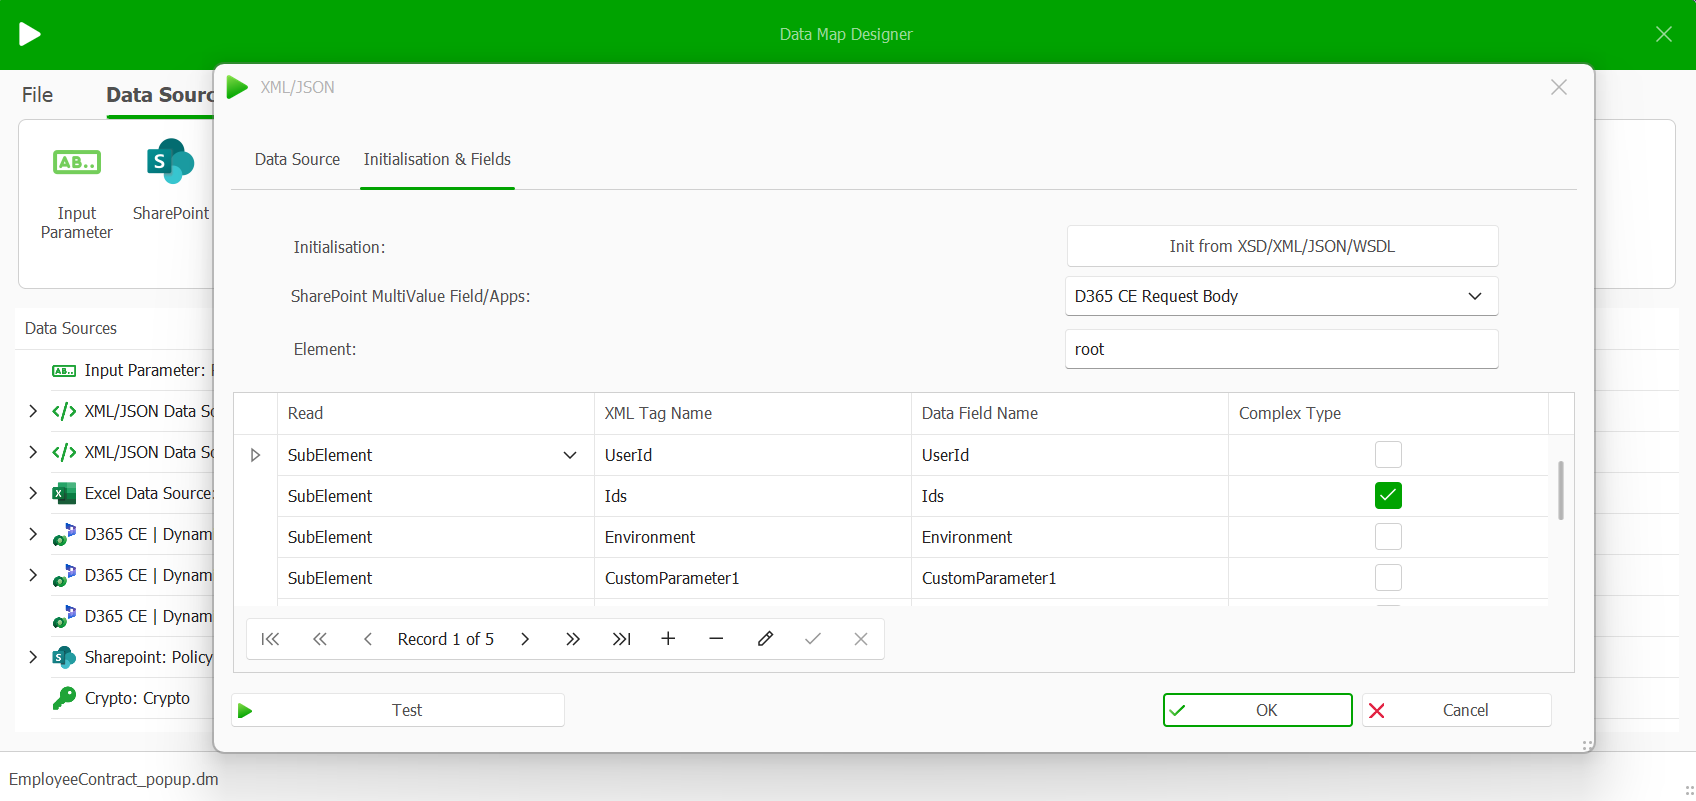
New XML/JSON data source parameters
Select the OK button.
To resolve the complex type field for Ids add another XML/JSON data source to separate them into various id entries:
In the Data Map Designer select the XML/JSON button to add a new XML/JSON data source.
The XML/JSON window opens.Enter
idin the Element text field.From the URL/XML/JSON menu select the GET entry.
Select the Insert Data Field button to load your ID complex type field from your first XML/JSON data source.
To load the correct structure for your JSON select the IDs from dox42 SharePoint/D365 CE App entry from the SharePoint/MultiValue Field/Apps dropdown.
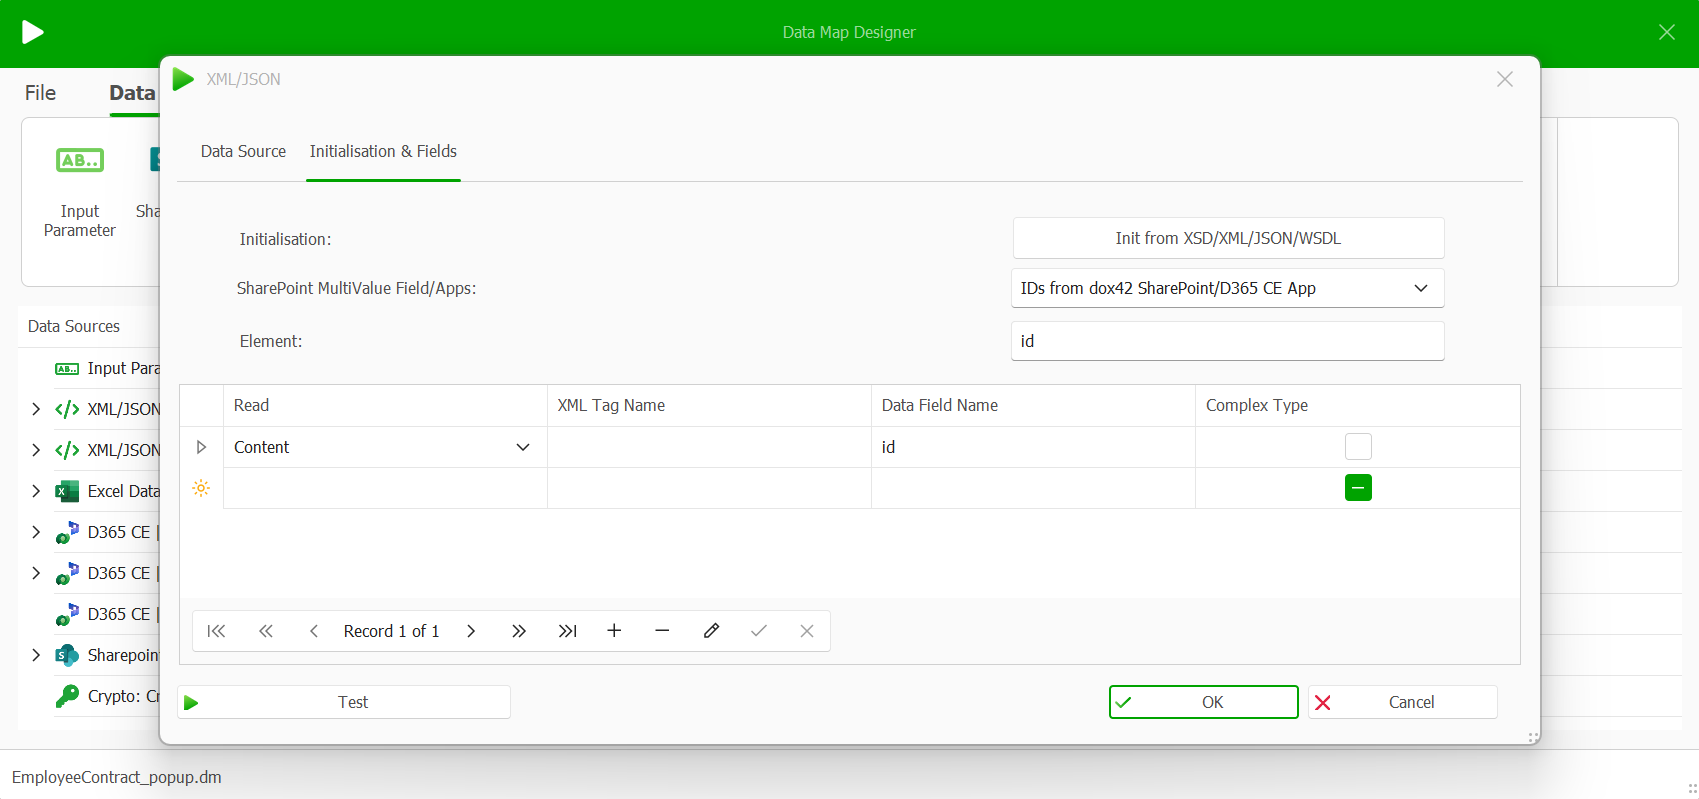
New XML/JSON data source ids
Select OK.
Result
You have set up RequestBody input parameters.You can use your two new XML/JSON data sources for anything you want.
For example, use the ids to filter your primary data source, add a text field to your template or define an additional query string in the dox42 Template Configuration in Dynamics with a dynamic format (see example below).
ReturnAction.Format=<%parameters.format%>&ReturnAction.Filename=Contract.<%parameters.format%>