When using the connection Excel file for establishing the connection to Sharepoint, D365 FSCM, MODUS M365 dox42 Document Automation, SAP or D365 CE | Dataverse environments, you need to connect the data map with the connection Excel file.
Prerequisite
You have created the connection Excel file.
Steps
In Microsoft Word, Excel or PowerPoint, go to the dox42 ribbon and select Data Map.

dox42 ribbon in Microsoft Word
The Data Map Designer window opens.
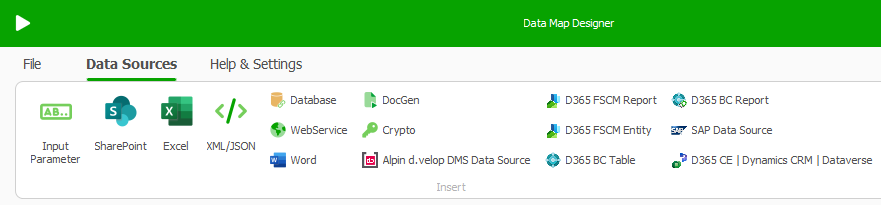
Data Map Designer window
Select the Excel data source.
The Excel window opens.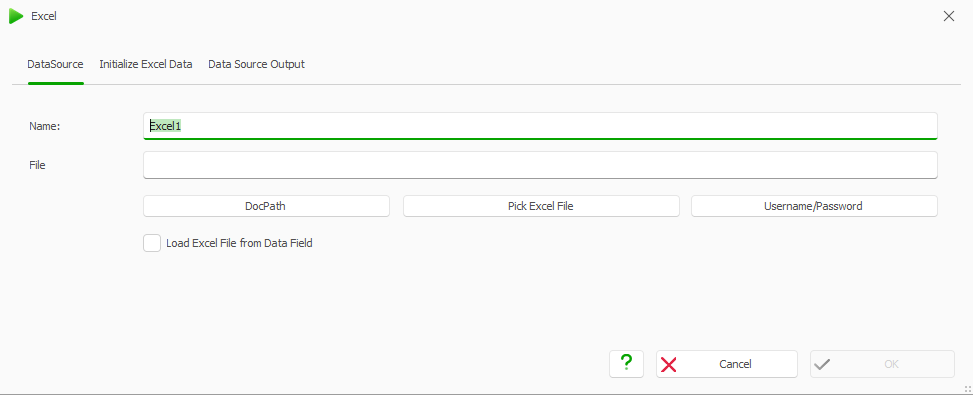
Excel window
Select Pick Excel file to choose the file you have just created.
In the File text field dynamize the path of the connection file by using the
<%DocPath%>variable.
Example:<%DocPath%>..\Connection.xlsx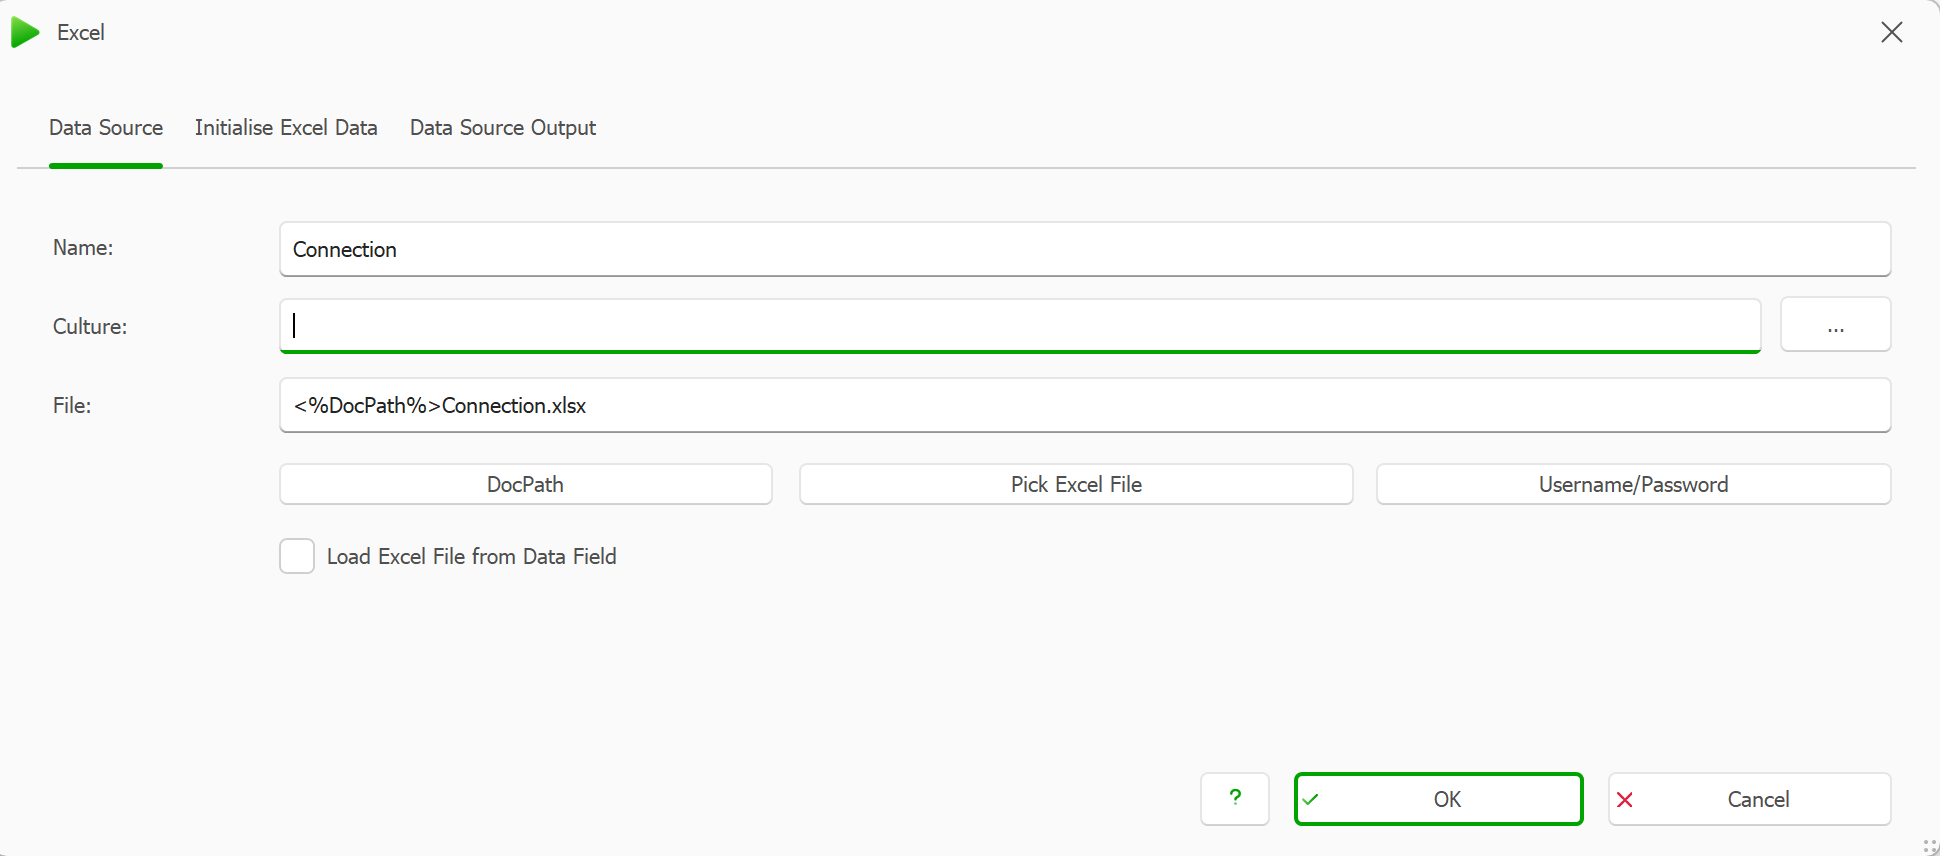
Excel window with configuration
Note
The
..\tells the system to look a level above in the folder structure and there it will find an Excel file named Connection.xlsx. Using<%DocPath%>makes it possible to copy the data map and insert it to another template folder without the need of changing the path.Select the Data Source Output tab.
Select First Row of selected Range contains Column Names checkbox.
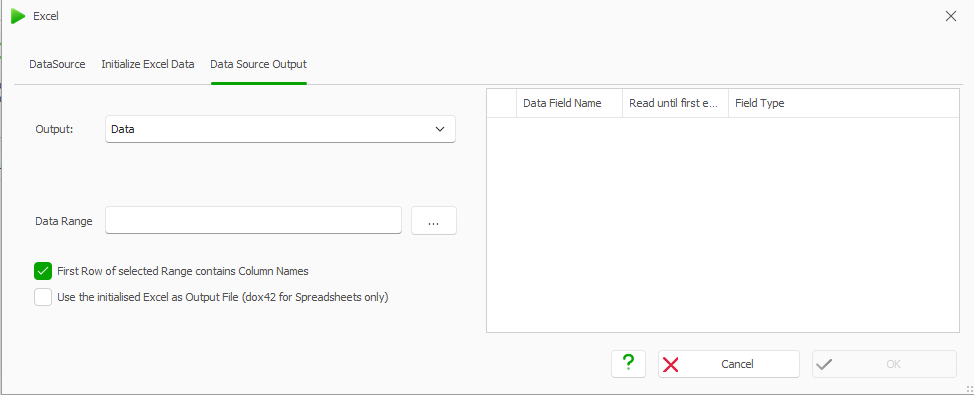
Data Source Output tab in Excel window
Select the … button to select the fields from the Excel file.
The Excel file opens.Mark the area with all the data.
It is sufficient to only mark the header row.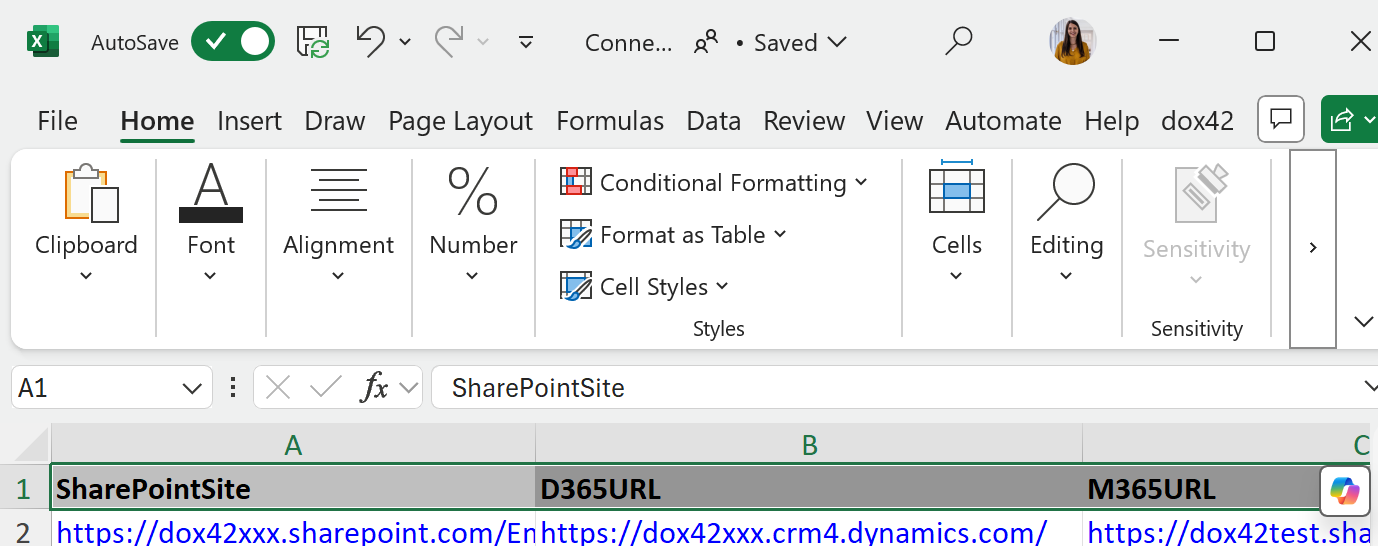
Excel file with marked data
Close the Excel file.
The data that has been marked will be taken over in the Data Range field.Select the Read until first emply cell checkbox for one of the fields.
By selecting this box, you make sure that all data rows are included, if your Excel data source contains various rows. It is important to select the checkbox for a field that contains values in every row, e.g. an ID field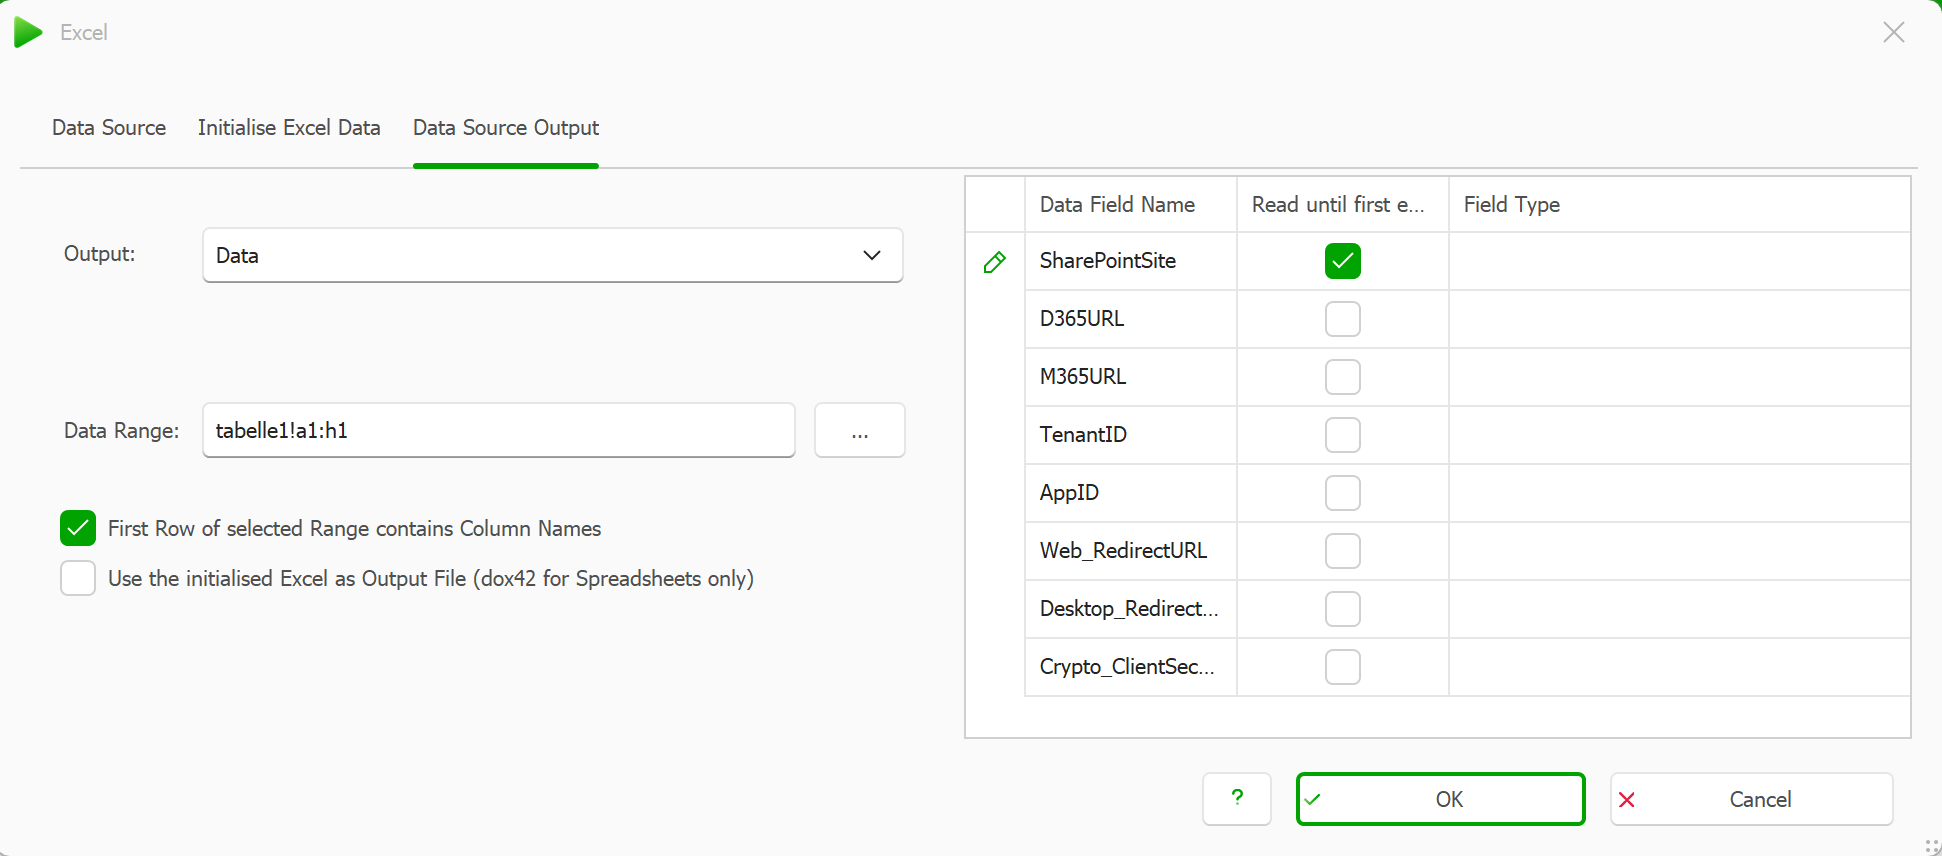
Excel window
Select the OK button.
A new Excel data source has been added.Select Save.
Result
You have connected your data map with the connection Excel file.