Follow the instructions in order to integrate multi value fields into your dox42 document template.
To start the integration, connect to your SharePoint or Office 365 environment and select the desired list/library that contains multi value fields. When integrating multi value fields to your data sources, you have two options – values or XML:
Choose “values”, if you want all data from the multi value field to be inserted as one data field that adds up the fields with a separator.
Choose “xml”, if you want to have all data from the multi value fields to be separated into individual data fields.
Option 1: Using “values”
In your dox42 Add-In, open the SharePoint data source from the Data Sources tab.
.png)
SharePoint data source
In the Special Fields tab of the SharePoint Data Source, select the values entry from the Multi Value dropdown.
In the Separator text field, type in your desired separator.
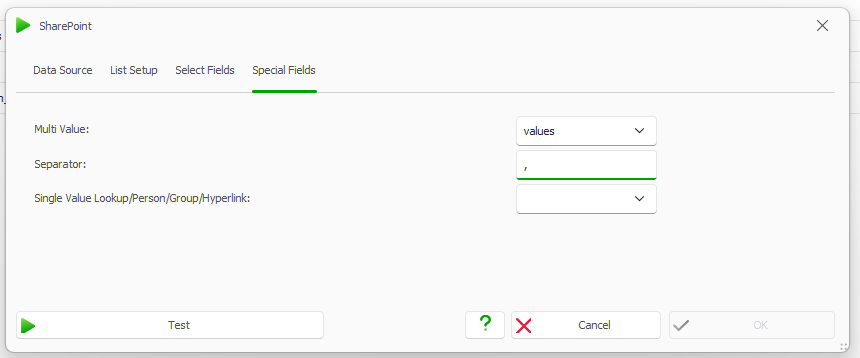
Multi Value “values” and comma separator
Select the Test button.
The multi value field e.g. Technical Channel will return the following:
Test result
Insert the multi value data field into your document template and generate the document.
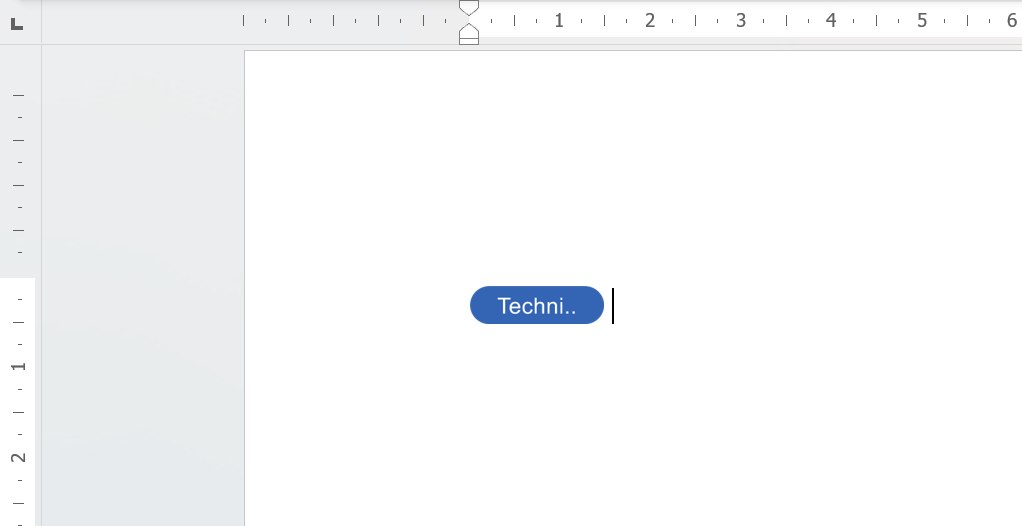
Document template with multi value data field
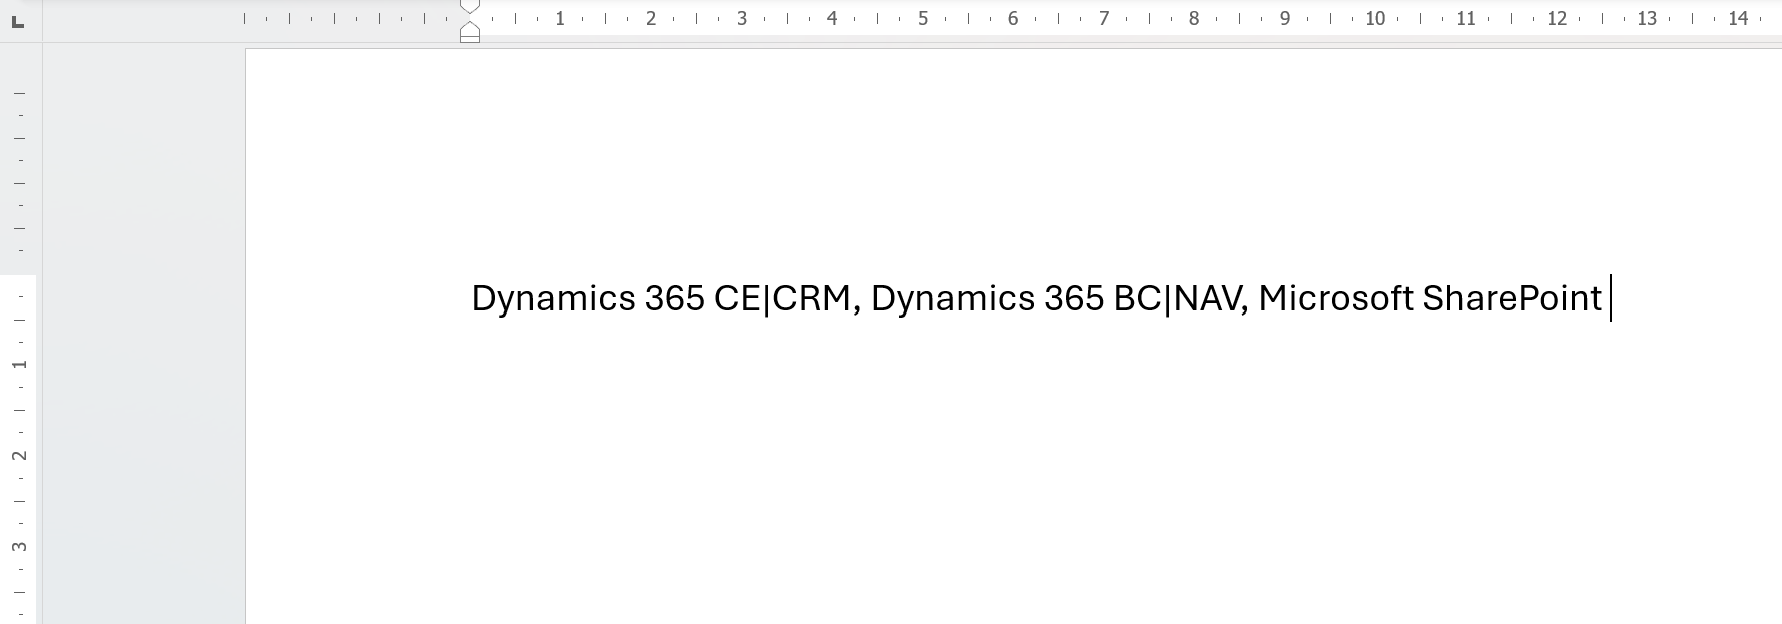
Generated Document with value multi value field
Option 2: Using “xml”
Follow steps 1 of Option 1.
In the Special Fields tab, select the xml entry from the Multi Value dropdown.

Multi Value “xml”
Select the Test button.
The multi value field, e.g. Technical Channel will return the following:
Test result of Technical Channel
Add a new XML data source.
Select the Insert Data Field button to select the multi value field.
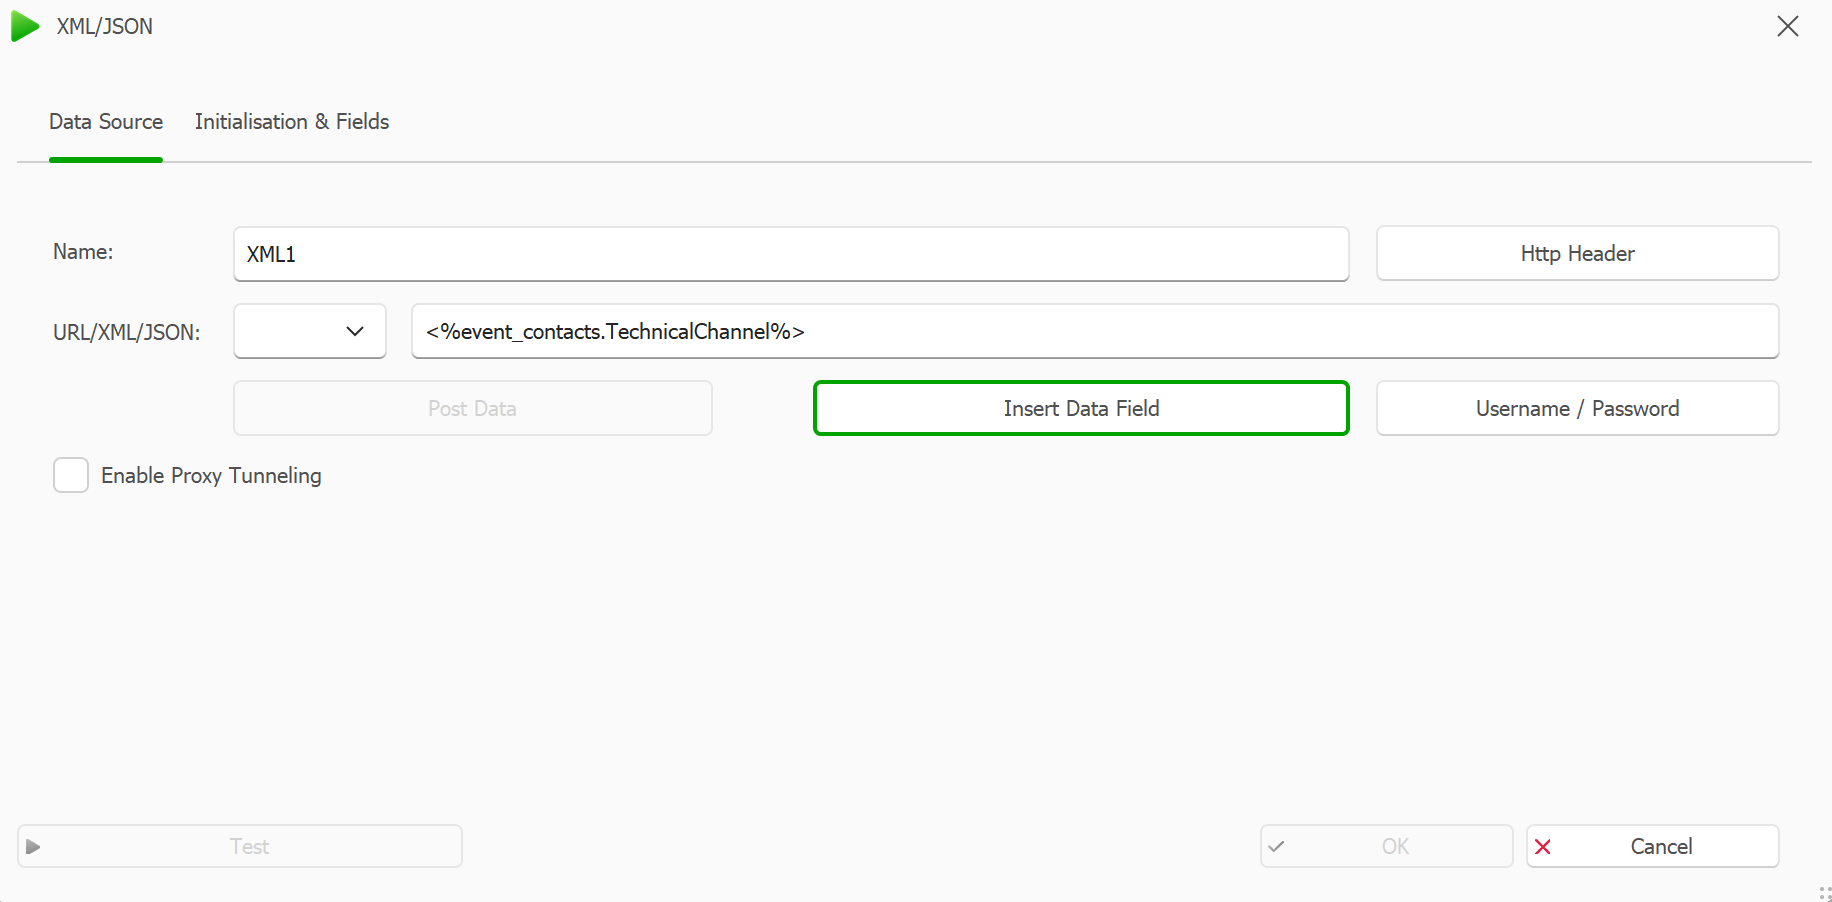
Insert Data Field button in XML data source
From the SharePoint MultiValue Field/Apps dropdown select the Managed Metadata, Lookup or Person/Group.
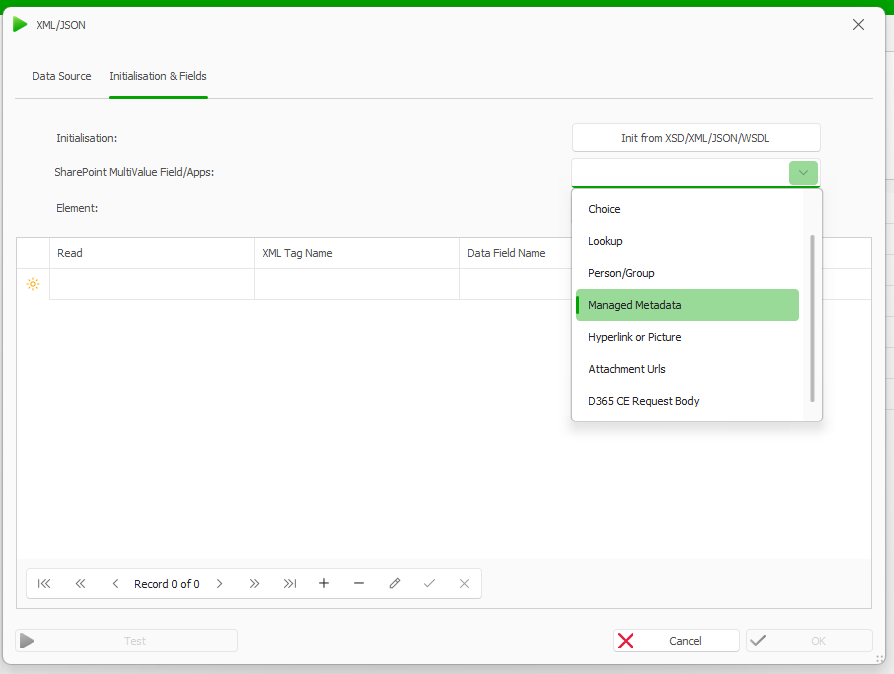
SharePoint MultiValue Field/Apps dropdown in XML data source
Go to the dox42 ribbon in your document template and select the Insert Data Field button.
Insert the data field for managed metadata from the XML data source.
Create an Automated Range, repeat for the XML data source and generate the document.
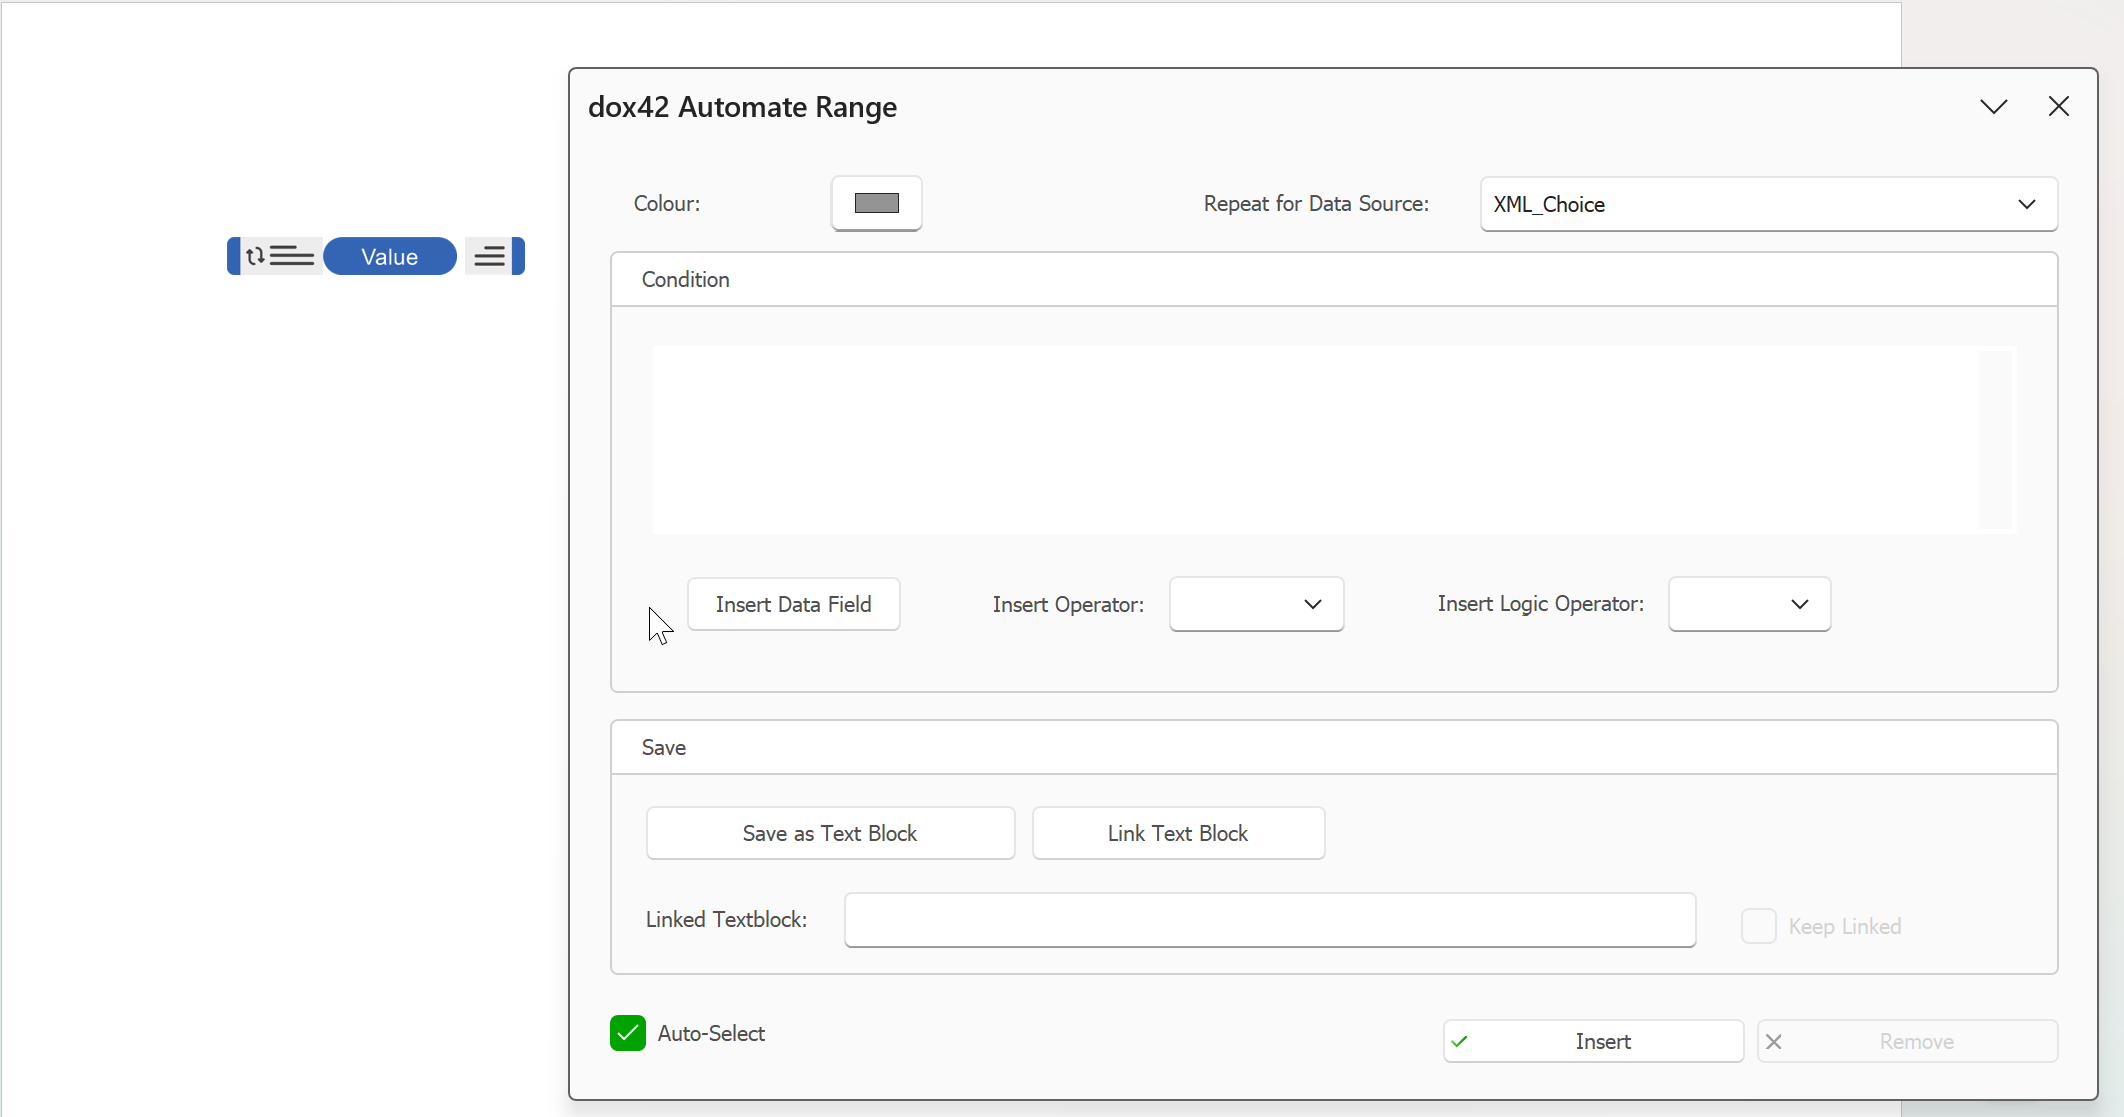
the dox42 template with the data field and automate range

the generated document
Result
You can now create document templates with a multi value data field.