All the data sources, including input parameter, connection Excel file, Crypto, Entity “Dox42ReportStorageLastRecordsV3_SF” with Last TransactionID are set up the same way as for a SRSS report.
Step 1: Getting the report’s metadata
Go to the reports and select the needed report.
Select View > Original preview to generate the report.
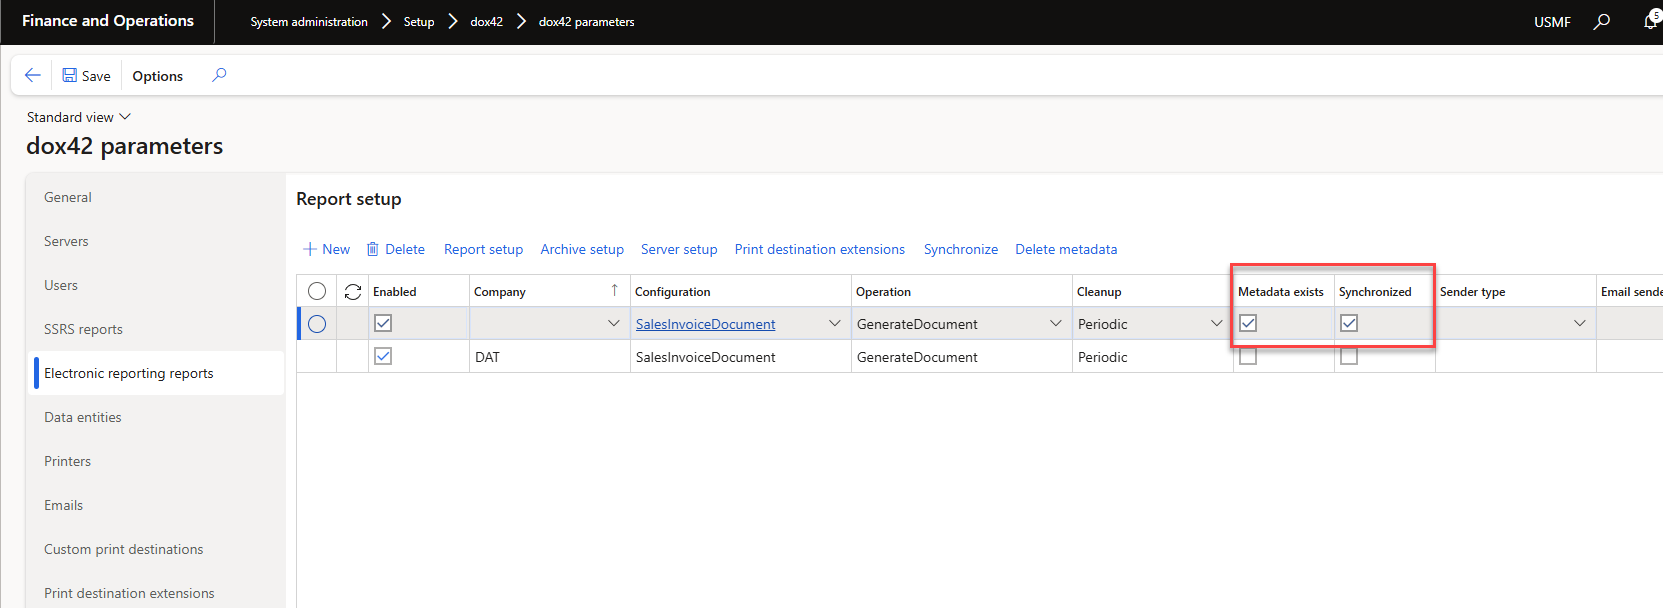
Go to dox42 parameters.
In the Reports tab the following checkboxes in the report’s row should be marked:
Metadata exists
Synchronized
Configured checkboxes in Reports tab
Step 2: Setting up the D365 FSCM Report data source for electronic reporting
In Microsoft Word or Excel, go to the dox42 ribbon and select Data Map.
dox42 ribbon
The Data Map Designer window opens.
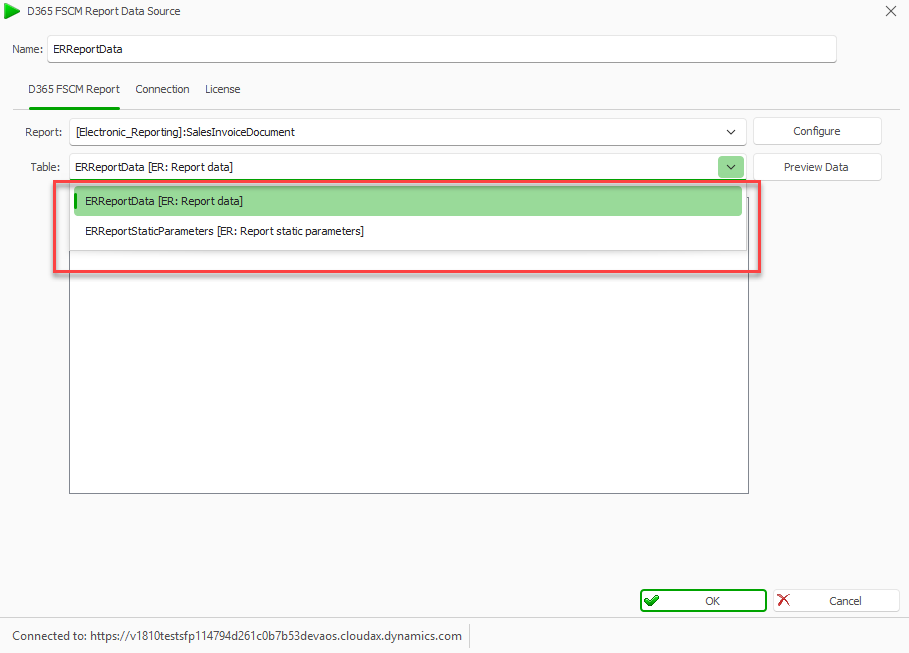
Select the D365 FSCM Report button.
A new window opens.
Electronic Reporting data sources
From the Table dropdown select one of these entries for Electronic Reporting as D365 FSCM Report data source:
ERReportData
ERReportStaticParameters
D365 FSCM Report tab
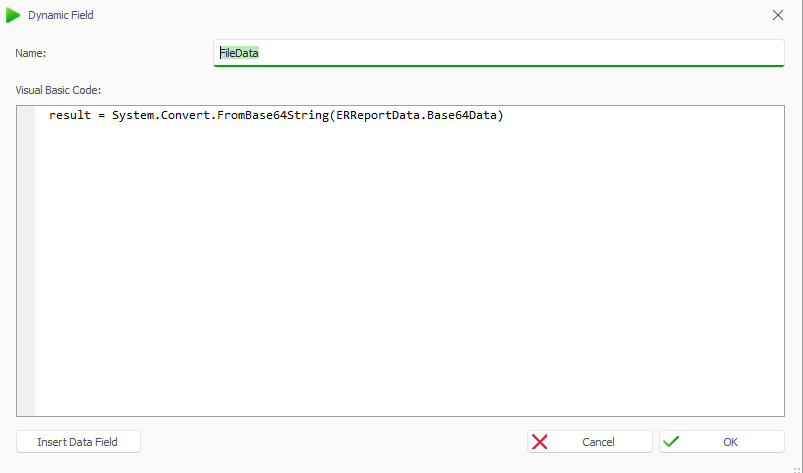
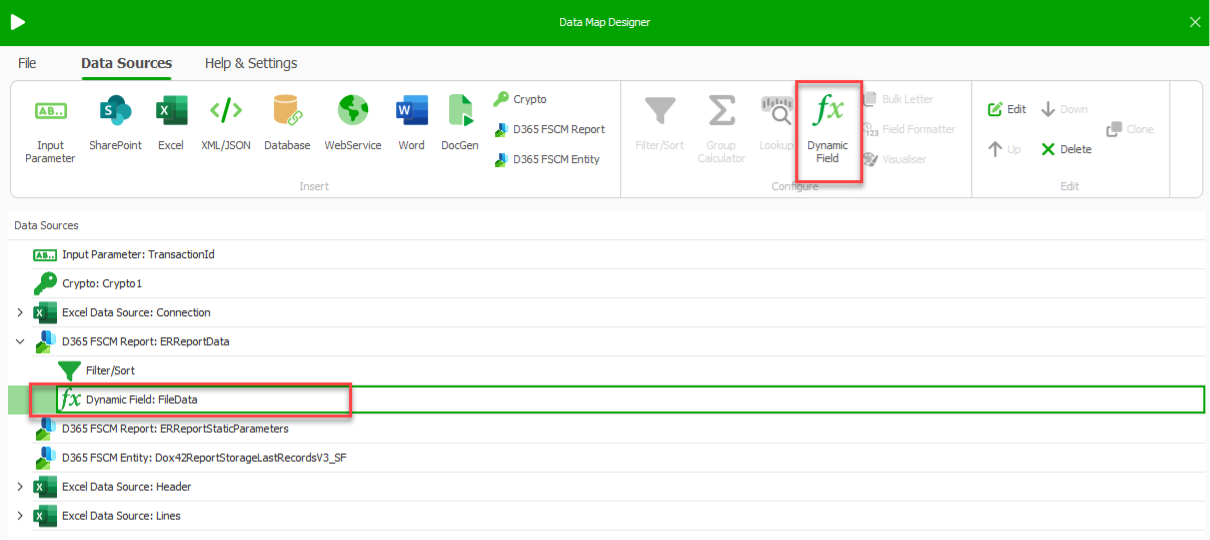
To be able to use Electronic Reporting data in the report design, add a new dynamic field to the data source. This field contains Electronic reporting data as a Base64 encoded string. This dynamic field is optional and not necessarily required for new dox42 versions.
Dynamic field window
Data Sources tab
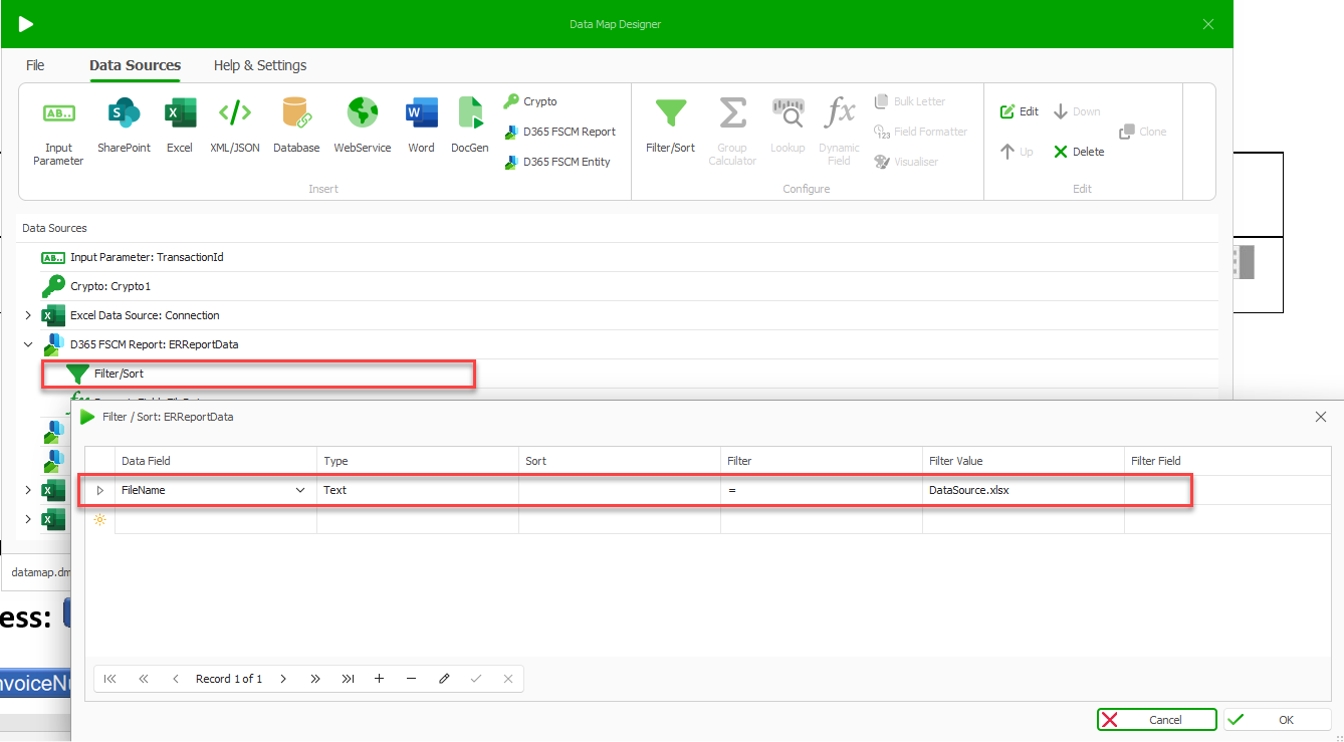
Optional: Set up the Filter/Sort for ERReportData table that picks up the file name of the template you need:
Filter/Sort for ERReportData table
Step 3: Parsing report data
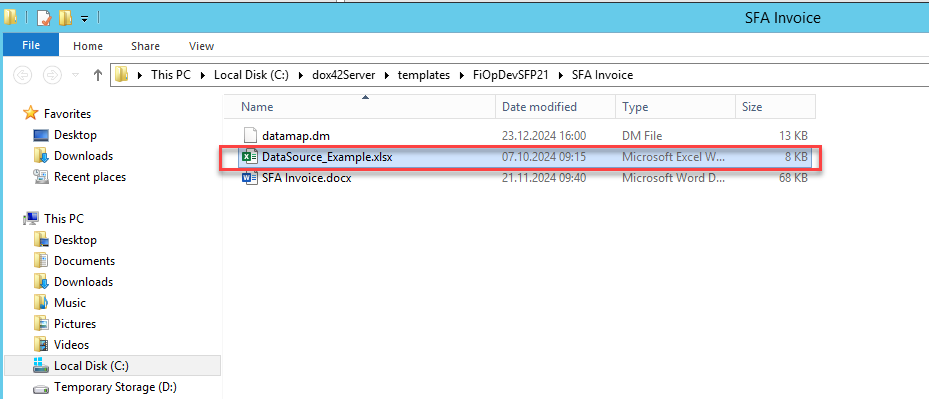
As soon as we decided to use Excel as a report output in the ER configuration format, we can now copy this template file from D365 to the folder on the dox42 Server for the next data source configuration purposes:
Excel file in dox42Server folder
We further use the dox42 Excel data source to read this file:
In Word or Excel, go to the dox42 ribbon and select Data Map.
dox42 ribbon
The Data Map Designer window opens.
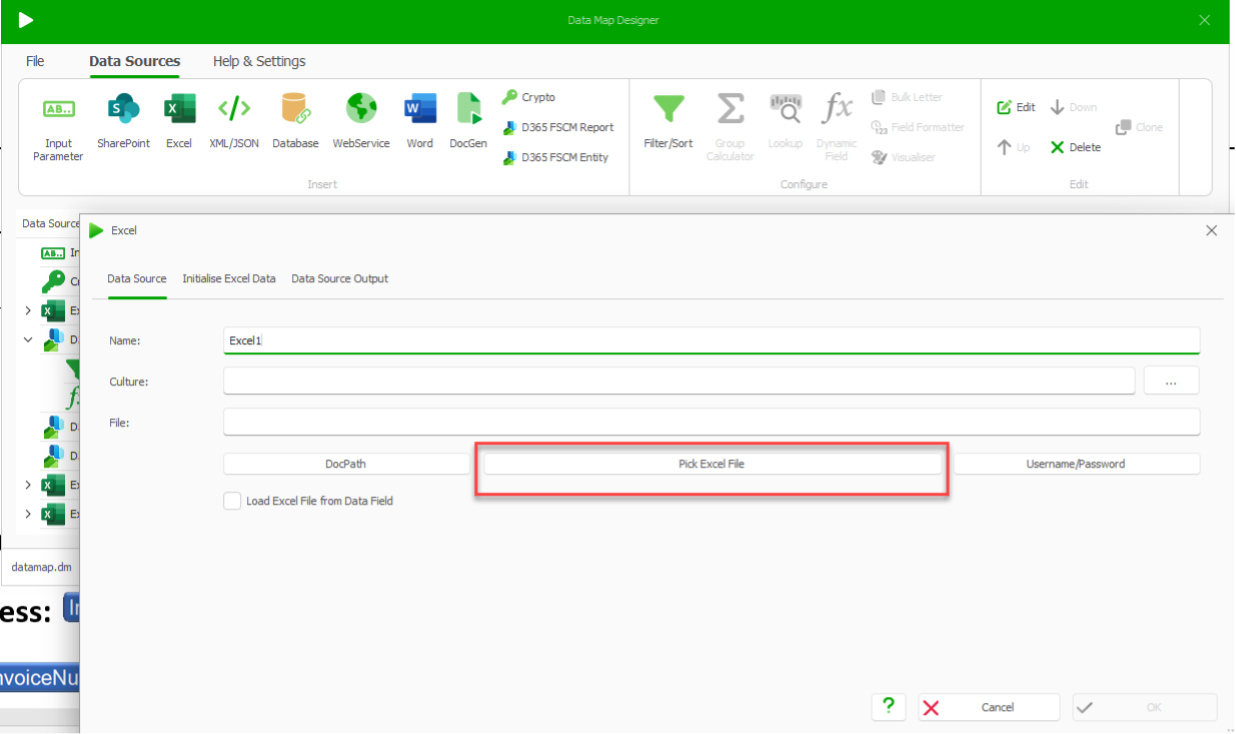
Select the Excel button.
Select the Pick Excel button and select the Excel file.
Excel window
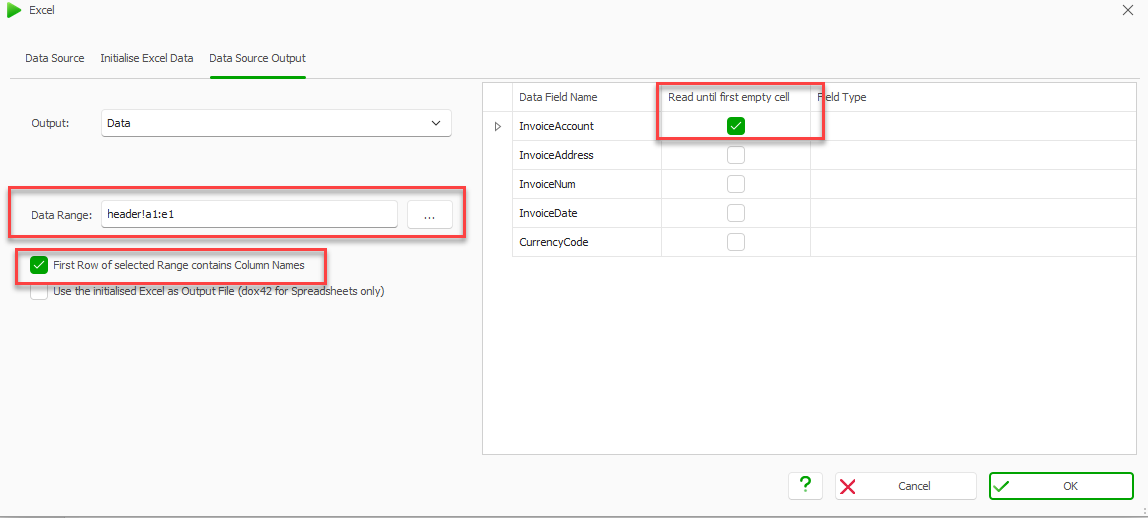
Select the Data Source Output tab.
Select the … button from the Data Range text field to select a data range of the fields that you are going to use in a template
Select the First Row of Selected Range contains Column Names checkbox.
Select the Read until first empty cell checkbox in the first row.
Data Source Output tab
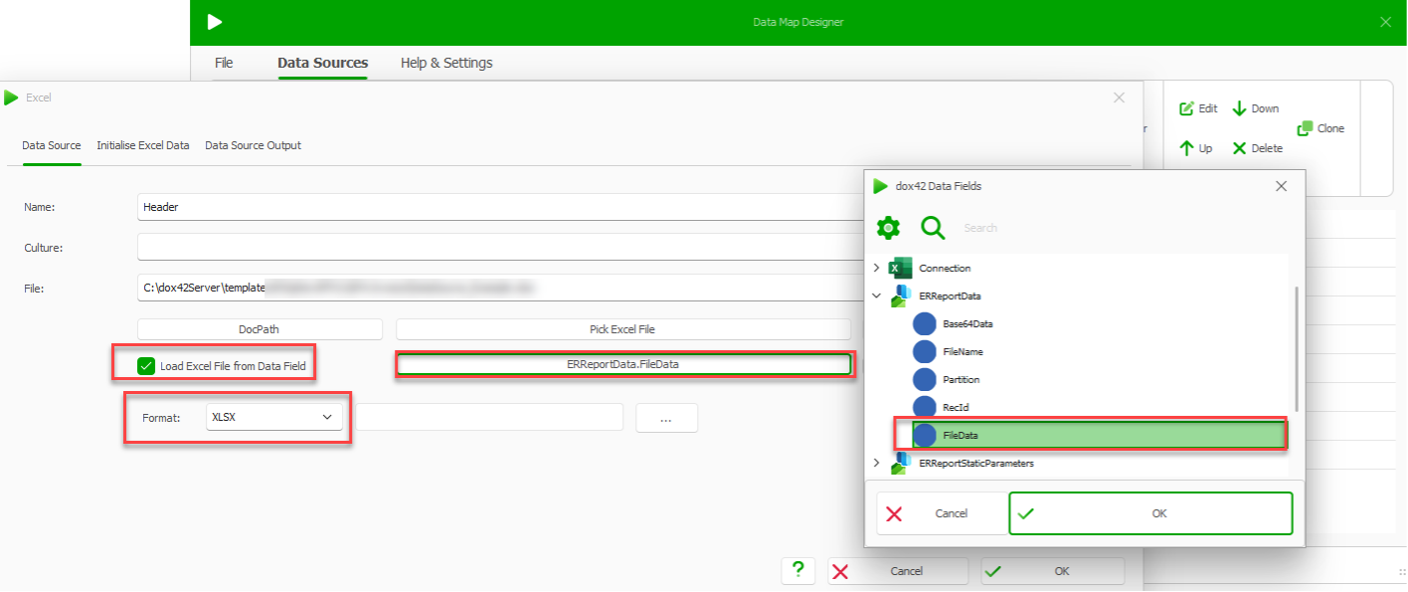
Go to the Data source tab
Select the Load Excel from Data field checkbox.
Select the FileData dynamic field from ERReportData table. For new dox42 versions you can directly choose the original field Base64Data the dynamic field is not necessarily required, the conversion will be done automatically.
From the Format dropdown select the XLSX entry.
Data source tab
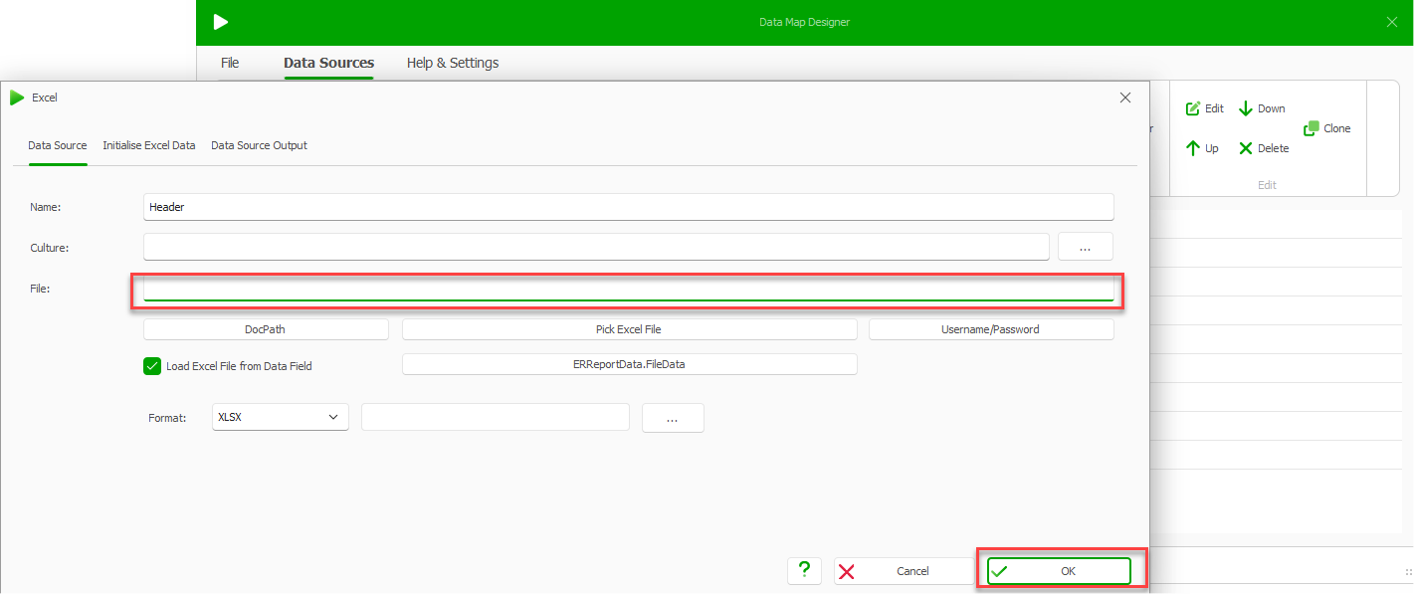
Delete the content of the File text field.
Data source tab
Select OK.
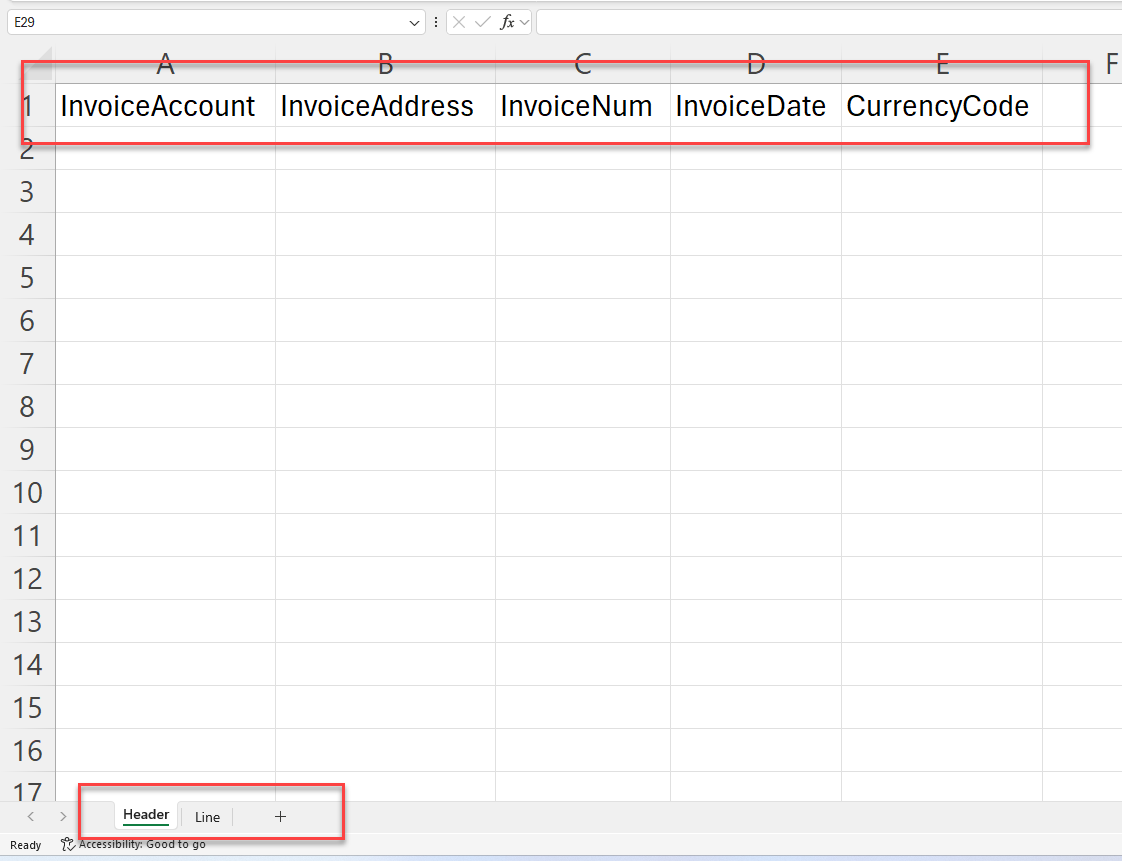
Note
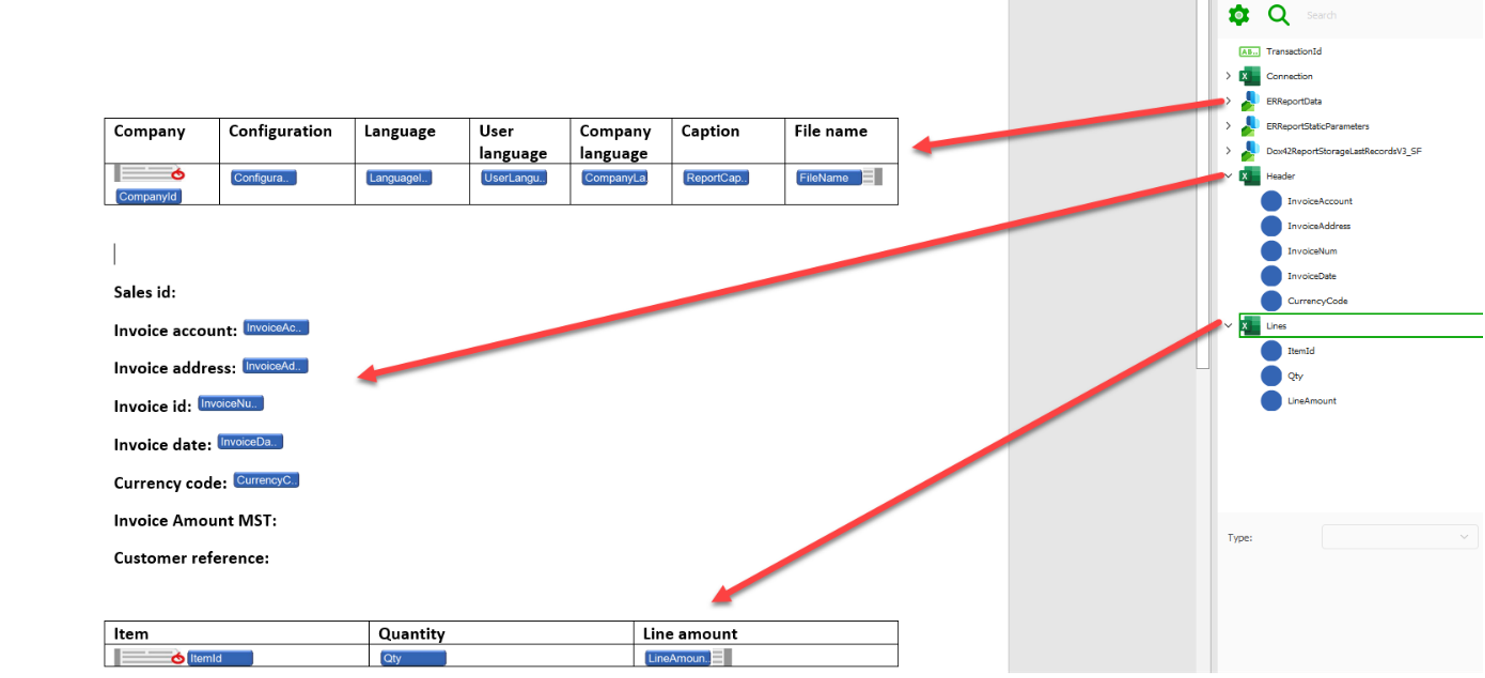
In our example the ER configuration has two tables with Header and Lines and our Excel template file contains data on 2 separate Excel sheets.
Separate Excel sheets for Header and Line
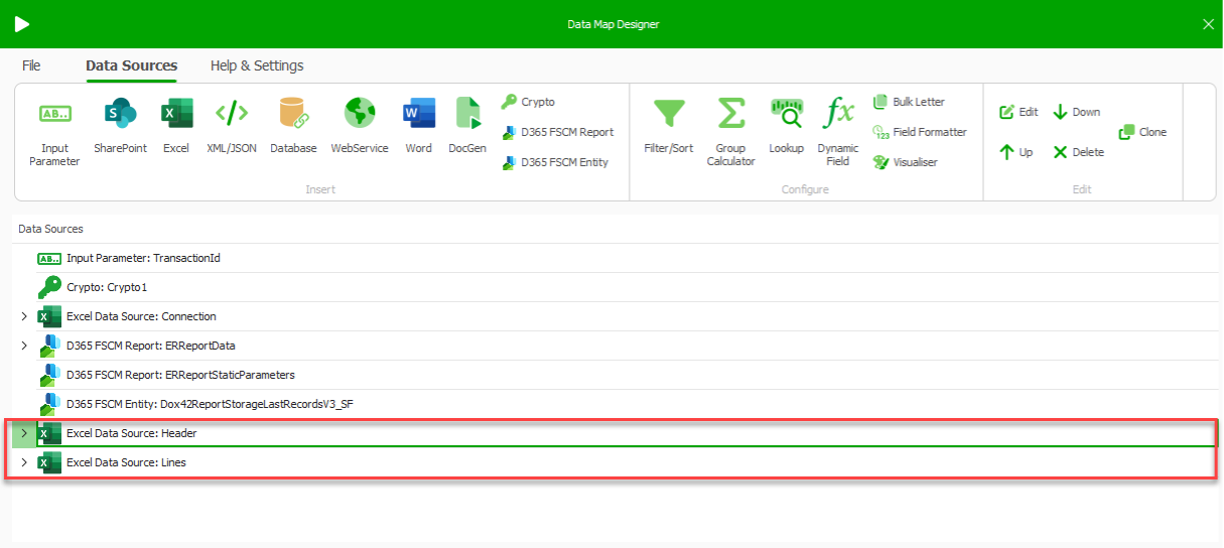
For more convenience create two separate Excel data sources the data map for Header and Lines data:
Separate Excel data sources
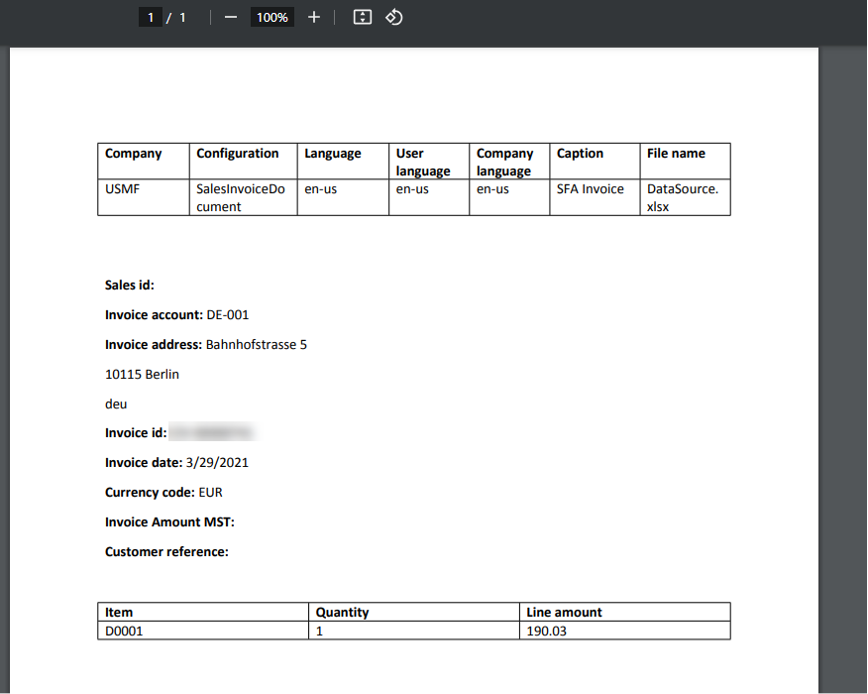
Result
You have set up dox42 document template for electronic reporting. Now you can start designing your templates and insert Data Fields.