You need to set up a new data source for each table of the report. There are two data sources for the dox42 FSCM Module: D365 FSCM Report and D365 FSCM Entity
Prerequisite
You have set up your document template.
You have created a data map.
Step 1: Setting up the D365 FSCM Report data source
In Microsoft Word or Excel, go to the dox42 ribbon and select Data Map.

dox42 ribbon
The Data Map Designer window opens.
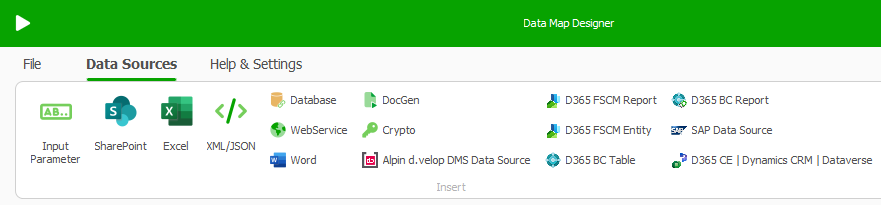
Data Map Designer window
Select the D365 FSCM Report button.
The D365 FSCM Report Data Source window opens.In the Connection tab select the … button and choose the data fields from the connection file for URL and Username, for the password choose the Crypto data source as follows:
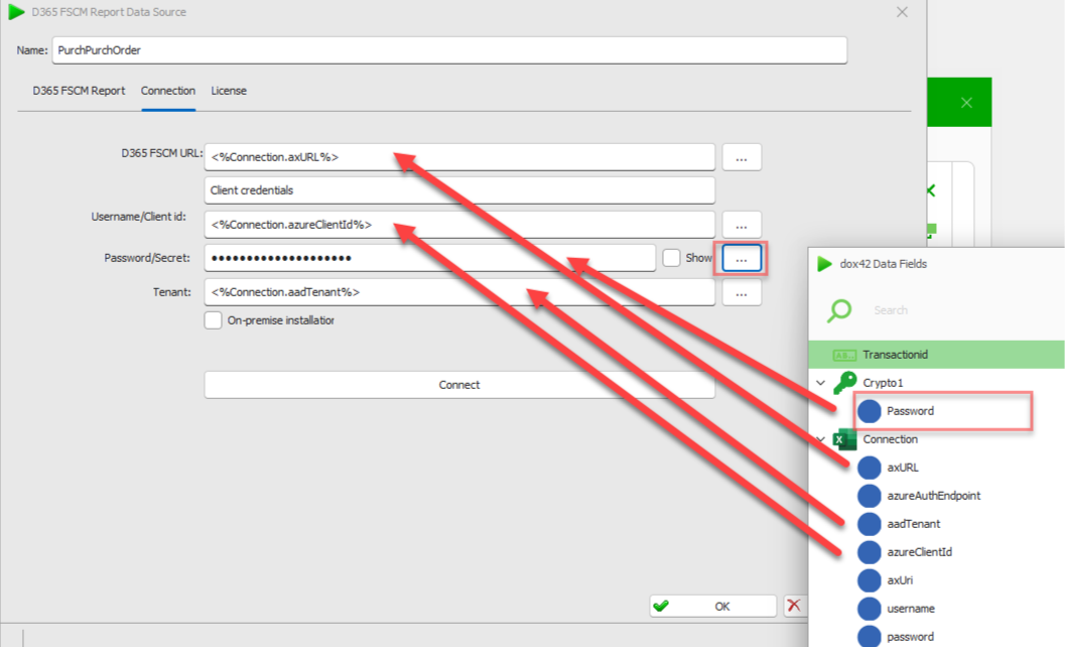
Connection tab
Select the Connect button to check the connection.
The connected D365 FSCM environment will be displayed at the end of the form.
Connection status
Select the D365 FSCM Report tab.
Select the desired report.
Select the needed table and mark all the fields as follows:
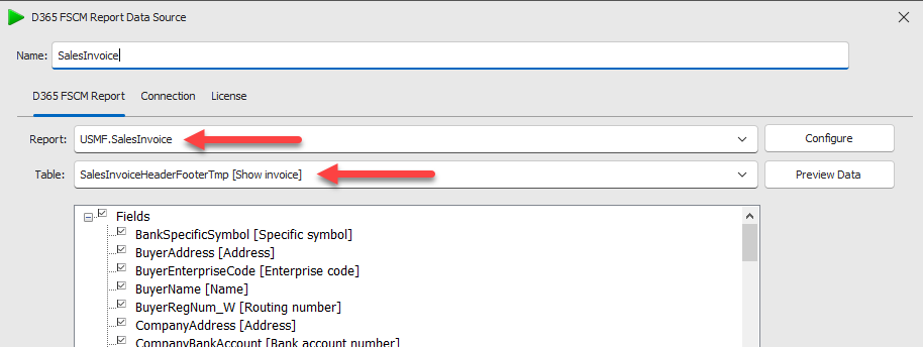
Filled out form in the D365 FSCM Report tab
The fields of the table will be displayed in the box “dox42 Data Fields”, described in the third step.
Note
A report often contains more than one table, e.g. a SalesInvoice has a SalesInvoiceHeader table and a SalesInvoiceLines table. For each table a new data source is needed.
Select OK.
Step 2: Setting up the D365 FSCM Entity data source
Set up the D365 FSCM Entity data source to always get the last transaction ID, when generating a button:
In the Data Map Designer select the D365 FSCM Entity button.
Enter a name.
Select the Connection tab and set up the connection like above.
Select the D365 FSCM Entity tab.
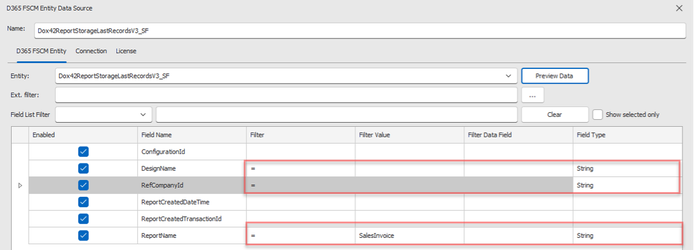
In the Entity dropdown search for the entity Dox42ReportStorageLastRecordsV3_SF.

D365 FSCM Entity tab
Set up the fields and filters.
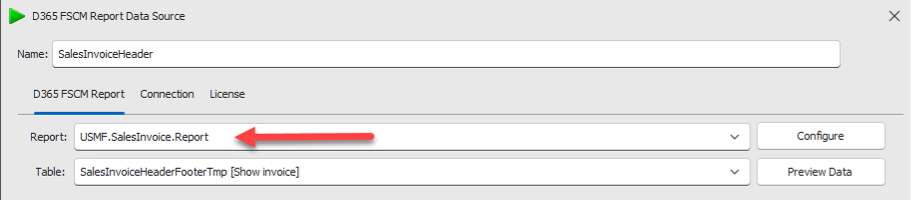
Filters should correspond to the report selected in the D365 FSCM Report data source to match with the metadata properly.Example 1: Company “USMF”, Report “SalesInvoice” (no design):
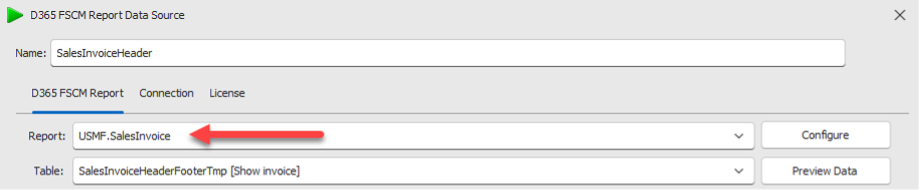
Example 1 in D365 FSCM Report tab
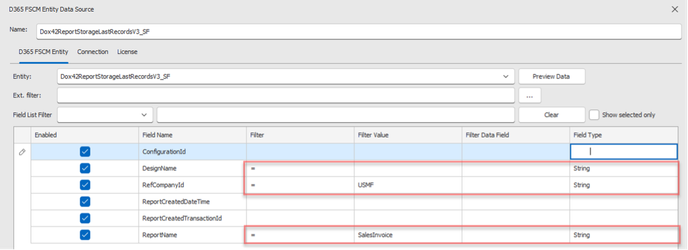
Example 1 in D365 FSCM Entity tab
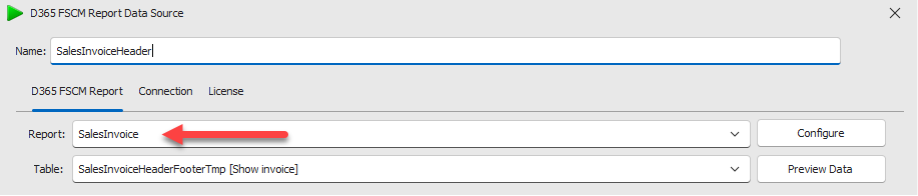
Example 2: Company “USMF”, Report “SalesInvoice”, Design “Report”:
Example 2 in D365 FSCM Report tab
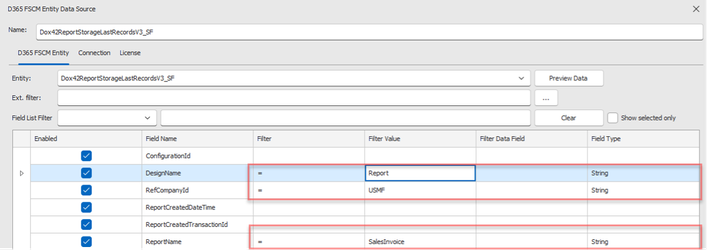
Example 2 in D365 FSCM Entity tab
Example 3: Report “SalesInvoice” (no company and no design):
Example 3 in D365 FSCM Report tab
Example 3 in D365 FSCM Entity tab
Select OK.
Select the Input Parameter button.
Name it “TransactionID”.
Select the Insert Data Field button.
The dox42 Data Fields window opens.From the D365 FSCM Report data source select the ReportCreatedTransactionId data field.
Select OK.
The data field is inserted into the text box..png)
Input parameter window
Select OK.
Select File > Save to save the setup to the data map.
Result
You have set up the D365 FSCM data sources.