You need to set up the report in D365 FSCM for document generation with dox42 D365 FSCM. This article covers the setup for a D365 FSCM Entity report.
Prerequisites
You have created a report template and Live/ test folder structure.
You have created a data map.
You have set up the connection from the D365 FSCM data sources to D365 FSCM.
Steps
In D365 FSCM go to the desired page like All vendors.
Select one vendor and click the dox42 button (on the right side).
The name of the entity is displayed.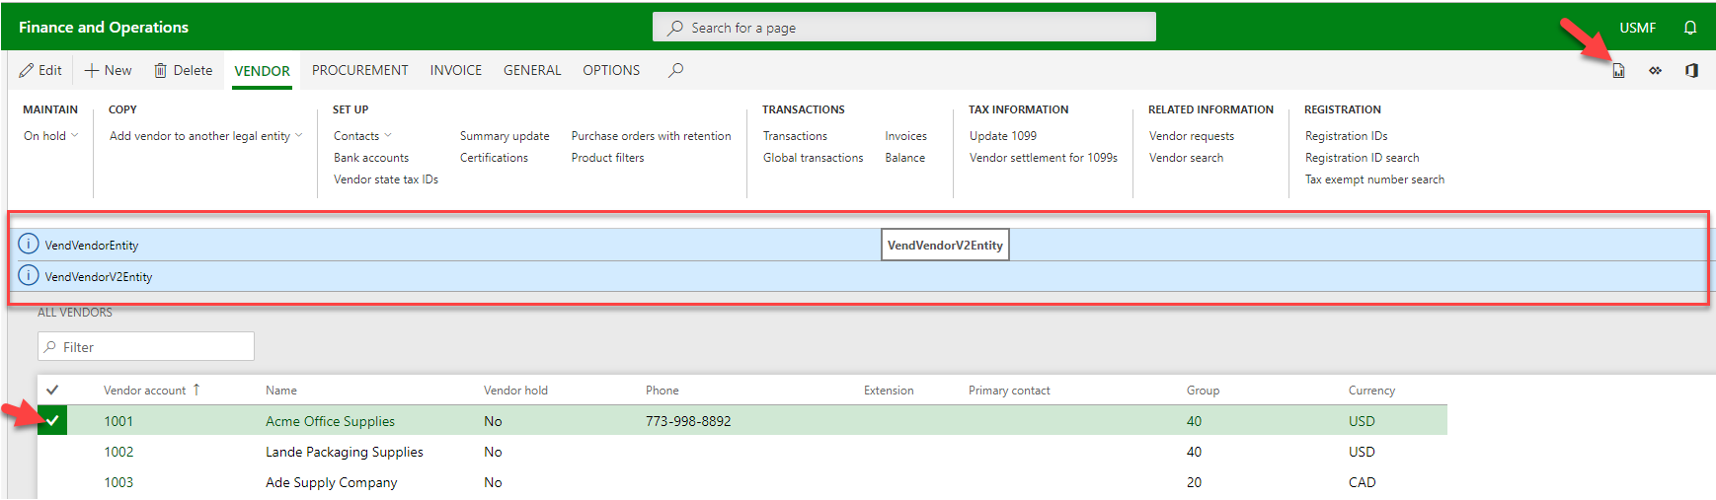
VENDOR page
Go to System administration > Setup > Business intelligence > dox42 > dox42 parameters.
Select the Data entities tab.
From Root data entity menu select the desired entry.
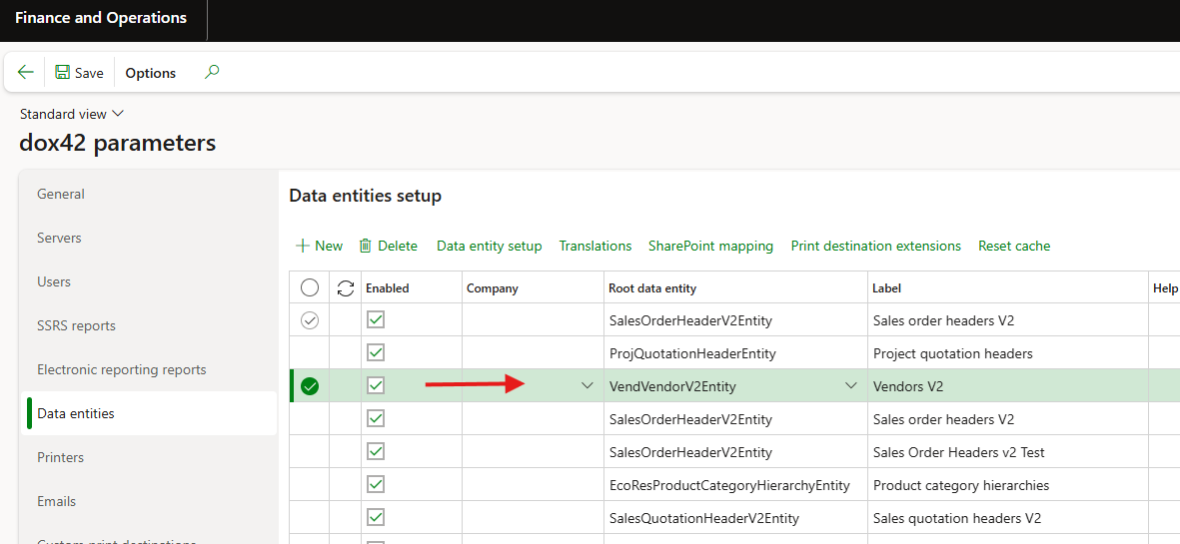
Selected root data entity
In the Multiselection type dropdown select the desired report entry:
Default: global setup applied.
One record – one report: one report is printed for each selected record.
Many records – one report: one report is printed for all selected records. When using this option, the entity key data of the selected records is packed into the HTML request string used to call dox42. This is a limiting factor in the number of records that can be selected and sent - especially if the key data for each record is large in size.
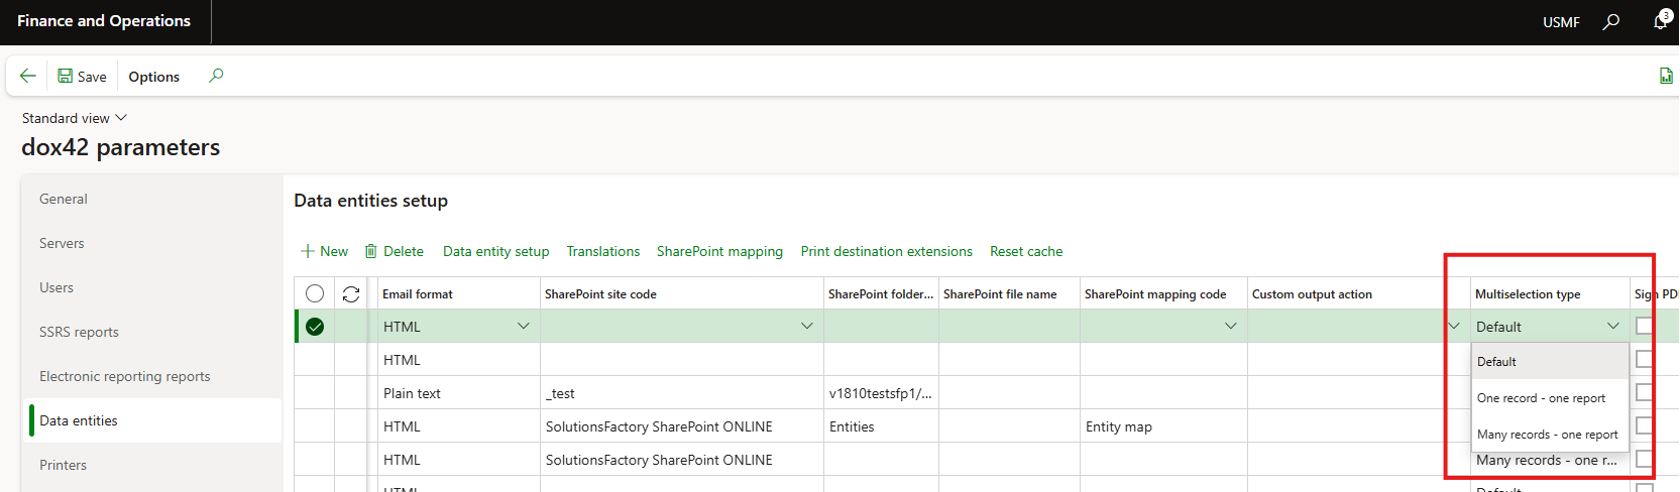
Multiselection type dropdown
Select the Data entity setup button and insert the path to the template.
Tip
For an use-case of a entity-based dox42 report, see Use case: Designing a D365 FSCM Entity vendor factsheet.
Result
You have set up a entity-based dox42 report in D365 FSCM.