In this step, you will learn how you can apply filter conditions to narrow down the returned data to only what you need — such as data for a specific order, customer, or time range. This helps reduce the data volume and improves performance by retrieving only relevant information.
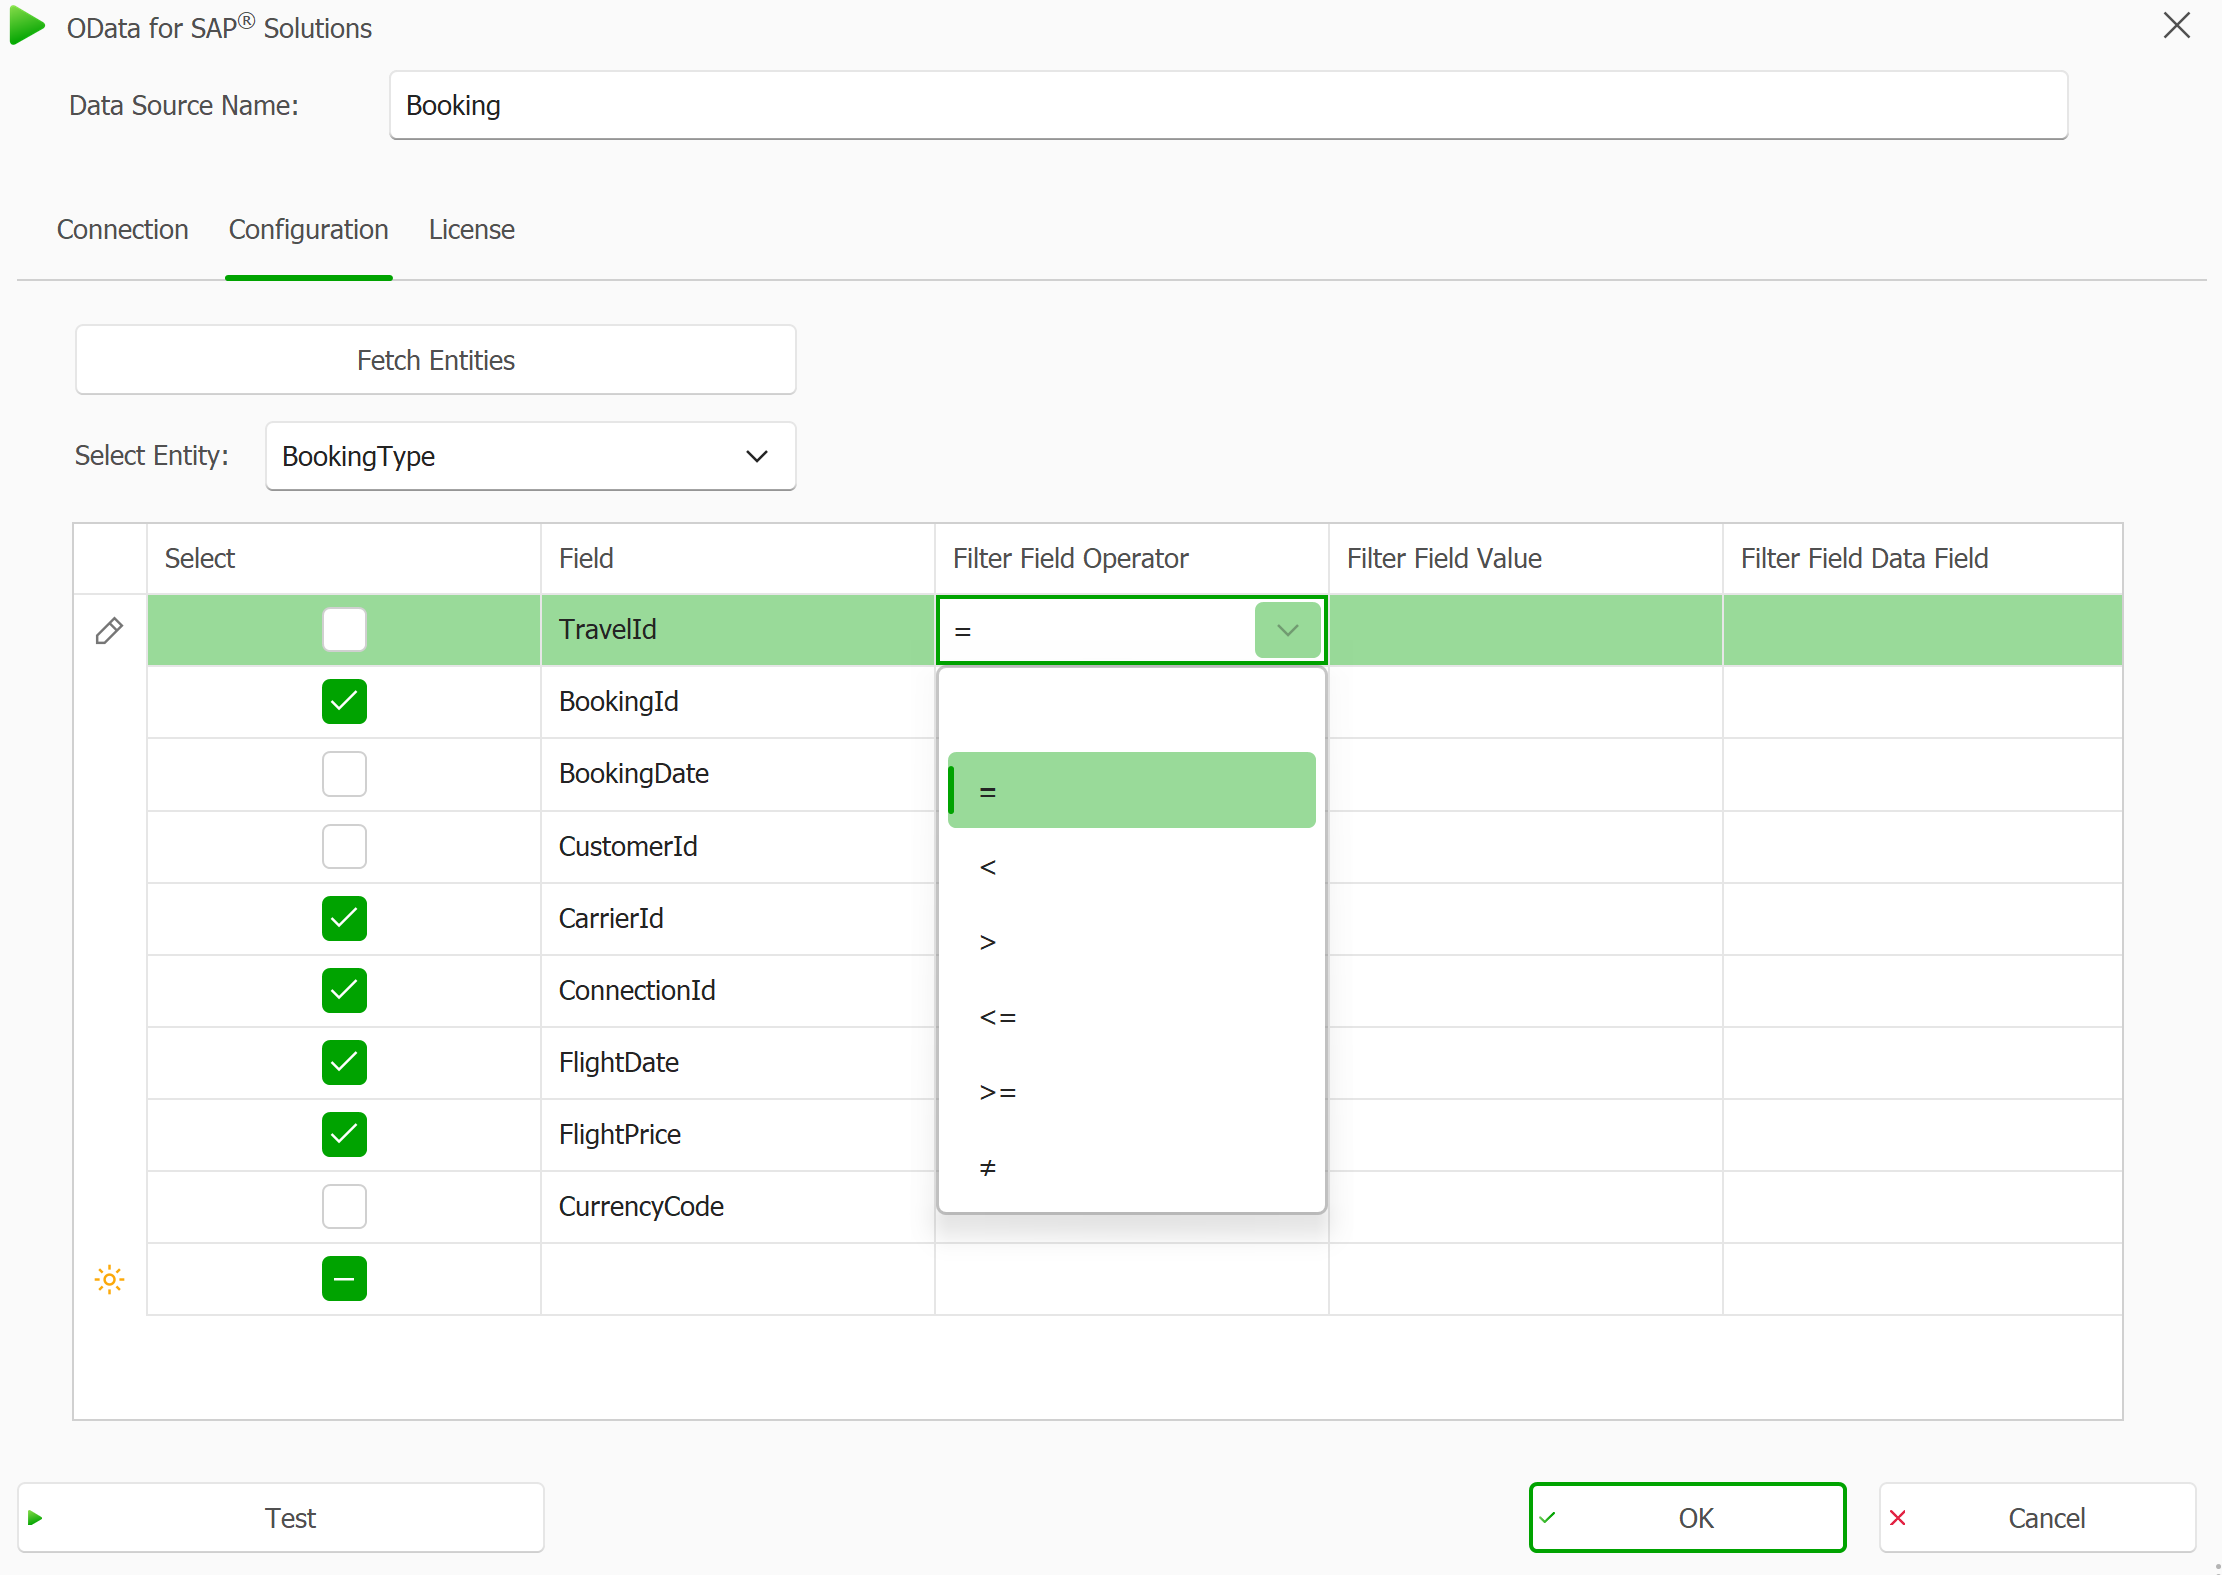
Choose a filter operator. Click in the Filter Field Operator column to open a drop-down menu. When the Operator drop-down is opened, it will show all the available comparison options for defining your filter condition. Select a comparison operator (e.g., Equals, Greater Than, Less Than) that fits for your use case.
Filter Field Operator drop-down showing different operators
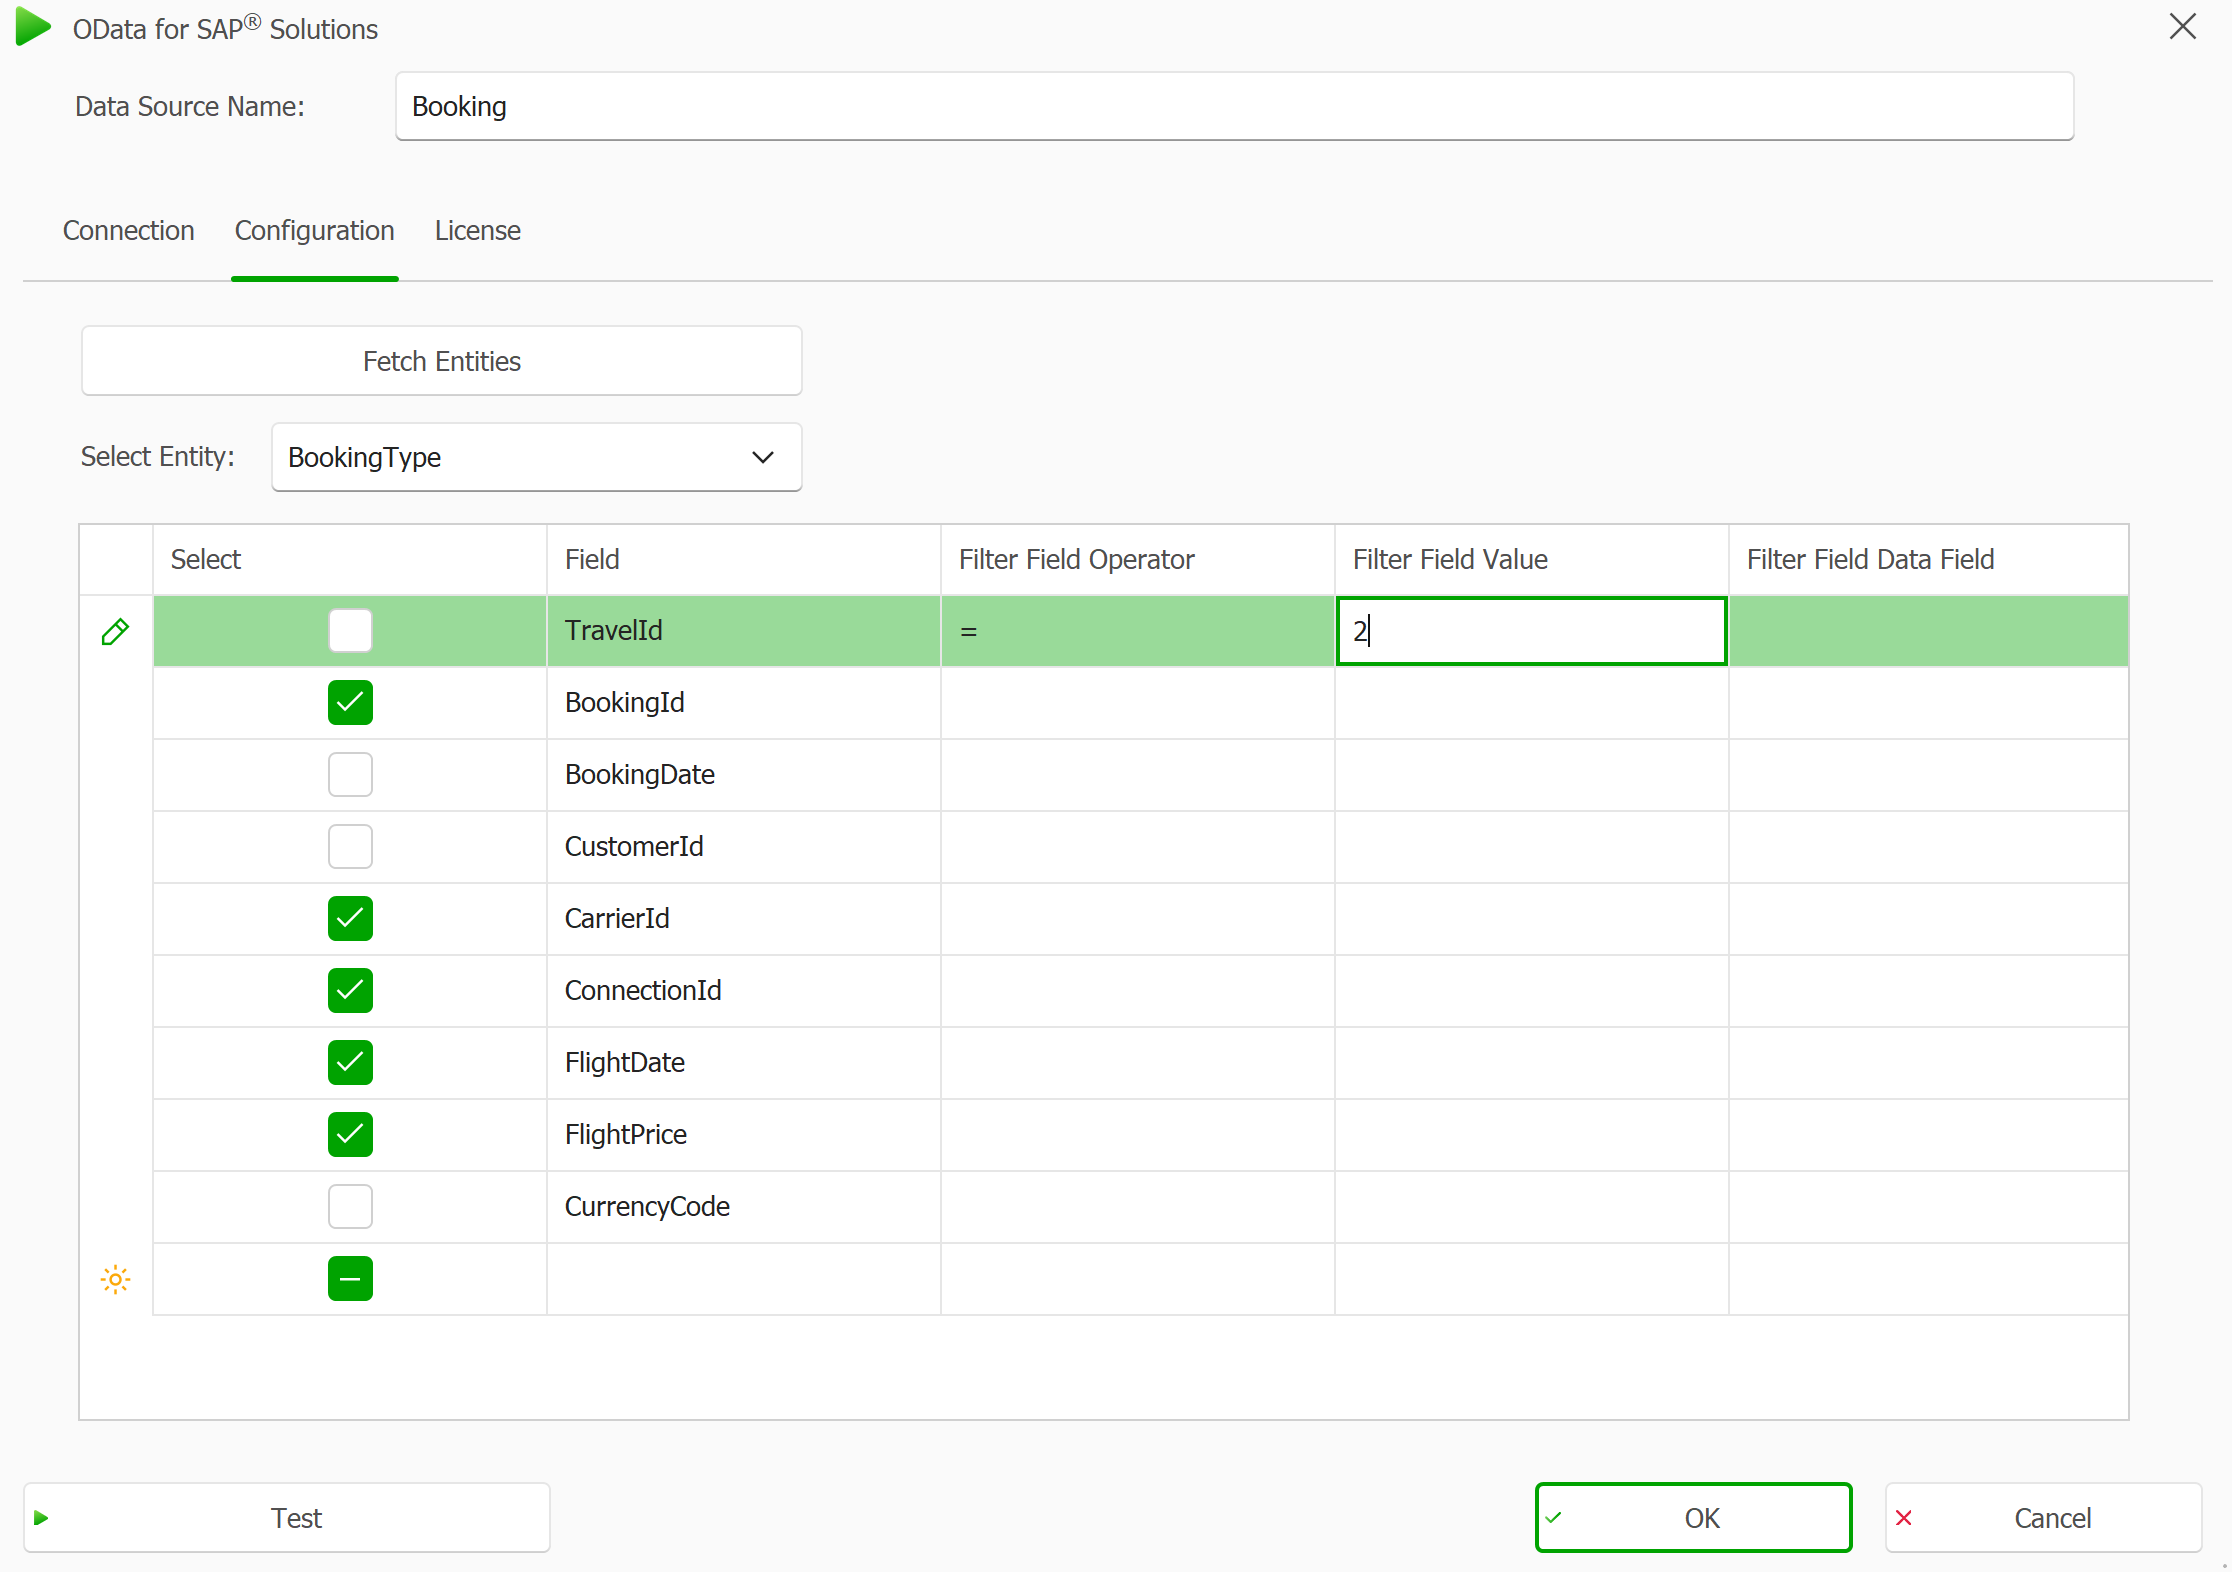
Select a filter value.
You can define the filter value in one of two ways:
Manually: Enter a specific value directly in the Filter Field Value column.
A value is entered manually
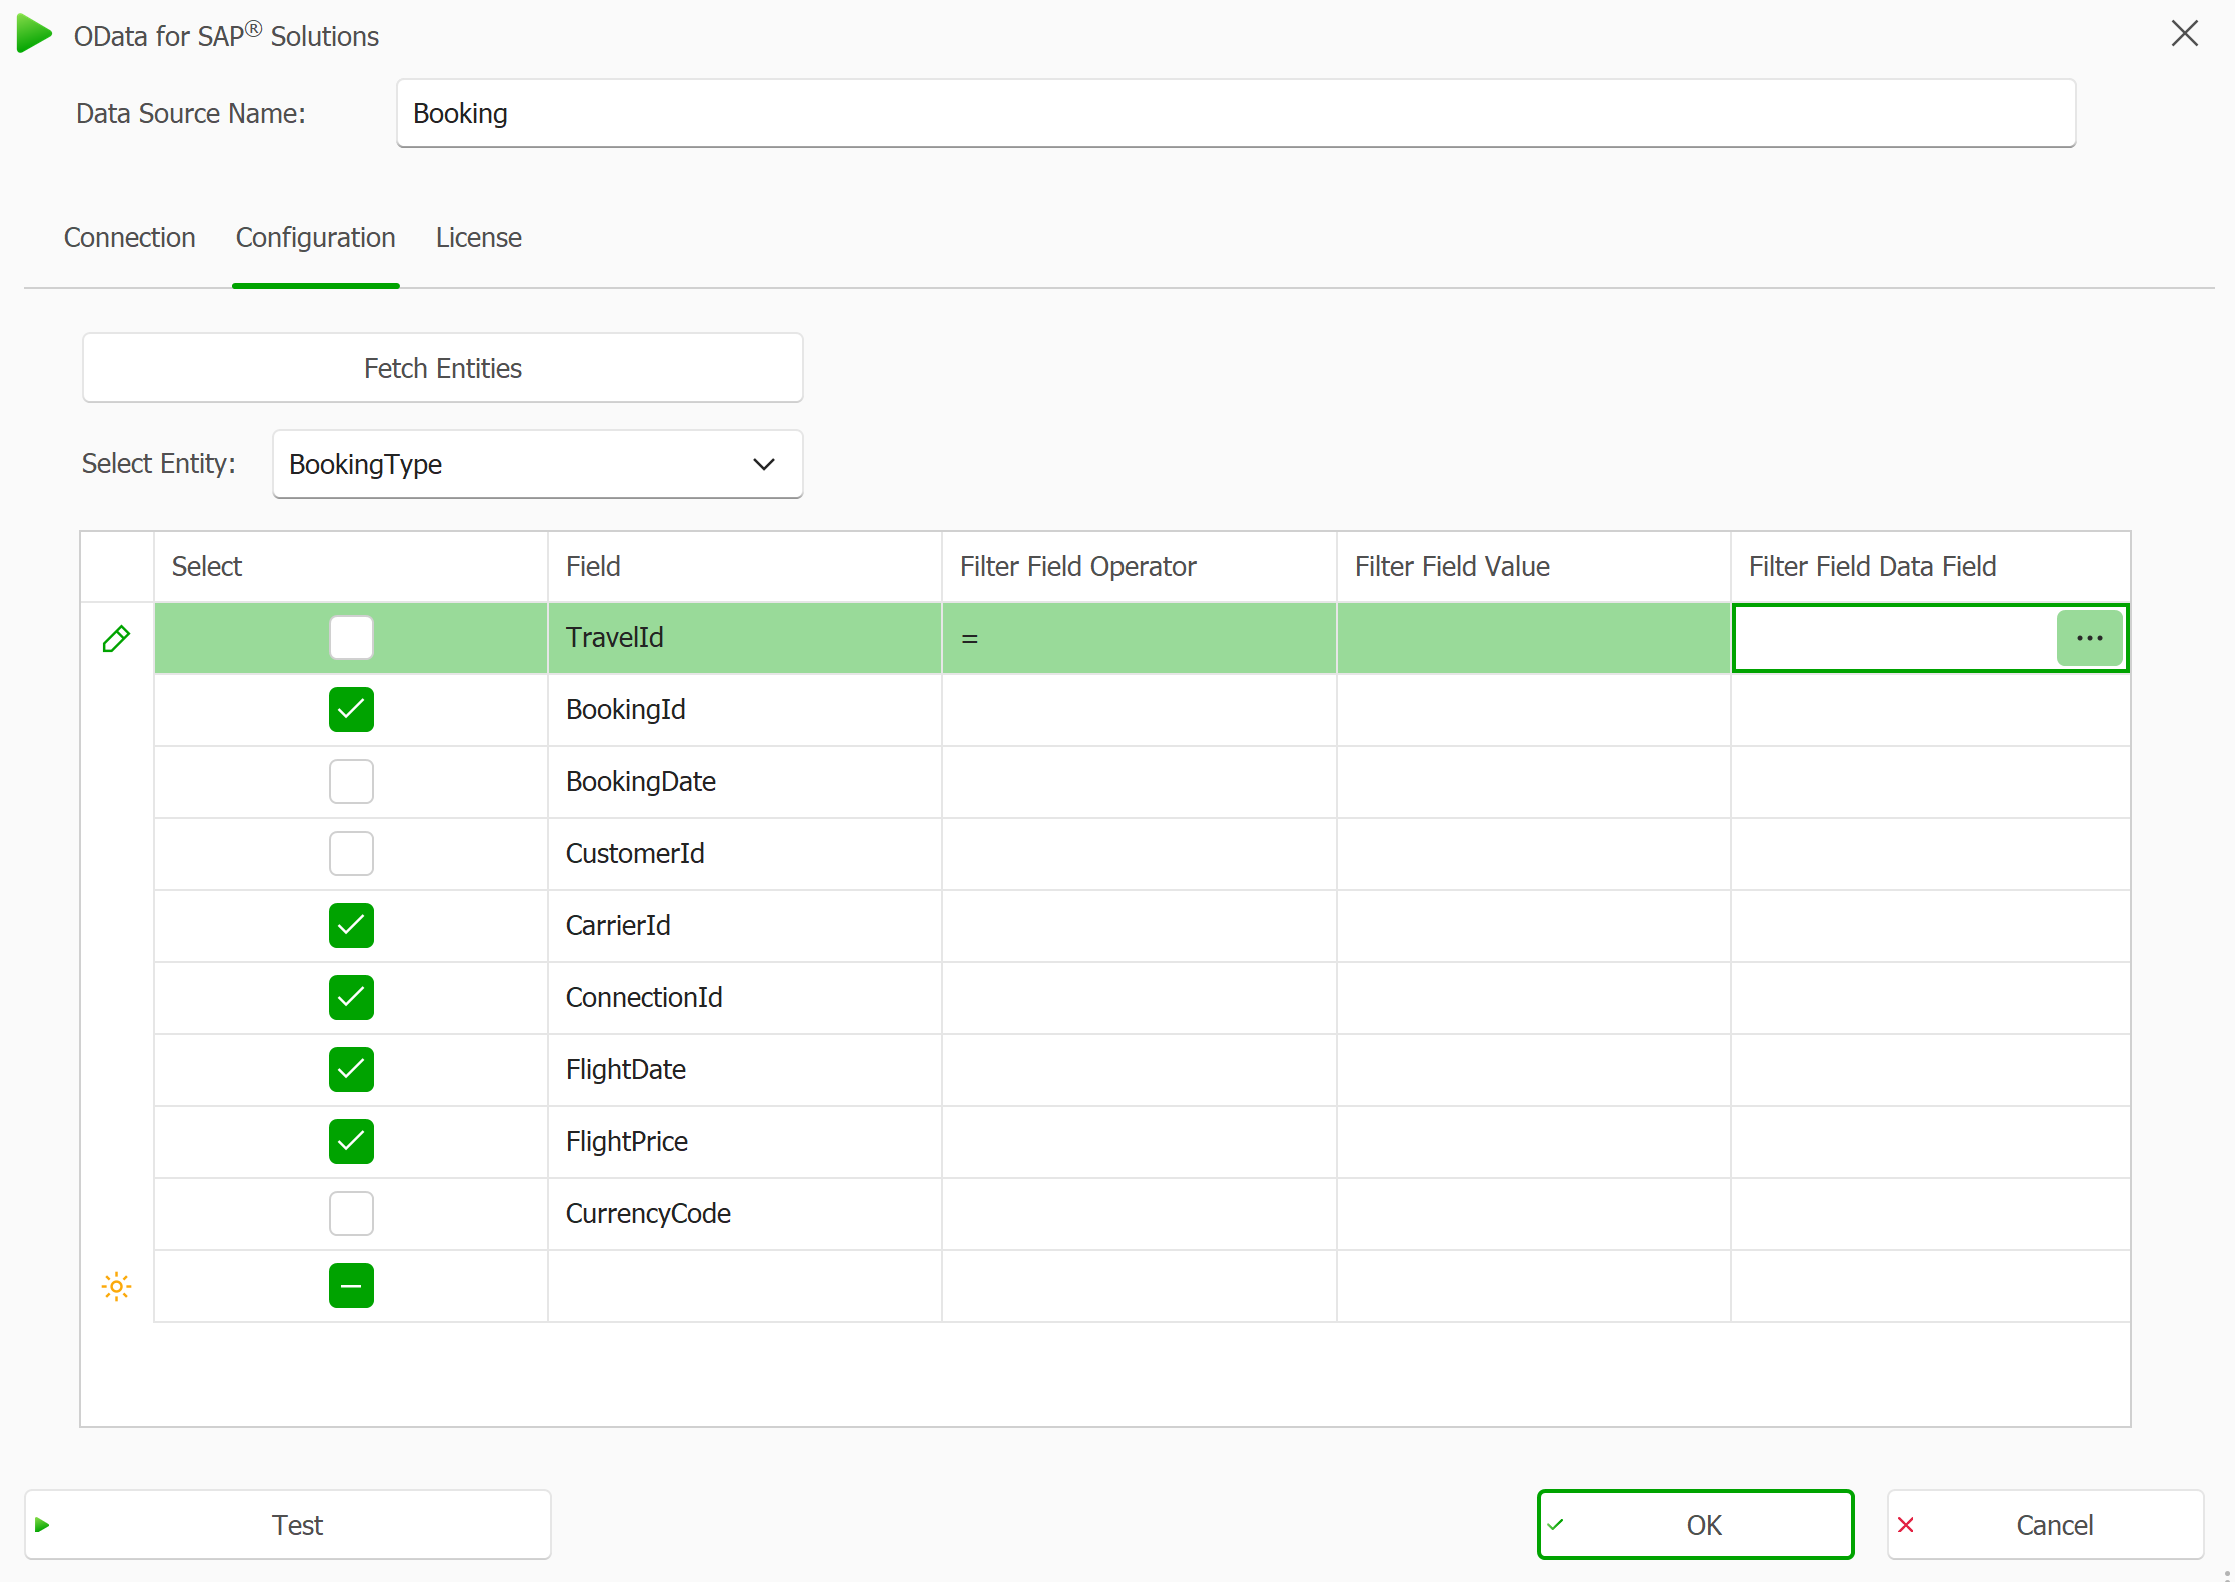
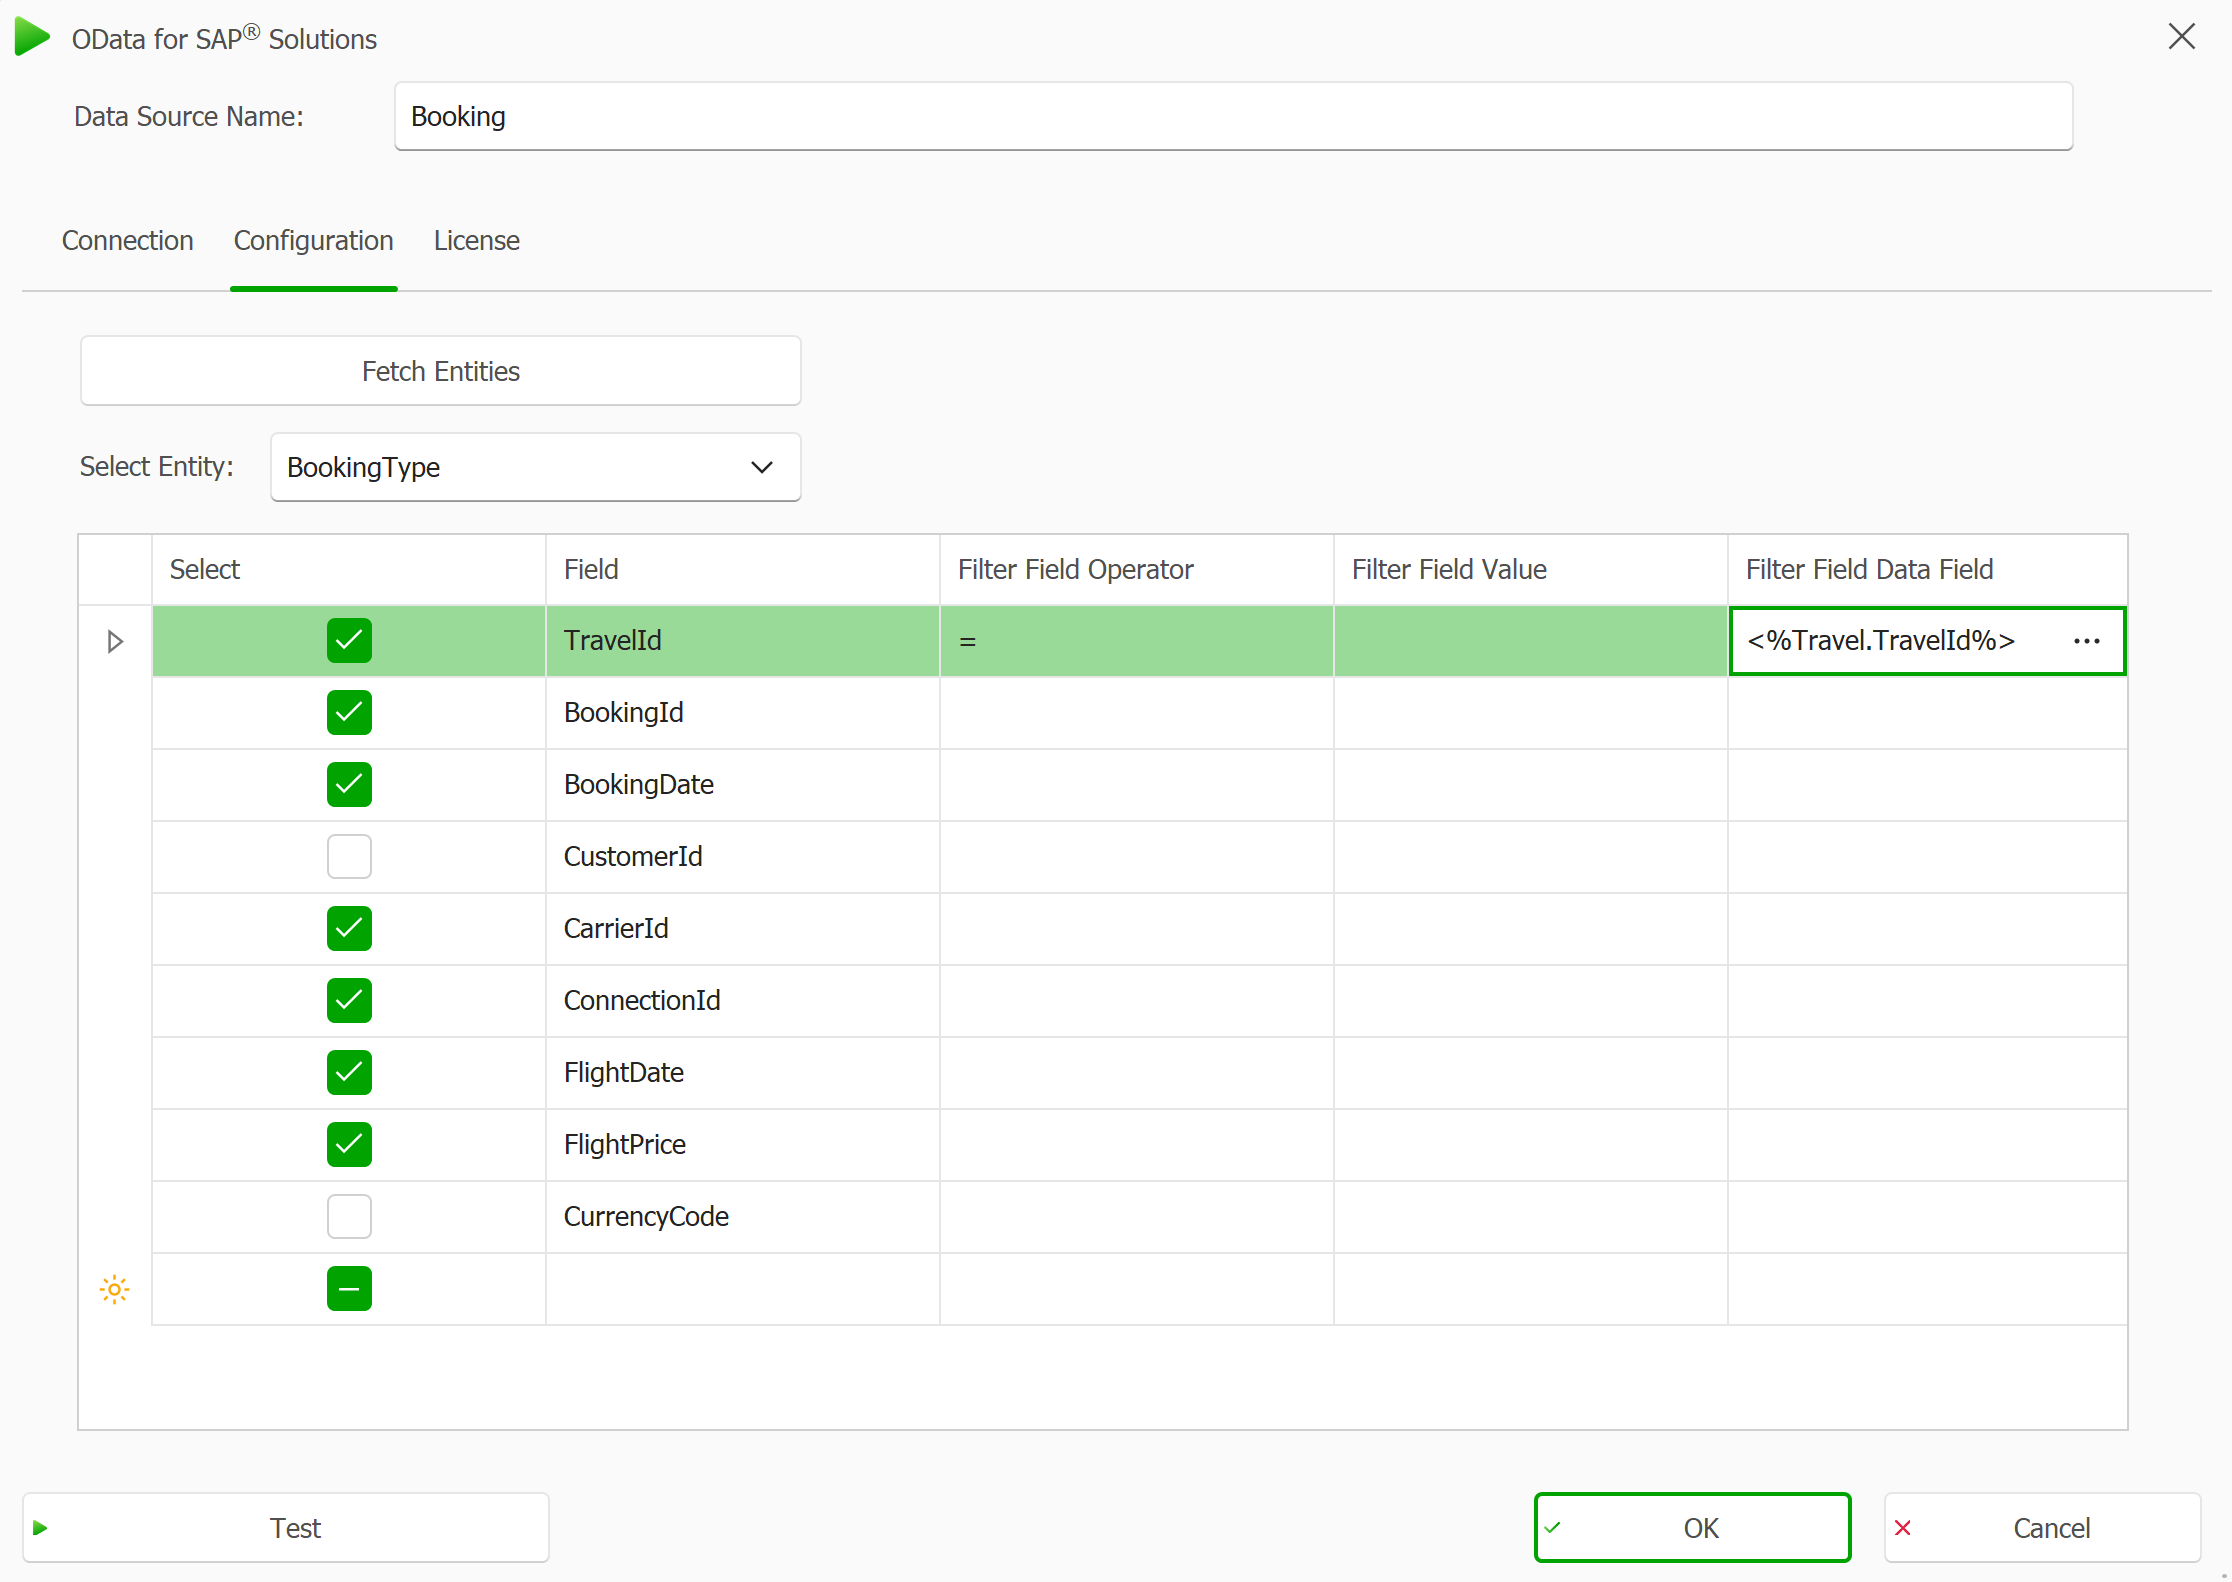
Dynamically: Use a value from another data source by selecting a data field in the Filter Field Data Field column.
Selected Filter Field Data Field column with visible drop-down menu
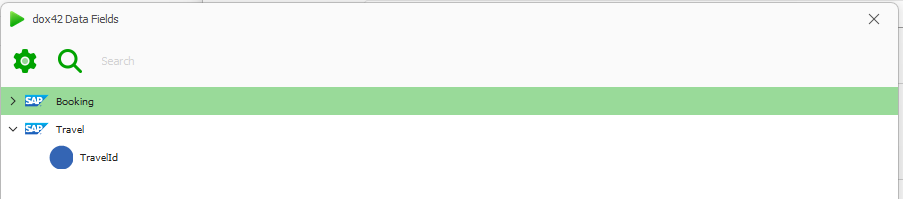
The dox42 Data Fields pop-up opens.
From here, chose the data field you want to compare your property with.
dox42 Data Fields pop-up window
The selected data field is entered in the Filter Field Data Field column.
A data field is entered dynamically
Filter conditions
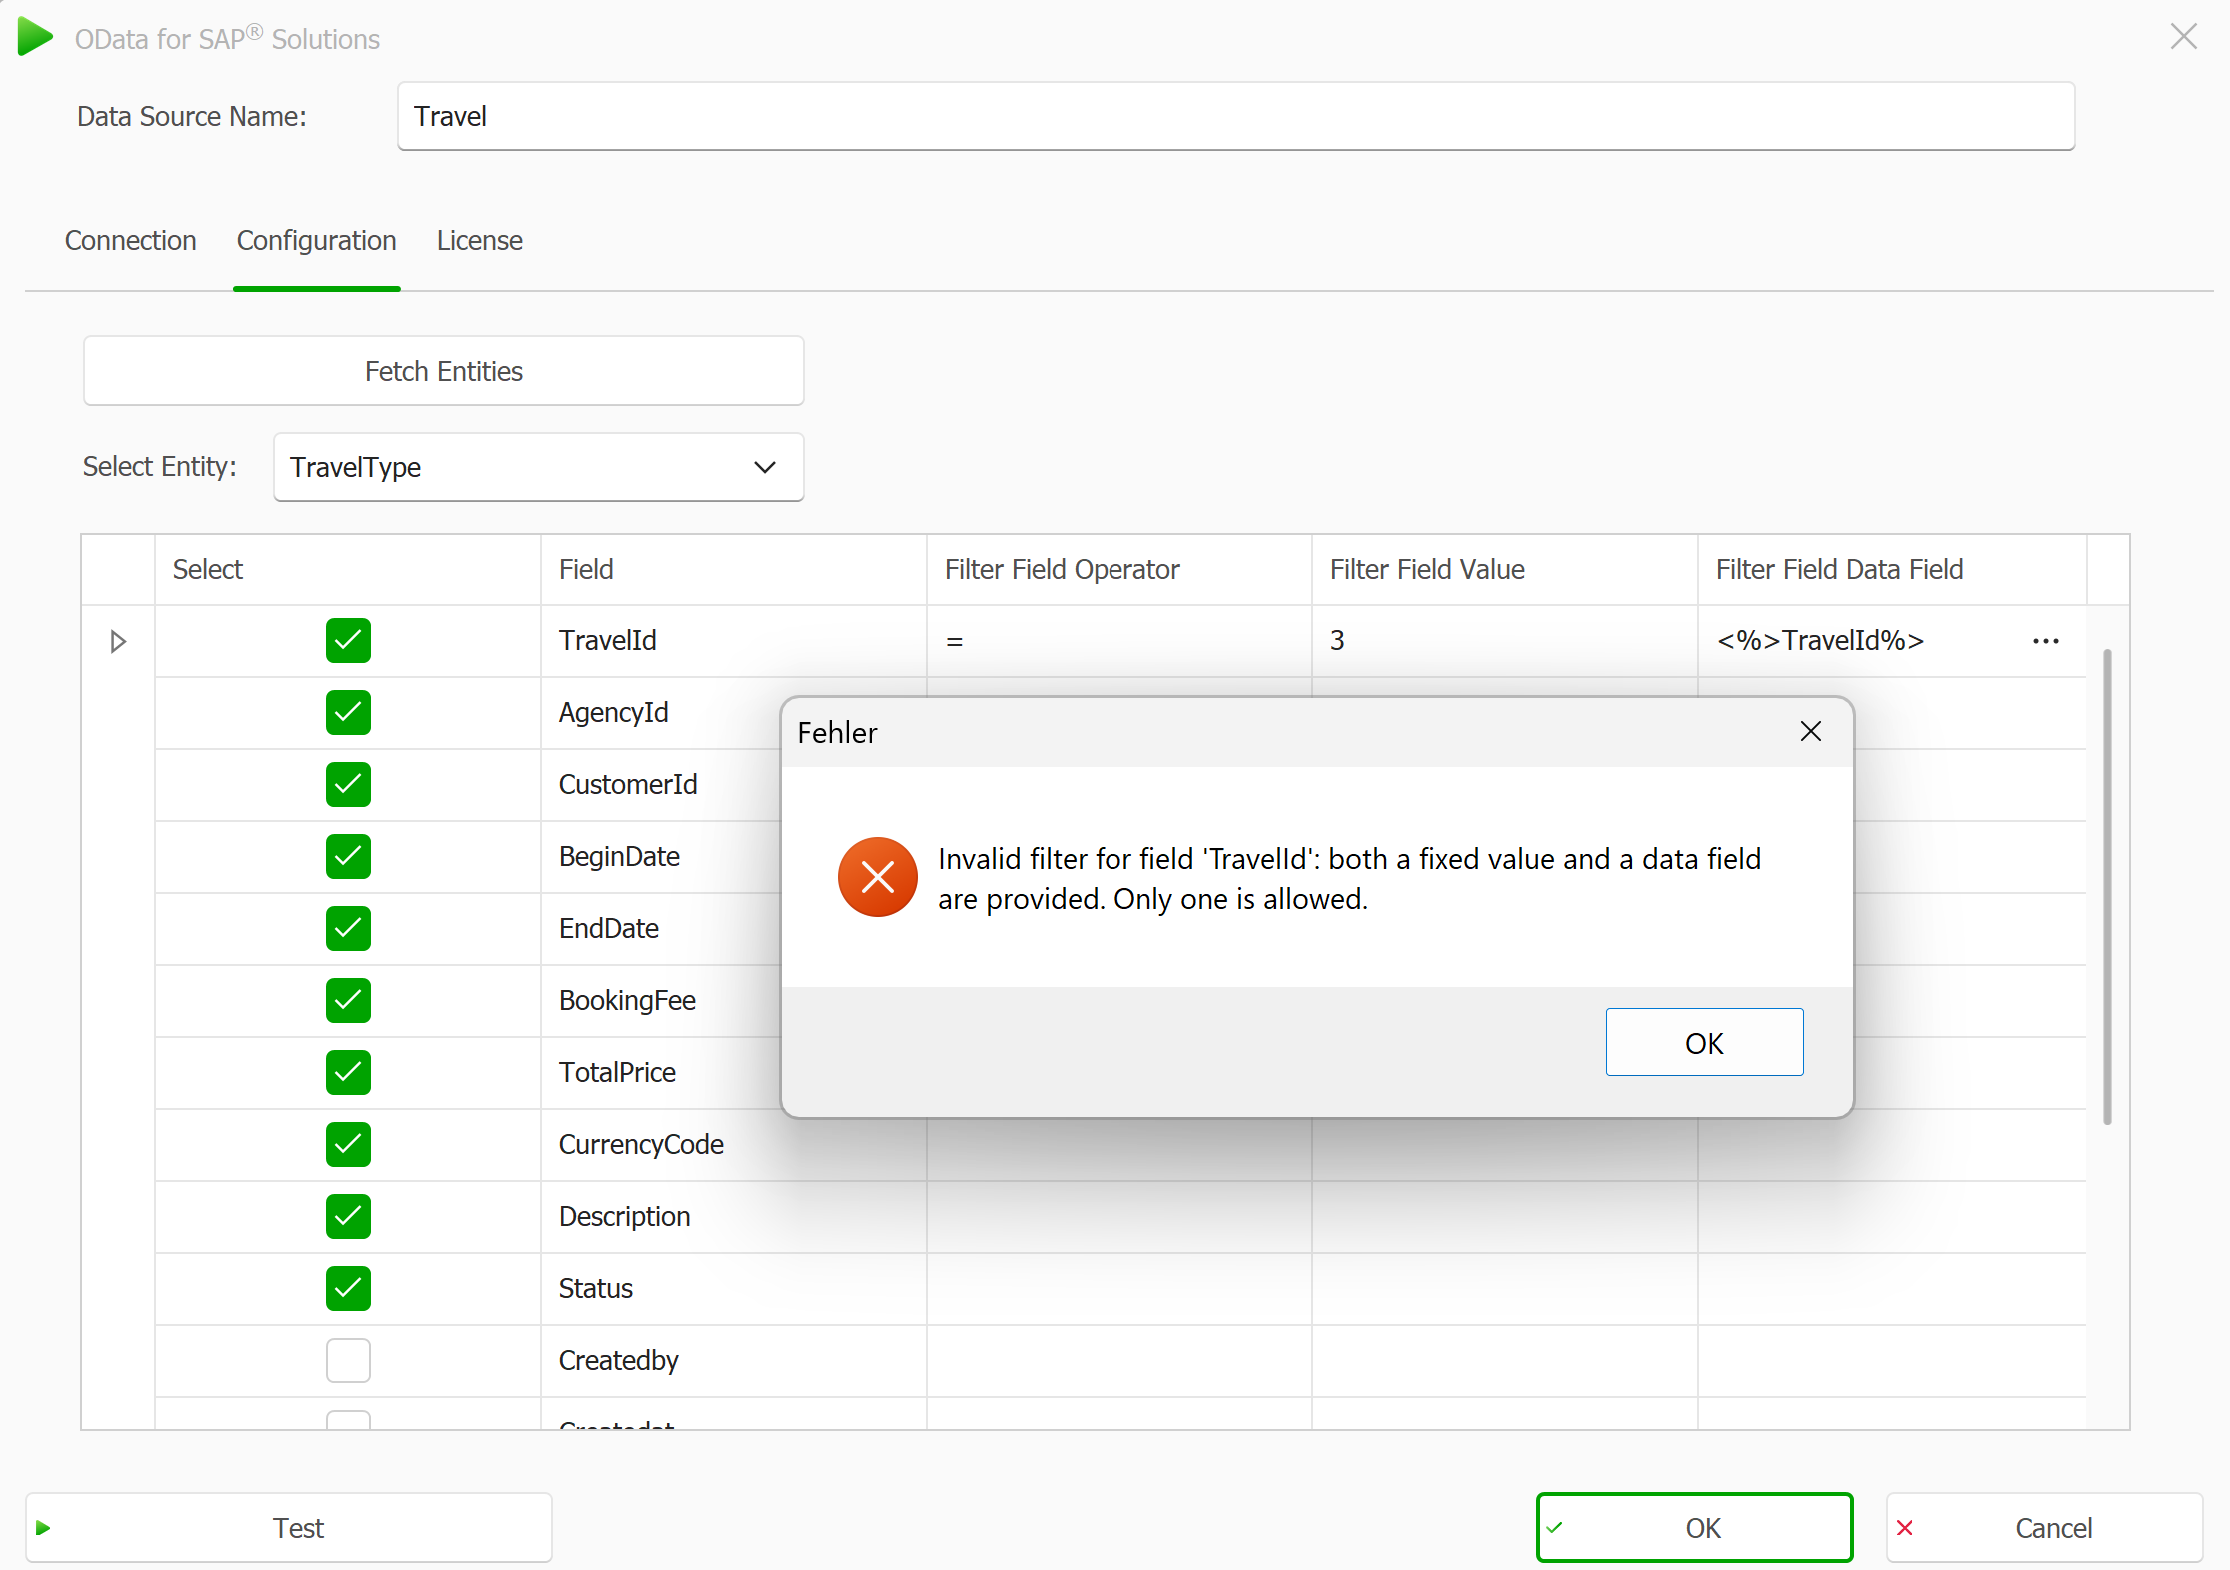
A filter condition must include a valid operator and either a Field Value or a Data Field — but not both. If this requirement is not met (e.g., both fields are filled or both are empty), an error message will appear explaining what needs to be corrected.
Error window when incorrectly applying a filter
Result
Only the entries that match your filter conditions will be retrieved.