You can attach a document or an image to a report in D365 FSCM, for example, to a sales order. This attachment can then be printed on the dox42 report or added to a generated e-mail.
Step 1: Setting up in D365 FSCM
Steps
Mark the desired dox42 report and select the Attachments button.
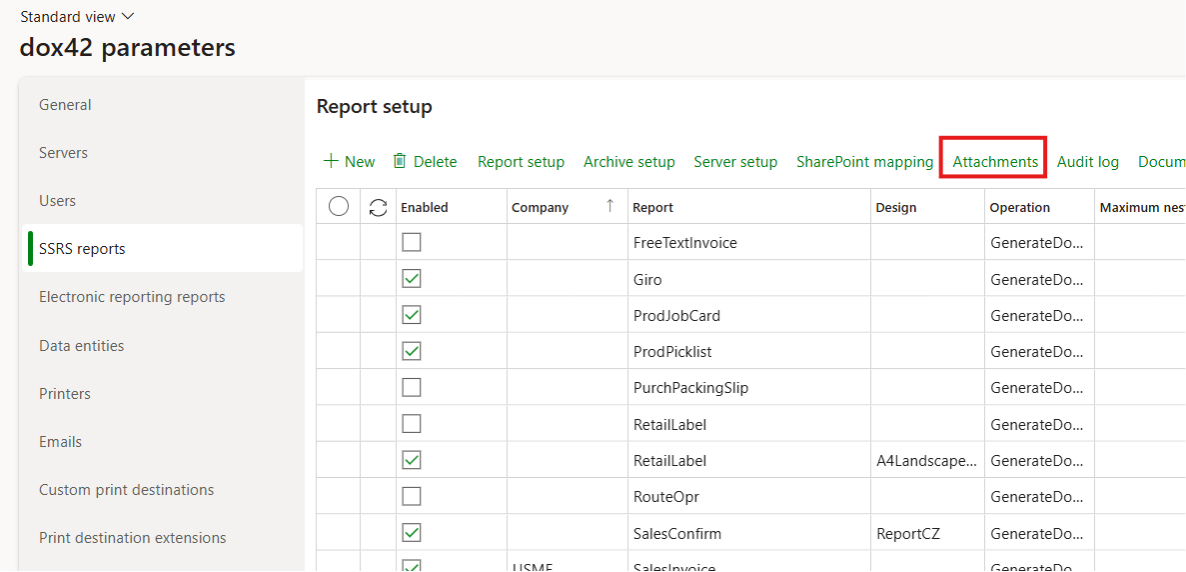
Report setup in D365 FSCM
Create a new attachment and fill out the following fields:
It is possible to enable and disable an attachment type.
The related data defines where the attachment will be attached.
For example, in this case on the header (to set up the related tables, use the Related data button. If there are no records by default see: No records in related data for dox42 reports).The Type dropdown defines the file type of the attachment.
If the Add to report data source checkbox is set to Yes, the files will be available in the report data source.
If the Attach to email checkbox is set to Yes, the files will be attached to a generated email when using the “Email” printing destination.
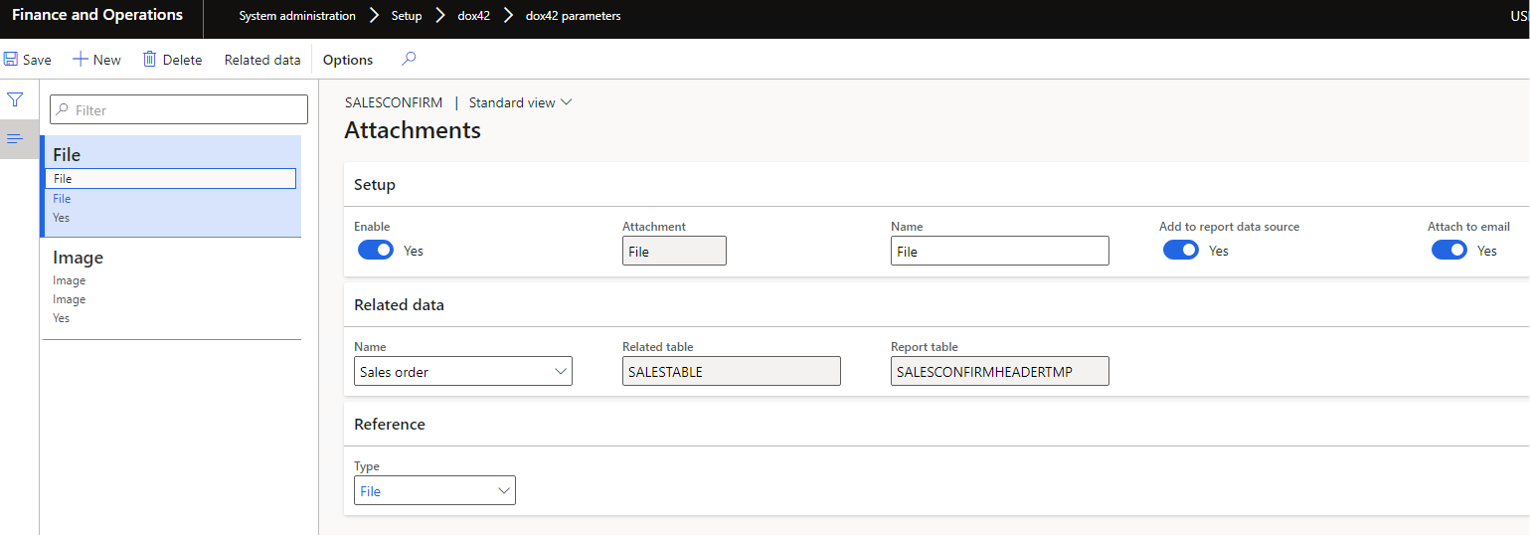
Attachment configuration
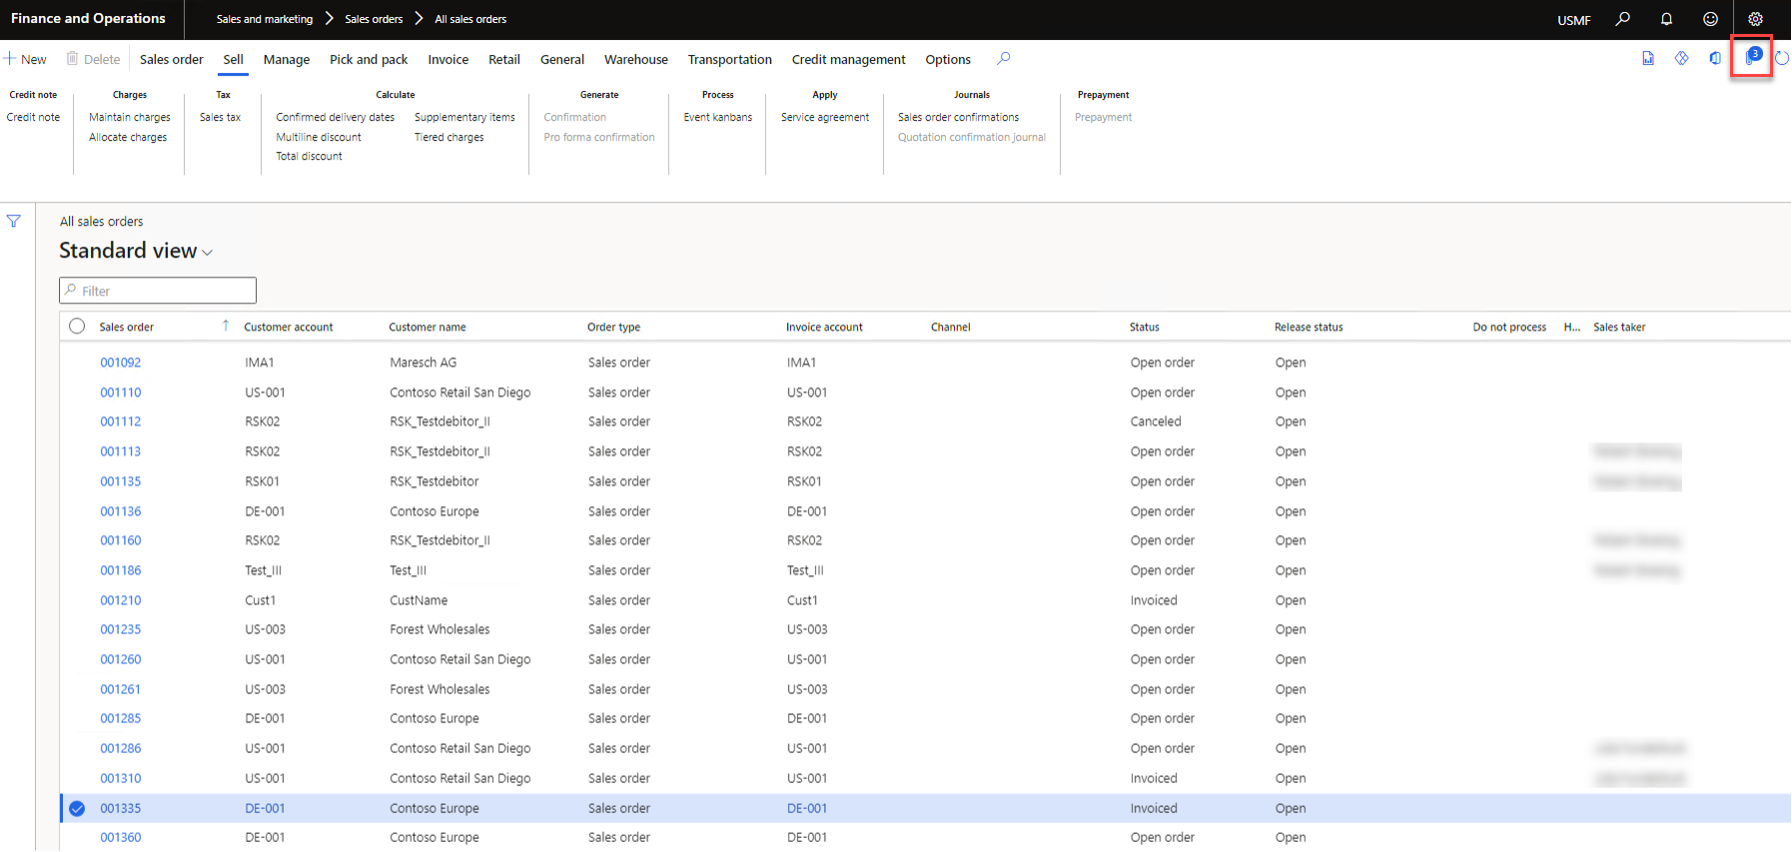
Create an attachment.
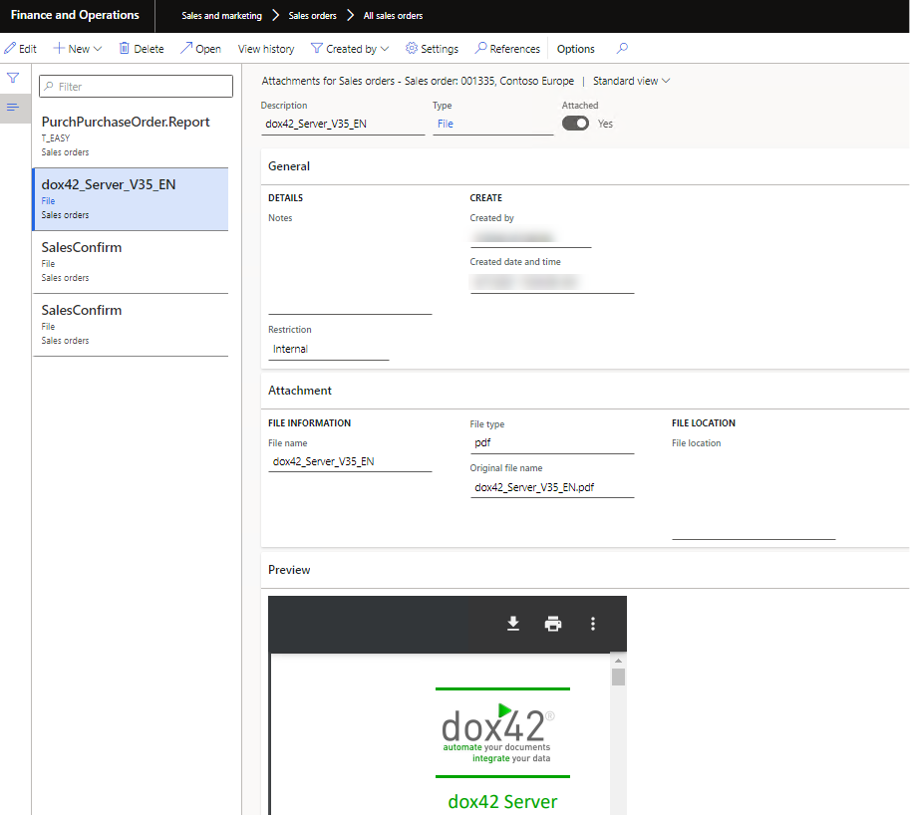
Result
If the report is now printed, the attachment will be shown in the dox42 report.
Step 2: Setting up in the dox42 FSCM Module
After setting up the new Attachment data in D365 FSCM, the data source will be available for the report in the dox42 FSCM Module.
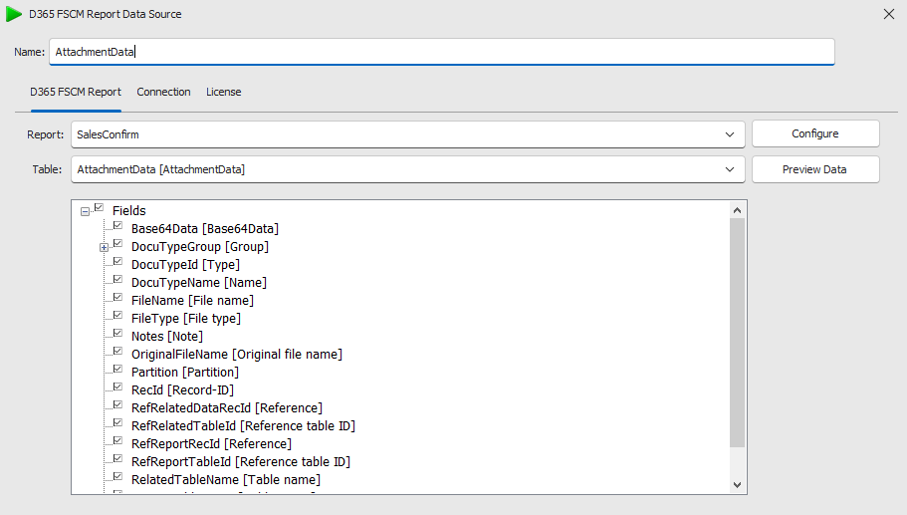
AttachmentData data source
The Base64Data data field contains the attached file for the report as a Base64 encoded string.
To show the file in the report design, you need to add the new dynamic field to the data source.
Steps
In Word go to the dox42 ribbon and select Data Map.

dox42 ribbon
The Data Map Designer window opens.
Select the Attachment data data source.
Select the Dynamic Field button.
The Dynamic Field window opens.Enter a name.
Enter the following Visual Basic Code:
result = System.Convert.FromBase64String(AttachmentData.Base64Data).png)
Example configuration for an Attachment Data Field
Select OK.
Select File > Save to save the changes to the Data Map.
Result
You have created a dynamic field for an attachment that you can insert via the dox42 Data Fields pane.