Each time a report is to be created, printed, or sent, the BC App checks the corresponding Business Central report configurations. It then decides whether to use the default report features or forward the document generation to the dox42 Online server.
Follow these steps if you want to replace the default Business Central PDF generation with a dox42 document generation,
Prerequisites
You have the dox42 Administrator role in Business Central (to set the role, go to the cogwheel at the top right of Business Central, select the My settings menu and then the dox42 Administrator role).
You have created a new output configuration (e.g. ReturnAction or Query String).
You have related your document to this output configuration.
Steps
Select the Report Configurations link just below the dox42 heading.
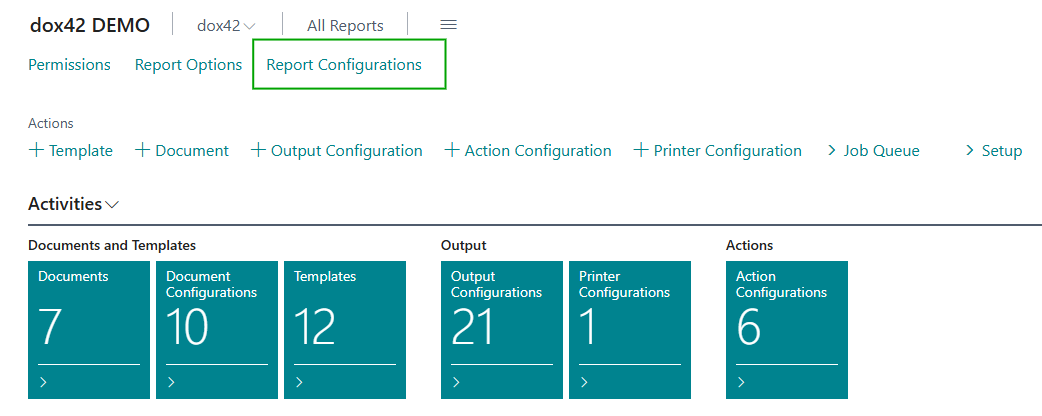
Report Configurations link
The Report Configurations dialog opens.
Select the New button to create a new report configuration.
.png)
Report Configurations dialog
Another Report Configurations dialog opens.
.png)
Report Configurations dialog
Enter a descriptive Code name, e.g.
“INVOICE”.Mark the checkbox in the Replace PDF Generation column. This way, when generating a PDF document, Business Central will use the document created by dox42 instead of the default Business Central document.
Mark the checkbox in the Replace Print column. This way, instead of printing the BC standard report, Business Central will use the dox42 Printer Configurations (on-prem). In Business Central Online we work with our technology partner Printix (cloud printing).
Relate this new report configuration to the report option you previously created. To do this, from the Report Option Code dropdown menu, select the corresponding report option.
.png)
Report Option Code dropdown menu in Report Configurations dialog
Use the arrow button at the top to exit the dialog.
Go back to the home page by clicking the dox42 heading.
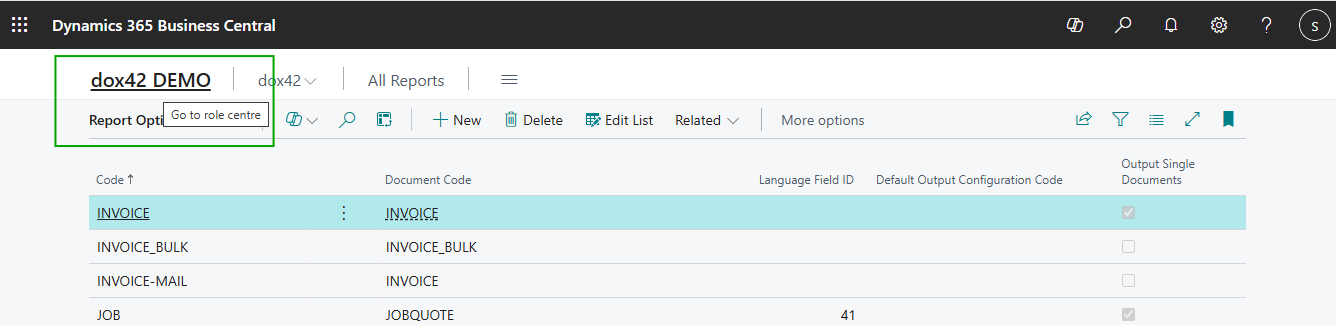
Select the dox42 heading to exit the dialog
Result
You have created a report configuration. By doing so, you have changed the settings for the report generation in Business Central.