Create a data map to link data from different data sources to your document template. The data map also contains configurations like input parameters, conditions or dynamic columns.
Tip
Once you have created a data map you can reuse it for related document templates that work with the same dox42 module environment with minimal effort. Just copy and paste the data map file into the other document template’s folder.
Prerequisite
You have created a document template.
Save your document template locally on your computer before adding a data map to it.
Steps
In Microsoft Word or Excel, go to the dox42 ribbon and select Data Map.

dox42 ribbon
The Data Map Designer window opens.
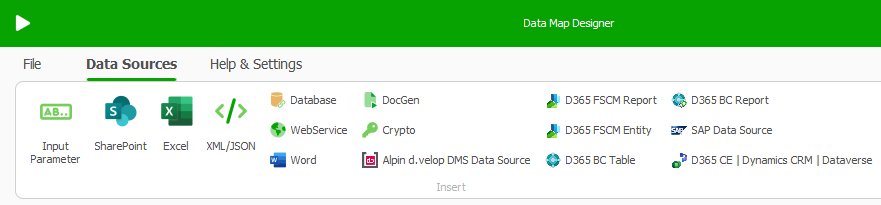
Data Map Designer
Go to File > Save As.
Enter a file name and select Save.
Tip
We recommend you to save the data map folder in the same folder as the document template. In this way you can dynamically change the path to it. If you later need to move the folder, e.g. from
TesttoLive(see Best practice: Managing document templates) or to SharePoint, you can continue using the template without further adjustments.We recommend you to choose a name that refers to the document template’s name so that it is always clearly visible to which document template a data map belongs to.
A file with the ending
.dmis created.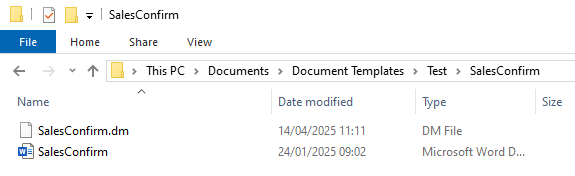
Newly created data map file
Close the Data Map Designer.
The Link Data Map to Document window opens.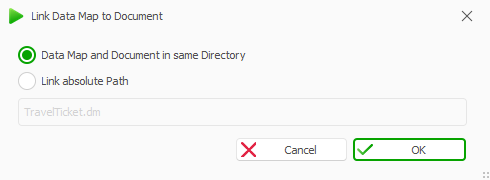
Link Data Map to Document window.
Keep the Data Map and Document in same Directory option selected and select OK.
Save the document template.
Result
You have created a data map that is linked to your document template.
Next steps
When working with SharePoint, D365 FSCM, MODUS M365 dox42 Document Automation or D365 CE | Dataverse environments: Create the connection Excel file